When you first get up in the morning your face probably looks paler, puffer and more creased than usual. You can blame some of the crease on the pillow you slept on, but the lack of color and tone are the result of a nocturnal slow –down in circulation.
When the body is in a deep rest it puts the brakes on the system that pumps blood and lymph around the body. At night, when the lymph drainage of toxins from the tissues slows down, the waste builds up. Puffiness around the face, particularly the eyes, in the morning is just one of the most obvious signs of this; likewise, the relative pallor skin is the result that follows the nocturnal slow down in blood circulation.
It is not only sleep that slows down circulation. During the day, lack of exercise, poor nutrition, shallow breathing and overexposure to pollution – all hazards of modern living –slow the drainage of lymph and flow of blood.
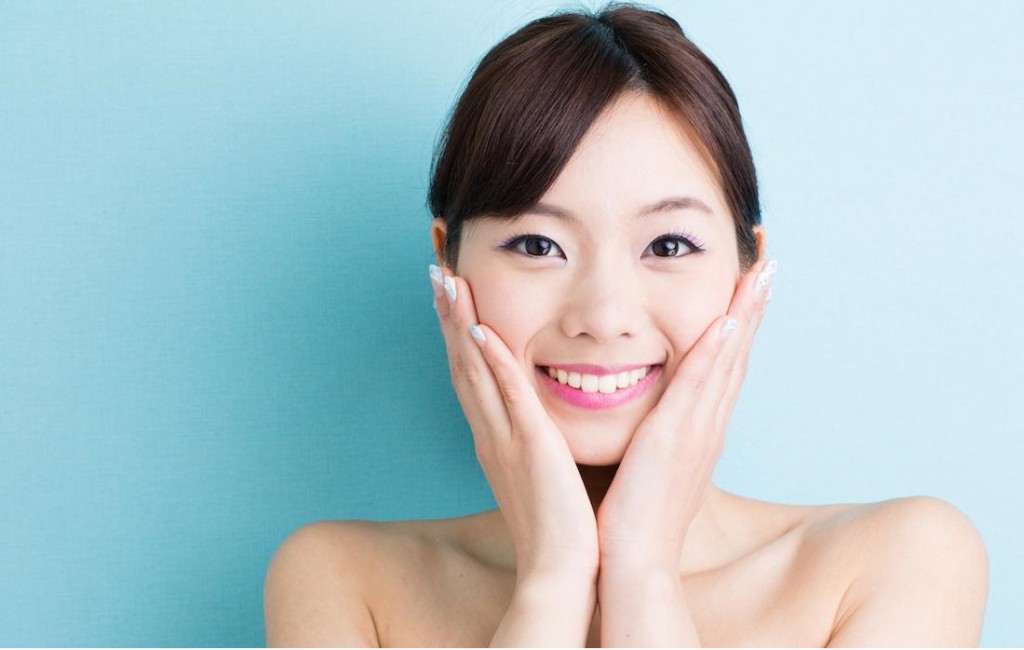
Facial massage via exercise jump-starts both. A pinker glow is the obvious testament to improved blood flow. An acceleration in lymph action is less visible, but you can assume that if your face is a richer colour the lymph has also been stimulated, since it vessels run closer to the surface of the skin, in the longer term, a fluid lymph system shows in a resilient immune system and a bright complexion. Half of the lymph nodes in the body are in the neck, so unblocking them has an immediate effect on the facial skin.
How does it work.
When you press or squeeze any part of your body, it increase circulation to that area. The face responds particularly well to touch as it is packed with small, sensitive muscle and so richly endowed with endings.
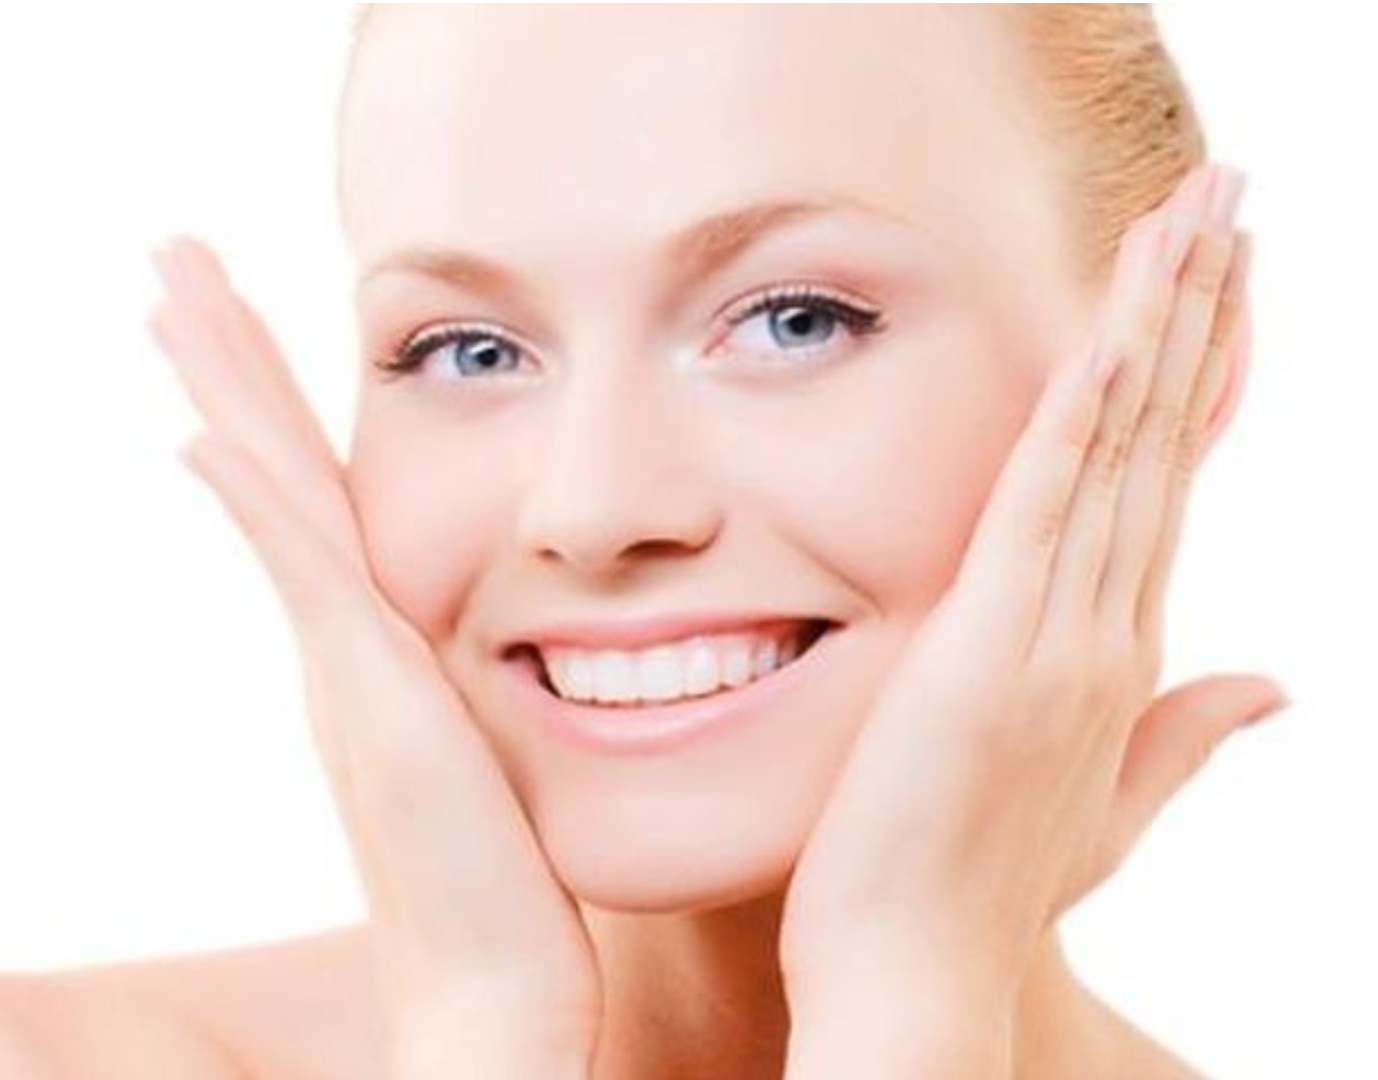
Tension, and to a certain extent age, causes the connective tissue between the layers of the facial skin and the facial muscle to become less supple over time. As a result habitual expressions such as frown lines, rigid jaws, pursed lips and staring eyes tend to become set as part of the fabric of the face. The gentle pressure of a facial massage can loosen up the facial muscle and allow them to learn to slide back into place more readily after being tensed. The cumulative effect is such that with repeated treatment your face will be left looking relaxed, and therefore younger. Also, because massage stimulates circulation to the face, your complexion will be toned and glowing.
The muscles of the face are extremely delicate. Massage can be tremendously beneficial, but if given too deeply or frequently, it can encourage the muscles to lengthen. So,
-
The comparative fragility of older muscles and
-
Their adjacent tissues is important to bear in mind.
The scalp is a different matter and can be massaged quite vigorously without any harm, with many benefits for the face. Sensitive skin, which is typically fair and dry, should also be massaged with great care. It is more susceptible to the kind of surface damage that causes ‘broken veins’ (which are not actually broken, but simply closer than usual to the surface, so more visible).
Skin-type & suitable oil for massage
Oil is required to provide a fine, slippery surface for massage so that the skin is not pulled and stretched as you handle it. In principle, any pure vegetable or nut oil will do the job well. Such oils can nourish and lubricate the skin in a way that others cannot, as they are more efficiently absorbed and warm the skin to maximize absorption. Although any oil can block the pores of skin that is very fine or over-handled, pure vegetables oils do not spread a suffocating film over the skin or adversely affect its own oil production. In addition, vegetable oils contain fatty acids and fat-soluble vitamins. Many are absorbed relatively slowly by the skin, so take effect over time. Choose cold-pressed vegetables oils, which are usually sold in health food shops.
Some vegetables oils are better suited to certain skin types than others. Broadly speaking, the drier your skin the more it will benefit from oil rich in saturated fatty acids.
Being thicker and sticker these are absorbed more slowly and curb water loss more effectively. Greasier skins require oils with a high percentage of polyunsaturated fats, which are thinner and quickly absorbed into the skin.
Try one of the following carrier oils according to your skin type and choose an essential oil to perfume it, if liked,
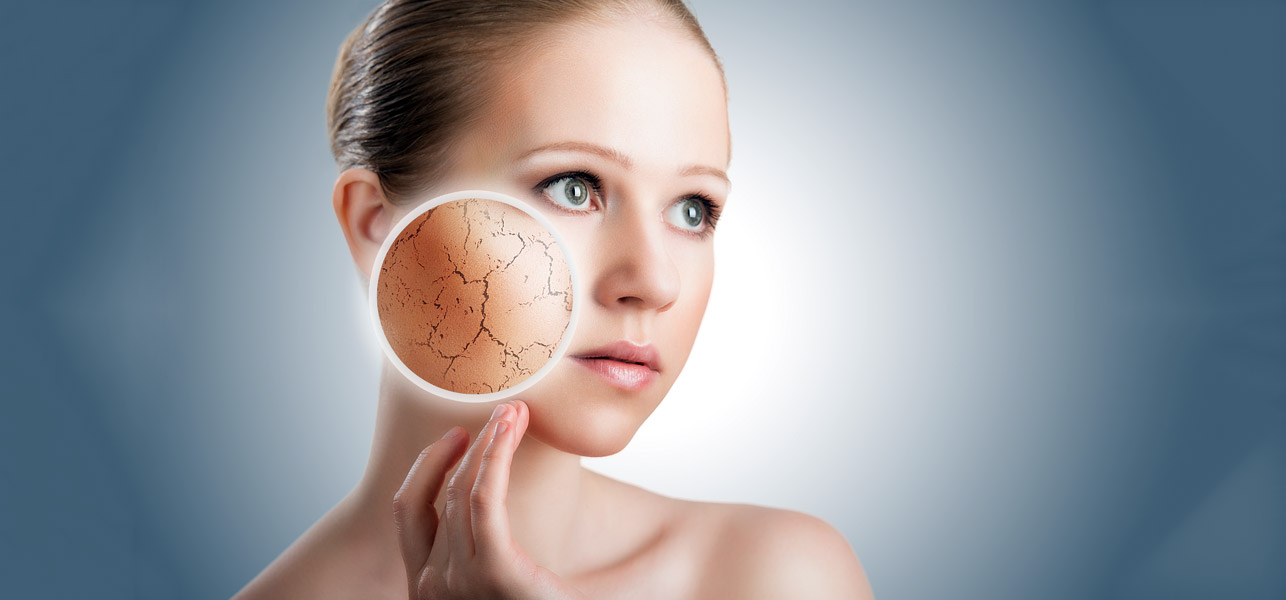
DRY OR AGEING SKIN
Use apricot, avocado, macadamia or wheat germ oil.
NORMAL SKIN
Use almond, sunflower or sesame oil. Olive oil is another option but is one to the thicker vegetable oils, so can be mixed with thinner oil for massage.
OILY SKIN
Use hazelnut, peach kernel, thistle or hypericum oil – the latter needs to be blended with one of the other carrier oils.
Borage and evening primrose are two oils with special anti-aging properties. They are expensive so are normally blended with one of the above carrier oils, in a proportion of roughly one part to every seven of the main oil. They benefit all skin types.
Click here, to check your skin-type.
A 4-Minute Massage Routine
You can follow this routine after removing make-up using carrier oil or while applying your moisturizing cream. Once you have memorized the routine if should take no more than three to four minutes, so try to do it ever day. If you have a specific area that you need to concentrate on, incorporate one of the massages from the routine.
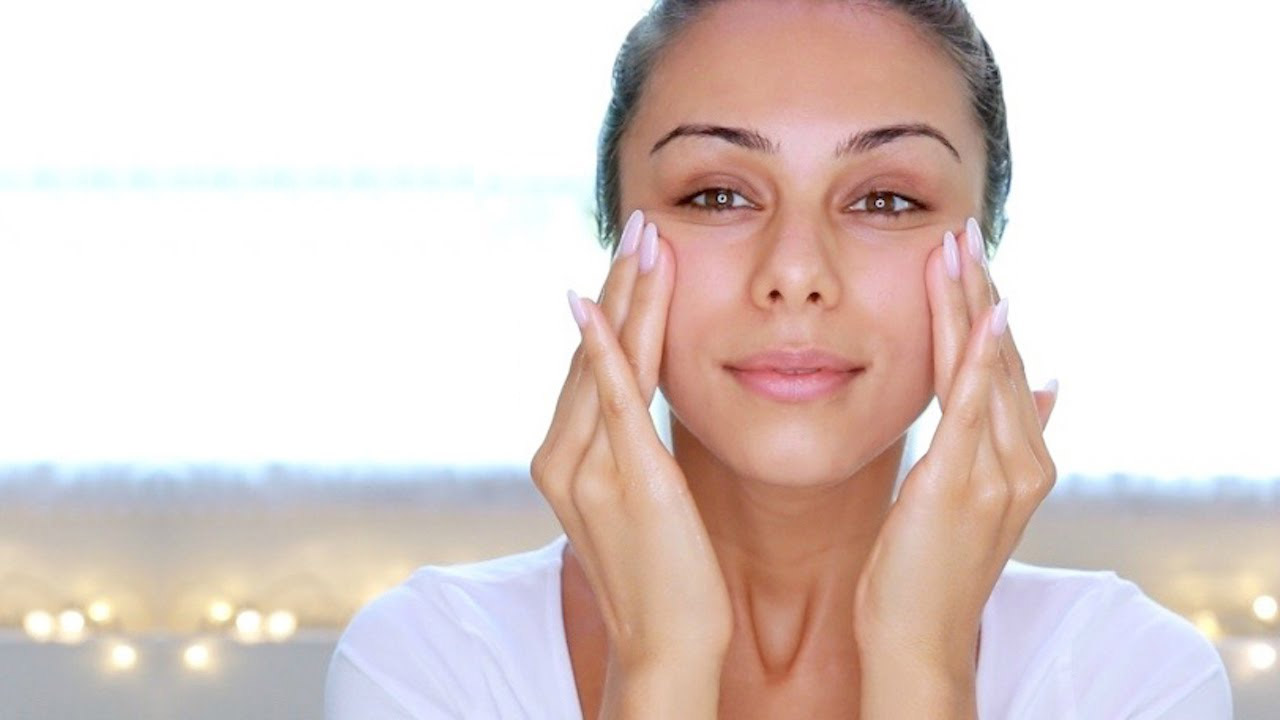
Pour just under a teaspoon of oil into one hand, rub it into both hands and apply the oil to your neck and face in long, upward and outward sweeping movements. Apply it very sparingly around your eyes, where the skin is most delicate, using the ring finger of both hands.
Using alternate hands, slide up your neck form the base to your jaw bone, turning the hands as necessary and working lightly over your windpipe. Cover your whole neck form ear to ear.
Using the first and middle fingers of each hand, slide firmly along your jaw line from your chin to the front of your ears. Your index finger should be on top of your jaw and the middle finger underneath.
With your fingers together and hands pointing up to your brow, holding the fingers straight, press firmly with the edge of your hands either side of your nose. Hold for three to four seconds. Repeat
Release the pressure slightly and, rolling your hands on to your cheeks, slide your hands outwards with your index fingers stopping in front of your ears and apply a firm pressure. Hold for three to four seconds. Repeat.
With your fingers held in loose fists underneath your chin slide both thumbs upwards symmetrically around the corners of your mouth, in under your nose, around your nostrils and lightly off over the tip of your nose.
With the middle and ring fingers of each hand, starting at the inner corners of your eyebrows, slide firmly outwards over your eyebrows and using your ring finger only, trace very lightly inwards underneath your eyes.
With the ring finger of each hand, slide lightly outwards over your closed eyelids and then lightly underneath each eye.
With your fingers together and the index fingers leading the way, alternately smooth your hands up to the hairline in a firm lifting movement, starting between the eyebrows and finishing at the hairline .
Close your eyes and, with the fingers together and using the whole of both hands slightly cupped to produce a gentle suction, apply a firm pressure to the face, holding for a second before releasing. Then, moving the hands outwards from the nose towards the ears, cover the whole face, moving the hands up and down to cover the area between the chin and hairline.
With your fingers together and using the whole of the hand, apply pressure with the right hand to the left side of the neck, working from the base of the neck to the jaw but avoiding the windpipe. Repeat with the left hand, applying pressure to the right side of the neck.
Massage tips for problem areas
You can have areas of your face that call for extra attention. The following massage exercise can remedy or prevent such problem areas, and can be fitted into the 4- minute massage routine.
For a double chin
With the fingers, relaxed, use the thumbs to press into the muscle underneath the jaw, starting in the centre of the chin and working outwards towards the angle of the jaw bone.
(Do this after Following step)
For jowls
Using the flat middle and ring fingers of both hands alternately and treating one side at a time, work on the muscle of the checks with a rolling, lifting movement, almost flicking the muscle upwards.
(Do this after Following step)
For wrinkle lips
Smiling to stretch the lips taut, and anchoring the middle finger of your left hand on the left corner of the mouth, use the middle finger of the right hand to make small, circular movements all the way along the edge of the bottom lip. Then swap hands to use the middle finger of the left hand and repeat the circles on the edge of the upper lip. (Do this after Following step)
For frown lines between the eyes
With the index and middle finger of your left hand supporting the skin in an upward v-shape, apply small circular movements with the ring finger of your right hand between the eyebrows.
(Do this after Following step)
For open pores on the nose and between the eyes
With your middle or ring finger, make small circular movements all over and around your nose. Start by working around your nostrils, over the tip of your nose and up the sides of your nose, finishing on the bridge.
(Do this after Following step)
For crow’s feet
With the middle or ring finger of each hand, make a crossroads shape where the crow’s feet are emerging by tracking a horizontal then a vertical line, alternately working with the middle fingers of each hand, out from the corner of your eye and up towards the temple.
(Do this after Following step)
For brow lines on the forehead
Locate the brow lines across your forehead. Starting above your right eye, make small, circular, sliding movements along each line form right to left using the middle finger of your right hand. Use the index and middle finger of your left hand to hold the skin firm on either side of the line. Repeat the movement on each line. (Do this after Following step)