It is possible for all to be fast and strong and keep energy up for hours. But to do that you need to stop thinking of your training sessions as separate strength and cardio days, and start thinking in terms of integrated workouts. According to the National Academy of Sports Medicine, integrated training is a reconditioning and rehabilitation program that can be opted for to reach any goal. By incorporating six forms of training-flexibility, cardio respiratory, core, balance, power and resistance training-into every program. It’s a systematic approach to sports performance enhancement at its highest level.
Just start slow and keep adjusting all aspects of your program every 4-6 weeks to get the most out of your program.
- Front Planks: To start, come onto your hands and knees in table position. Make sure your arms are right under your shoulders and your fingers are pointing straight ahead. Now, walk your feet backwards in the formation, plank (high push up position). Make sure your torso, hips and legs all in one line. Don’t let your hips drop or lift too high. Press your hands into the floor and lift up into your shoulders. Draw in your bellybutton towards your spine and stretch through your heels. Work up to holding for a slow count of 10. This exercise is good for your arms and upper body as well as your abs!
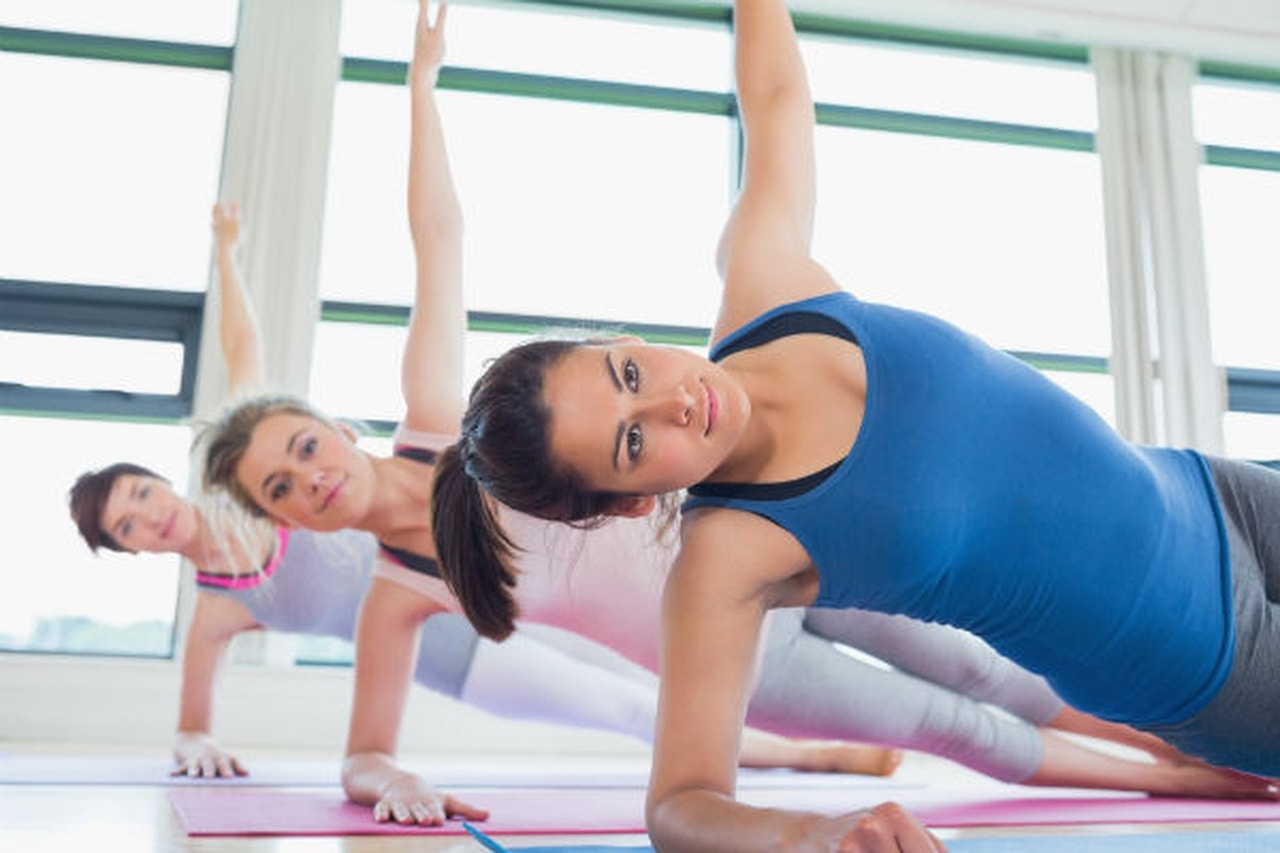
- Side Planks: From a plank position. Shift onto the outside edge of your left foot, and stack your right foot on top of the left. Now swing your right hand onto your right hip, turn your torso to the right as you do, and support the weight of your body on the outer left foot and left hand. Make sure that the supporting hand isn’t directly below its shoulder; position the hand slightly in front of its shoulder, so the supporting arm is angled a bit relative to the floor. Straighten the arm by firming the triceps muscle, and press the base of the index finger firmly against the floor. Firm the scapulas and sacrum against the back torso. Strengthen the thighs, and press through the heels toward the floor. Align your entire body into one long diagonal line from the heels to the crown. If you’d like you can stretch the top arm toward the ceiling, parallel to the line of the shoulders. Keep the head in a neutral position, or turn it to gaze up at the top hand. Stay in this position for 15 to 30 seconds. Come down and relax. Change sides. Repeat 10 times.
- Glute Bridges: Lie supine (on your back) on an exercise mat or the floor in a bent-knee position with your feet flat on the floor. Place your feet hip-width apart with the toes facing away from you. Gently contract your abdominal muscles to flatten your low back into the floor. Attempt to maintain this gentle muscle contraction throughout the exercise. Gently exhale while holding your abdominal contraction and press your hips upwards off the floor into extension by contracting your glutes (butt muscles). At the same time press your heels into the floor for more stability. Avoid pushing your hips too high as this generally increases the amount of hyperextension (arching) in your low back. Maintaining your abdominal contraction helps avoid excessive arching in your low back. Inhale and slowly lower yourself back towards your starting position. Gradually progress this exercise by starting with both feet together and extending one leg while in the raised position. Avoid arching your lower back as your press your hips upward which normally occurs if your attempt to push your hips as high as possible. This can be achieved by contracting your abdominal muscles prior to lifting, and keeping them engaged throughout the lift.
- Walking Lunges: Start by standing upright with your feet together. For beginners place your hand on your hips (and have smiles on your lips). For more advanced exercisers hold a dumbbell in each hand or a barbell on your shoulders. Take a long step and bend both knees and lunge towards the floor. Keep you feet pointed straight. The back leg is the one doing most of the work. Bring your feet together after the first lunge and then lunge forward with the opposite leg. Alternate your legs as you go across the floor and bring your feet together between each step. Note: It is important to keep the front knee over the heel and not over the toes. If you lunge too far forward you will put great pressure on your front knee and increase the risk of injury.
- Lateral Lunges: Position your feet on the floor so they’re hip-width apart with your toes pointed directly forward. Lift your right leg and step to the side. Once your foot is fully planted, push your hips back and bend your right knee to lower into a lunge. Descend until your right thigh is about parallel to the floor, then extend your hips and knee to come back up. Return your right foot to the starting position and then perform the next repetition, this time stepping to the side with your left foot. Continue back and forth until you complete all of your desired repetitions.
These exercises not only prime you for movement, they boost performance and help prevent injury.
