


While the first trimester is crucial for laying down the groundwork for the developing organs and concerns over the possibility of miscarriage, and the third trimester centers on the baby attaining maturity and the delivery process itself, the second trimester is a sort of reprieve during which the pregnancy can almost be enjoyed. Thanks to estrogen, everything has a better blood supply.
During this period:
- Baby’s skin is thin and shiny with no underlying fat.
- Finger-and toe-prints are visible.
- Eyelids to part and the eyes open.
- You will feel your baby moving between 18 and 22 weeks if this is your first pregnancy, or earlier if it is your second. The baby has really been moving since he or she was two months old .
- By five months your baby can hear your voice, so talk, sing or play your favorite music for him/her to hear.
- By six months, your baby’s eyes can open and distinguish light and dark.
- By the end of the six month, your baby is 33cm(13 inches) long and weighs about 675g(1/ 1/2 lb).
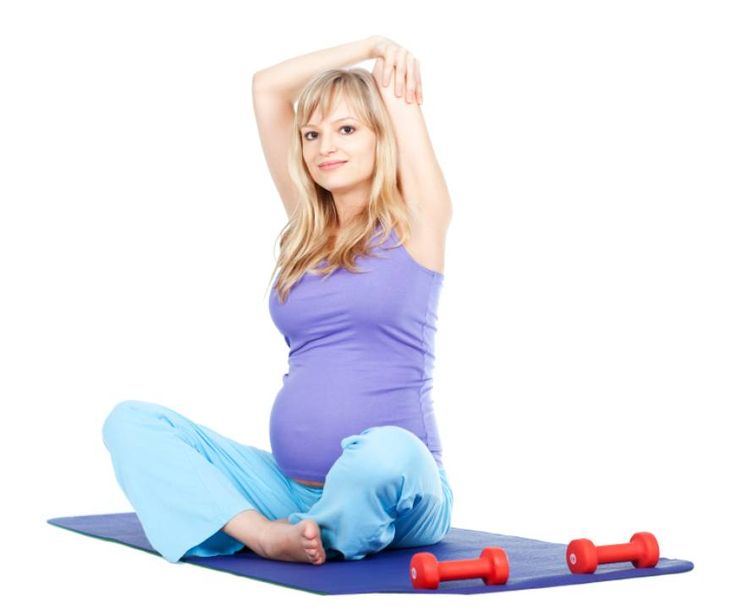
Prenatal exercise positively affects the mother in the short term by increasing energy; relieving backaches, leg cramps, and breathlessness; stimulating the baby; and conditioning for the physical exertion of labor. In the long term, it may help the mother by preventing dropped uterus, maintaining muscle tone of the vagina and abdomen, preventing urinary incontinence and lower back pain, and helping the mother stay fit.
After your fourth month of pregnancy, avoid exercises that involve lying flat on your back, because that position will decrease the blood flow to your uterus
Below are a few exercises that can be carried out during the Second Trimester
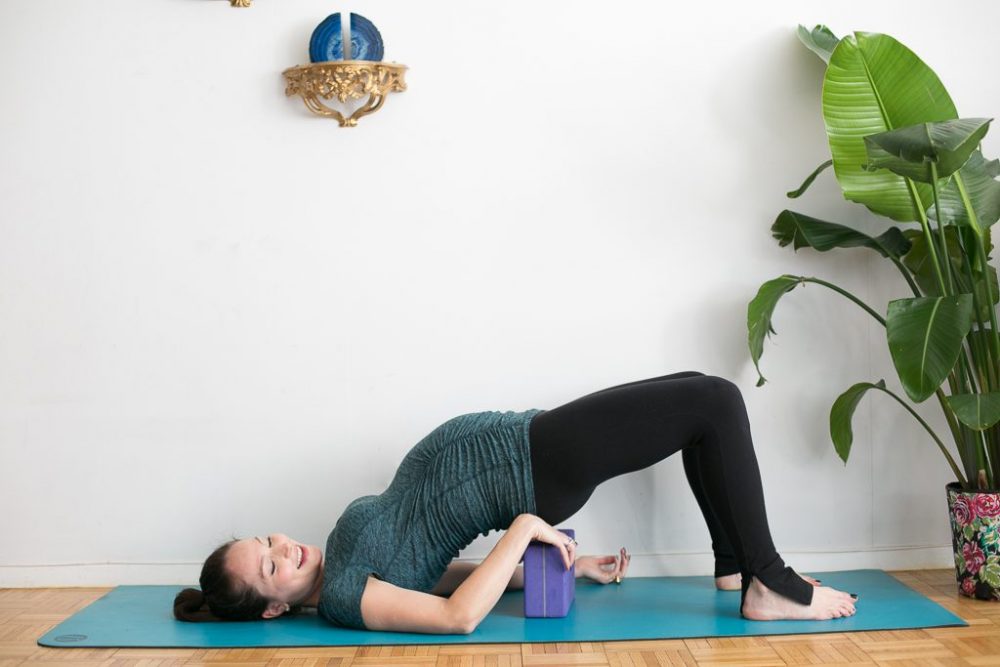

The Supported Bridge
- Lie on the floor, supporting your head with a pillow. Starting with your knees bent and legs comfortably apart, raise your hips and slide a rolled bath towel or blanket under the small of the back. >> Carefully lower your body down, making sure that your hips are firmly and squarely on the floor. Mould you body around the shape of the roll. >> Once you are comfortable, place your hands on your hips. Stay in this position for a few natural breaths, relaxing your torso and extending your muscles.
- Exhale, then inhale for a count of five as you take your arms gracefully over your head and rest the backs of your hands either on the pillow or the floor. Relax once more into the position , breathing naturally and allowing the muscles to let go even further.
- Inhale, then exhale for a count of five as you open your knees to form a diamond shape and bring the soles of your feet together. Relax once again as you breath naturally, feeling the increased level of stretch.
- Inhale, then exhale for a count of five as you slowly extend your legs and allow them to fall open from the hips. Breathe naturally as you accommodate this new stretch.
- As a winding-down movement, return to the starting position (step 1), and remove the rolled bath towel or blanket from under the small of your back. Keep your knees bent up and feel the whole length of your spine relaxing along the floor. Breath naturally for a while.
Spiral Twist
- Lie on the floor, supporting your head and shoulders with two pillows, one along the spine and the other under the head, and have your knees bent and legs together. Spread your arms out of the sides at a 45 degree angle from your body to provide a stabilizing framework.
- Inhale, then exhale for a count of five as you roll your legs up and over to the right, still keeping them bent. Cradle under the knees with your right arm, elbow on the floor, to form a strong supporting framework. As your knees move to the right, twist your head gently to the left to form a spiral shape along your spine. Remain in the twist and breathe naturally for two or three breths. Inhale for a count of five as you come back to the central position .
- Exhale as you repeat the twist to the opposite side. Repeat slowly a further two times to either side.
- Wind down with your hands cradling the baby and your ankles crossed, feet flat on the floor. Breathe naturally as you feel your spinal muscles relax.
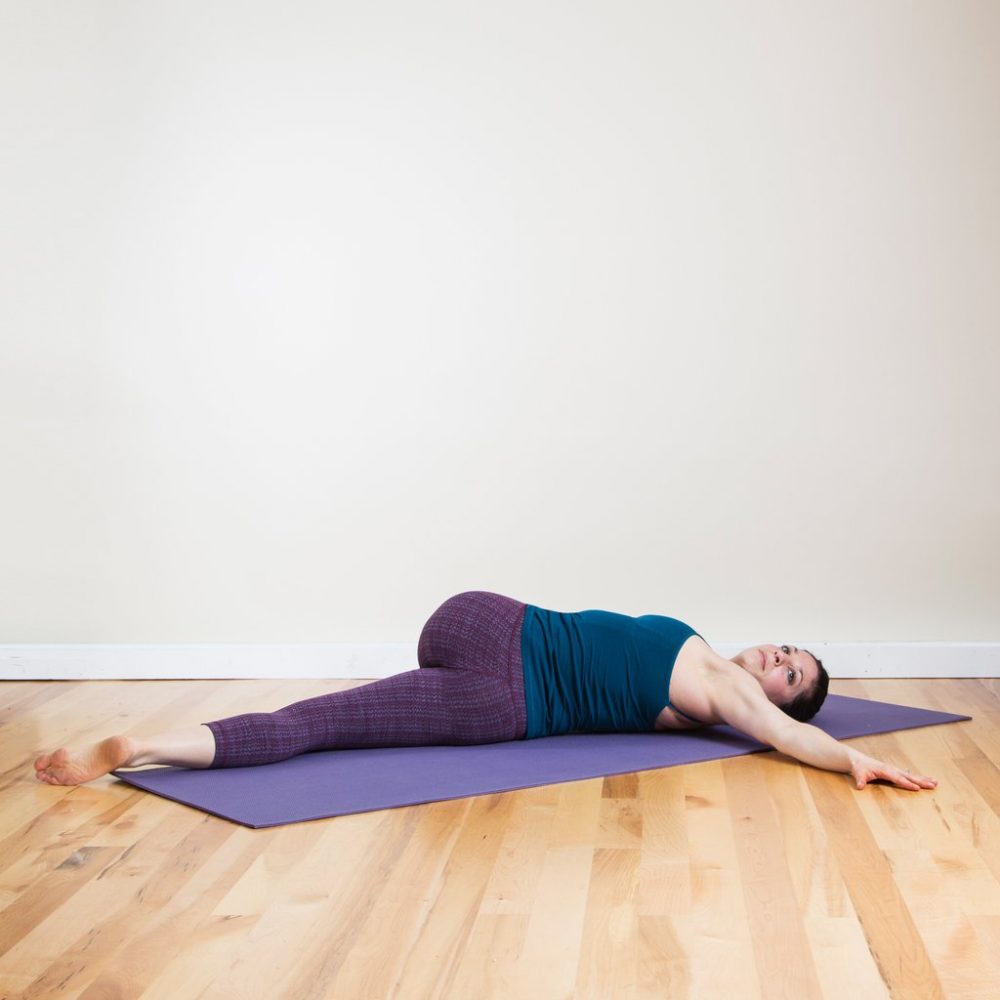
The Crossover Twist
Starting position

- Lie on the floor, your head and shoulders still supported by two pillows. Extend you legs shoulder-width apart. Angle your arms away from your body at a 45-degree angle and use them as levers during the practice. Press your shoulder towards the floor throughout the sequence.
- Exhale, then inhale for a count of five, drawing the right foot along the extended left leg to rest the instep just over the left knee.
- Exhale for a count of five as you ease the right knee over to the left side, either coming to rest on a cushion or making contact with the floor. At the same time turn your head slowly in the opposite direction to create the twist. Hold for two or three natural breaths, feeling the lengthening of the spine and the toning effect on the back and leg muscles. You are endeavouring to maintain a straight line from the heel of the foot to the crown of the head. Inhale for a count of five as you come back to the central position.
- Exhale as you repeat the twist to the opposite side. Repeat the whole sequence slowly, a further two times to either side.
- Wind down by resting with the outside of your feet touching on a rolled towel or pillow. Knees bent outwards and hands cradling your baby. Breathe naturally as you feel your spine settling into the floor.
The Wave


- Sit on a cushion with your head, neck and spine in as straight line as possible without strain. With your knees bent forming an easy diamond shape, place the soles of your feet together and rest your hands on your knees.
- Inhale, then exhale as you ease forwards as far as is comfortable, holding your legs near the ankles to help lever the body gently towards the floor. The maximum position is with your head touching the feet and baby on the floor!
- Continuing the same exhalation, roll back the spine and tuck in your head, slowly sliding your hands back up to your knees.
- Still exhaling, lean back into the pelvis to your maximum stretch, chin to test, holding your knees for support.
- As you inhale, imagine drawing in your breath from the base of the spine. To create the wave-like action, tilt the pelvis forward and roll the spine backwards, opening the chest.
- Still inhaling, complete the movement by pulling on the knees and arching your spine, neck and head backwards to your maximum stretch.
- From the next breath, repeat the sequence a further five times.
- Sit with one leg crossed in front of the other, cradling around your raised legs. Hold the position for a few natural breaths.
Rocking the Cradle


- Sit on a cushion or firm folded blanket, with your head, neck and spine in as straight line as possible without straining. Place the soles of the feet together and pull them towards your body so that, when you lean slightly forwards, your forearms lie along the insides of the calves.
- Following your natural breath, rock over to the right, pressing your outer thigh into the floor and leaning your arms into your knees to keep your hips open.
- Use the impetus of the movement to rock over to the left. Repeat at least ten times to alternate sides.
- Now ‘rock the baby’. Cradle your arms, tucking the foot into the crease of your opposite arm. Flex the leg in the hip socket with a semi-circular rocking motion around your baby bump. Repeat at least ten times, feeling an increasing stretch.Change legs and repeat the action with your other leg.
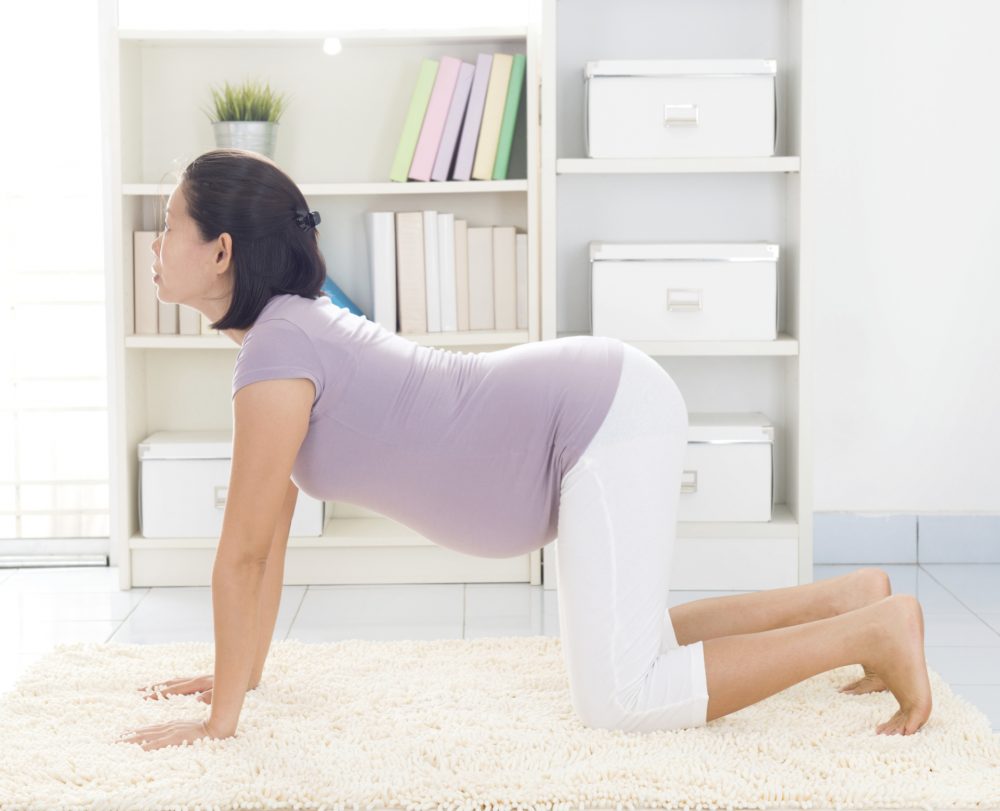
Balancing Posture
Starting position

- Kneel on all fours with your feet flexed and your heels raised. Ensure that the lumbar portion of your spine is flat, your shoulders vertically above your wrist and your hips in line with your knees to create a box effect. Extend your inner elbow and lock your arms. Breathe naturally throughout this practice.
- To limber your body into the movement, lock your hips by pushing them slightly forwards, using your shoulders as an axle.
- When you feel secure, raise your knees off the floor, locking your ankles, knees and hips to help strengthen the lumbar area.
- Balance so that your body forms a diagonal line from the crown of your head to the heels. Continue breathing naturally and hold the position as long as you feel comfortable. Return to the starting position, on all fours (step 1), and repeat the sequence twice more.
The Bow
Starting position
- Kneel on all fours, with arms fully extended and the crown of your head in line with your hips. Make sure that the lumbar portion of your spine is flat, your shoulders are vertically above your wrists and your hips are above the knees to create a box effect. Extend your inner elbows and lock your arms.
- Raise and extend your left leg at hip level and hold for two to three natural breaths.
- Bend your left knee, extending the lower leg upwards, and hold for the further two to three breaths.
- Providing you feel balanced and secure, grasp your left foot with your right hand, and with a expensive inhalation, arch your body and push the left foot up and away from your back to extend your arm. Ensure that your shoulders remain square to the front, and that your elbow is fully extended. Hold the static position for as long as is comfortable, then exhale, lowering the leg to the starting position.Inhale and stretch once more, holding onto the bent leg for as long as you can. Exhale as you lower the leg, inhale, then repeat the stretch once more before exhaling down to relax on all fours. Pause for some natural breaths as your body relaxes. repeat the sequence three times with your right leg.
Wind down by sitting back on your heels or on a cushion. Cradle your head in your hands with the elbows on the floor. Rest for two to three minutes.