Exercise is critical for strong muscles and bones. Muscle strength declines as people age, but studies report that when people exercise they are stronger and leaner than others in their age group.
Joints are complex structures. They are designed to bear weight and move the body. Joints require motion to stay healthy. Long periods of inactivity cause the joints to stiffen and the adjoining tissue to atrophy. A moderate exercise program that includes low-impact aerobics and power and strength training has benefits for all women, even if exercise does not slow down the disease (osteoarthritis) progression.
Many age-related stiffness is simply the result of inactivity. In fact, in one recent study, a group of nearly 1,000 adults enrolled in the same exercise class over a twenty-five year period experienced modest declines in strength and aerobic fitness, but no loss of flexibility.
To keep joints strong, you need exercise for endurance which increases your overall strength and improves your stamina. This allows your muscles to handle more stress. Swimming, cycling, rowingare some of the activities that can help you build up your endurance without putting too much pressure on your joints.
Here are some exercises that will help you to strengthen your joints:
Multiple Joint Exercises
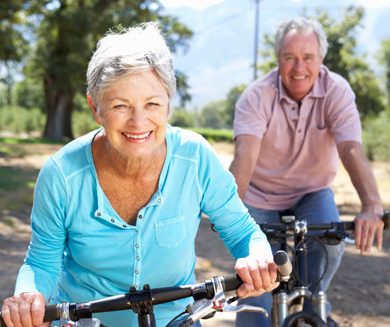
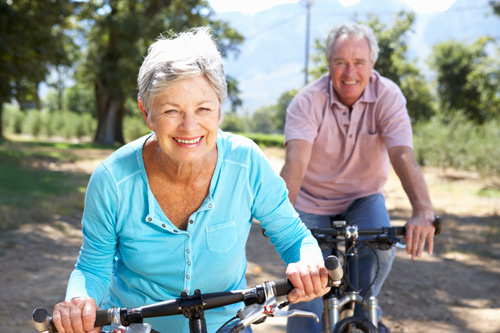
1. Cycling.
Unlike walking, running, aerobic dancing and other weight-bearing activities, bicycling is gentle on your joints and can be done by people of all ages.
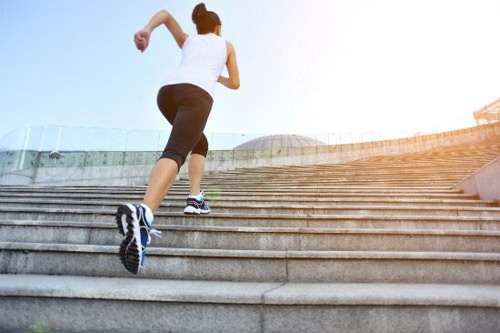
2.Climbing the Stairs.
This form of exercise is probably one of the most efficient ways of strengthening the bones, muscles and joints of your lower body. What’s more, stairs are everywhere, and they’re free. You don’t need a membership in an expensive health club; the stairs in your home or at the mall will do just fine.
3. Swimming.
Even if you can’t swim, you can use the pool for an excellent workout to help strengthen those joints. Remember, if it’s hot and humid outside, you surely won’t want to exercise. But a quick trip to the swimming pool will not only cool your off, it can set you on the road to a healthier lifestyle.
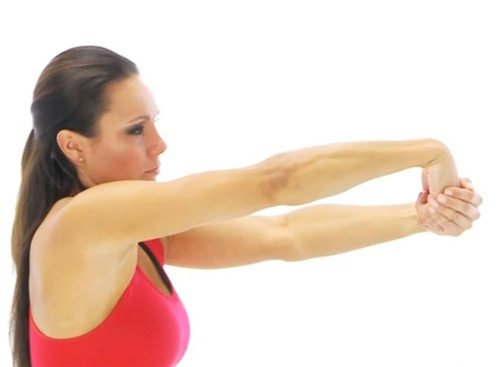
Straighten both arms then rotate forward 10 times, then reverse and rotate backwards. Start with small, slow circles and eventually increase the size of the circles and speed of rotation as your joint becomes accustomed to the drill.
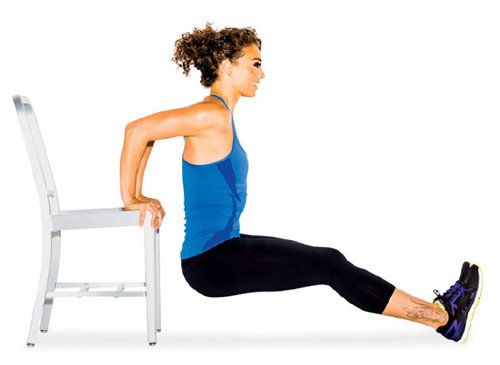
2. Chair lift/Elbow Exercise:
The bicep and tricep muscles are the large muscle groups that bend and straighten the elbow. The biceps are located on the front of the upper arm and the triceps are located on the back. To do the exercise, sit in a straight-backed chair with armrests. Put your feet flat on the floor. Place your hands on the armrests and push up with your arms lifting your bottom slightly off the chair. Hold for a count of six. Slowly lower yourself into the chair and relax. Repeat this strengthening exercise 10 times.
3. Door Opener/Wrist Exercise:
This exercise stretches the muscles and ligaments that rotate the forearm, letting you turn doorknobs, use a screwdriver, of put your hand in your back pocket. Start with your forearm resting on a table, palm down. Keeping your little finger on the table, turn your hand so the palm faces up. If you use your other hand to help, grip your forearm, not the wrist or hand.
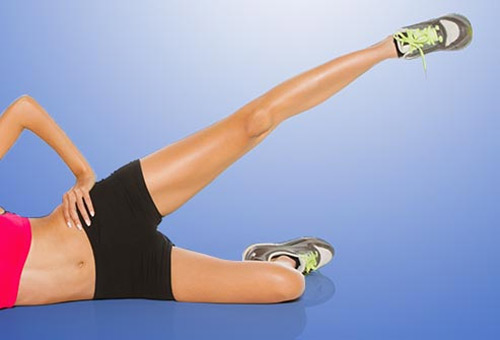
4. Hip Abduction Exercise:
Lie on your right side. Bend your right leg, and rest your left foot on the ground. Slowly lift your top leg 2 feet off the ground. Hold for five seconds, then slowly lower the leg. Repeat 10 times, then change legs.
5. Hip Adduction Exercise:
Lie sideways position with hips and shoulders stacked, top leg should be bent over the bottom leg. Lift the bottom leg up towards the ceiling keeping the foot flexed and leg extended. Repeat up to 10 times on each leg.
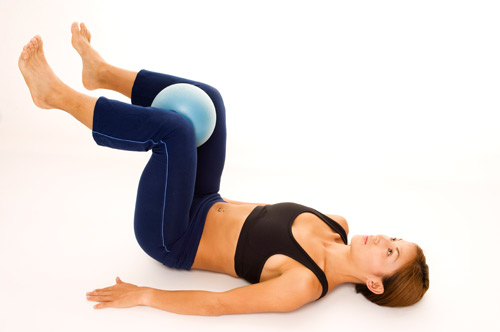
6. Bent Leg raises/ Knee Exercise:
Strengthens the inner thigh muscle to balance the pull on the knee joint from the outer thigh, which is often stronger. Start this exercise using 1 lb. ankle weights. Sit on a chair and straighten one leg. Hold for one minute. Bend your knee to lower that leg about halfway to the floor (a 45-degree angle). Hold for 30 seconds. Return to starting position and rest for one minute.
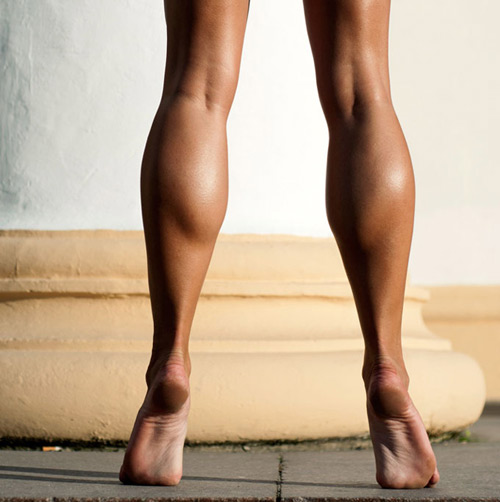
7. Calf Raise:
This move builds calf strength and ankle stability, as well as body coordination and balance. Ankle stability is critical to proper knee alignment. Place the ball of one foot on the edge of a raised object, letting your heel and arch extend off the object stretching as far down as possible. Hold on to a chair or the wall for support and keep back straight, head up, and leg locked.Put other foot next to or behind leg being trained. Raise up on toe as high as possible and hold for a quick second while flexing the calf muscle. Lower to the starting position in a slow, controlled manner. Repeat 812 times, working up to two sets on each foot. To advance: Add a third set, placing hands on hips for balance.
8. Ankle Dorsiflexion
Stand in front of a table or chair. Place your hands on the table/chair for balance Rock back on your heals lifting your toes off the floor. Remain on your heals for six seconds Slowly return to standing position Repeat 10 times.
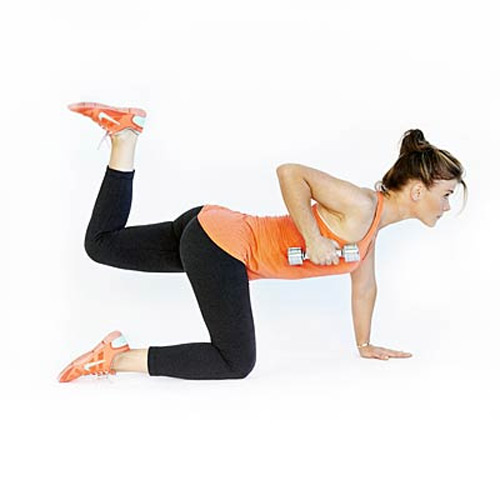
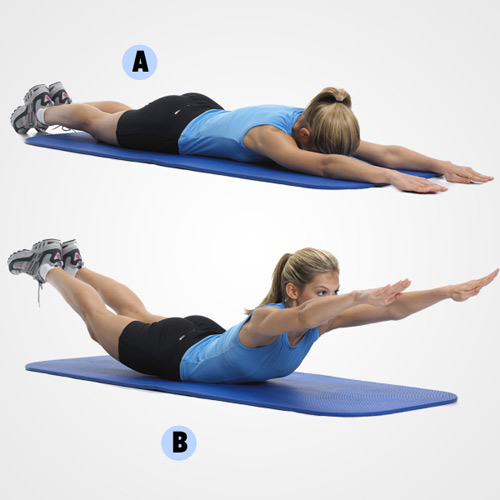
9. The Superman Pose/Spine Exercise
Kneel on all fours, hands under shoulders, and knees under hips. Scapulas anchored and Pelvis neutral. Breathe in and maintain a long spine. Zip and hollow and (breathing out): gently clench the left buttock and slide your left leg away until it is straight but the toe is still touching the floor. Once the left leg is straight, simultaneously lift left leg and right arm. Do not go beyond horizontal. The pelvis does not move, and the scapulas remain anchored. (Breathing out): Return the leg and relax. Repeat five times each leg.
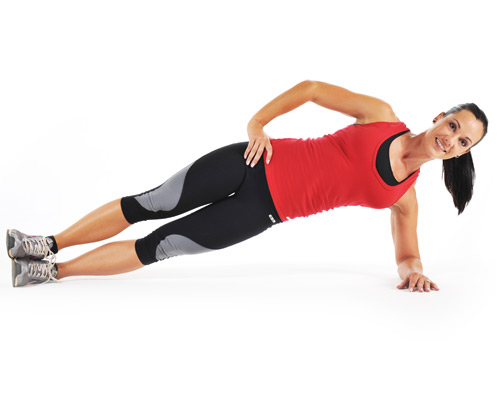
10. Side Plank:
This exercise is great for the lower back, and helps the arms and ab muscles as well. Lie on your stomach on the floor, elbows and forearms bracing your upper body. Your elbows should be close to your shoulders, with your palms or fists on the floor. Lift your body, keeping your toes in contact with the floor. Your weight should be focused on the elbows and the toes. Suck in your abs and hold that position for a count of 10 to start, and then gradually increase to 30 seconds, and then a minute as you grow stronger. Do this exercise one to 10 times to start, decreasing repetitions as you lengthen the hold time.
The key to preventing hip injuries is to strengthen the muscles supporting the hips with exercises such as squats, leg press or even stair climbing. For those with osteoarthritis of the hips, water exercise and stationary cycling are ideal. Flexibility of the hips is equally important and can be enhanced with regular yoga and stretching exercises.
More
Before starting with the above exercises, assess the joints for misalignment or structural defects caused by the injury. Your physician or therapist will check the joint alignment and tests for weakness or deficits in soft-tissues (tendons, ligaments, and cartilage). Correcting these deficits may require taping, bracing or possibly surgery. Once the joints are returned to proper alignment, joint stability is addressed.
Your skeleton is in proper alignment when your head is centered over your body and your weight is evenly distributed over your hips, knees and ankles. Your spine has natural curves and links your upper-body skeleton to your lower body.When there is an excessive curvature of your spine or an uneven distribution of weight over your center, postural problems can occur.
Having a postural evaluation is essential in developing an awareness of yourpostureand possible joint problems that may be occurring. Check with your doctor prior to starting a strength-training or flexibility-training program.