

Skiing is primarily a lower-body intensive sport asking a lot from the body—cold muscles are called upon to perform a variety of functions. By observing the body’s imbalances, brought on by the particular movements of skiing, and employing a yoga program to bring the body into a state of equilibrium, you can avert injury and participate in the sport for years to come.

To avoid knee injury a skier should strive to keep the musculature around the knees and calf muscles supple and stretched so there’s less pull on the joint, and yoga can help here. All skiers need to work out to lengthen all four sides of their upper legs—inner and outer thigh, hamstring, and quadriceps—to ensure minimal strain on surrounding joints.
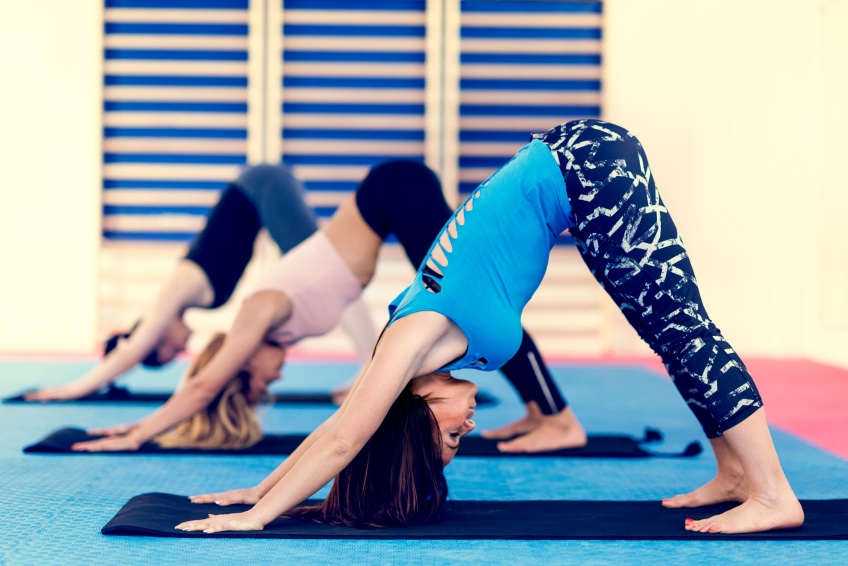
Below are some yoga poses to help increase your hip mobility and improve your turning, undo lower-body versus upper-body asymmetries, and help you stay centered on your skis, even when standing still.
Tadasana Samasthithi (Mountain Pose)
- Stand in your bare feet on a smooth and even surface. Keep your feet together, with your heels touching the wall. Beginners may find it easier to keep their feet 5 cm (2in) apart.
- Stretch your arms along your sides, with the palms facing your thighs, and your fingers pointing to the floor. Stretch your neck upward, keeping the muscles soft and passive.
- Distribute your weight evenly on the inner and outer edges of your feet, and on your toes and heels. Tighten your kneecaps and open the back of each knee. Turn in the front of your thighs. Tighten your buttocks. Pull in your lower abdomen, and lift your chest.
- Keep your head erect and look straight ahead. Breathe evenly and with awareness. Experience your body and mind as an integrated whole and feel the surge of energy. Stay in the pose for 30 – 60 seconds.
Utkatasana (chair pose)
- Begin in Tadasana, arms down by your sides, sternum lifted.
- Squat deeply with your weight back onto your heels, squeezing your inner thighs together.
- Stretch your arms overhead, placing palms together. Keeping your palms together, inhale and bring your arms down to the middle of your chest in Prayer Pose.
- On an exhale, twist your torso to the right. This will place your left elbow at the outside of your right knee. Keep your arms in Prayer Pose. Inhale, then exhale while deepening the twist. Turn your eyes upward and hold the pose for three-to-five breaths. Slowly unwind your upper body to face forward as you exhale.
- Straighten your legs, bring your palms back to Prayer Position, and return to Tadasana. Repeat on the other side.
Utthita Hasta Padangusthasana I (Extended Hand to Big Toe Pose I)
- Stand in Tadasana (Mountain Pose) against a wall.
- Lift the right foot up and grab hold of the big toe with the first two fingers and thumb of the right hand. Bring the left hand to the hip.
- Exhale and stretch the leg out and up in front of you, pulling the toes back.
- Hold the position for several breaths.
- Exhale, return to Tadasana (Mountain Pose) and repeat on the second side.
Purvottanasana (Stretch of the east posture)

- Draw the back of your waist up and in, while strongly lifting your chest up to your chin and rolling your shoulders back. Stretch your legs long, extending out to your toes.
- Inhale and press your hands deeper into the floor, propelling your hips upwards as you extend your toes and the balls of your feet downwards. Raise your heart higher and release your neck, allowing your head to drop softly back. Stretch your legs long and together, keeping them active and rooting your big-toe joints down. Take five to ten breathes, expanding your chest and focusing towards your nose tip, dristi: nasagrai. Exhale, lower your buttocks to the floor and lift your head up, returning to Dandasana.
- Inhale, press your hands into the floor, tuck your knees up, crossing your ankles, and lift your hips off the floor to swing your feet back into a full vinyasa. Flow through the vinyasa and then softly jump through and return to Dandasana.
- Deepening the pose-Make sure your hands are placed shoulder-width apart and spread your fingers open. Work the rotation in your shoulders and broaden across your chest. Lift your tailbone in and up towards your public bone and feel your spine pressing up into the front of your torso.
- Easing into the pose-If at first you can’t get a good lift bend your knees and step your feet apart, both flat on the floor. From here, raise your pelvis and create a parallel line to the floor with your torso.
Supta Baddhakonasana (Goddess Pose)

- Sit in Dandasana. Place a bolster behind you, its short end against your buttocks, and place a folded blanket on its far end. Place 2 wooden blocks on their broad sides on either side of your hips. Bend your knees, and join the soles of your feet together. Draw your heels toward your groin. Buckle the belt and loop it over your shoulders.
- Bring the belt down to below your waist. Pass it under both feet to stretch it over your ankles and the insides of the thighs. Move your feet closer to your groin. The belt should feel neither too tight nor too slack, so adjust the buckle accordingly. Make sure that the end of the bolster touches your buttocks. Position a block under each thigh.
- Place your elbows on the floor, and lower your head and back onto the bolster. Make sure that the bolster comfortably supports the length of your back and your head. Your spine should be on the centre of the bolster. Stretch your arms out to the sides, with the palms facing the ceiling. Relax, and extend your groin out to the sides. Feel the expansion of the pelvis, and the release of tension in your ankles and knees. Initially, With practice, increase the duration to 5 – 10 minutes.
Ananda Balasana (Happy Baby Pose)

- Grab hold of your feet with your hands. Ensure your arms are in front of your shins, and you are holding on to the outside edges of your feet.
- Draw your shoulders on to your back, tone your arms and flex your feet as you pull down on your feet.
- Draw your knees wide and toward your armpits and try to stack ankles above knees.
- Lengthen your lower back down to the ground, trying to touch the tip of your tailbone to the floor.
- Stay here for 1 minute, and then release and draw your knees in to your chest.
Marichyasana (Sage Twist)

- Sit on the floor with both legs straight in front of you.
- Bend your left leg towards your chest.
- Rotate your torso toward your left knee. Wrap your right arm around the left knee, positioning the knee in the crook of the right elbow.
- Clasp your hands. Keep your back straight all throughout the pose.
- Make sure not to twist your back too far or you may worsen any back pain you currently feel.
Focus on equally strengthening and stretching all muscle groups in the legs, otherwise the knee joint will end up taking the strain, which can lead to serious injury around the knee.