

While this holiday season will certainly be different than the traditional celebrations of years past, you don’t have to tone down your festive spirit! Get ready to deck the halls and bring some old-fashioned Christmas cheer to your family gatherings.
Santa’s top experts share some fabulous ways to deck your halls and delight your senses Christmas 2020!
Winter Wonderland!
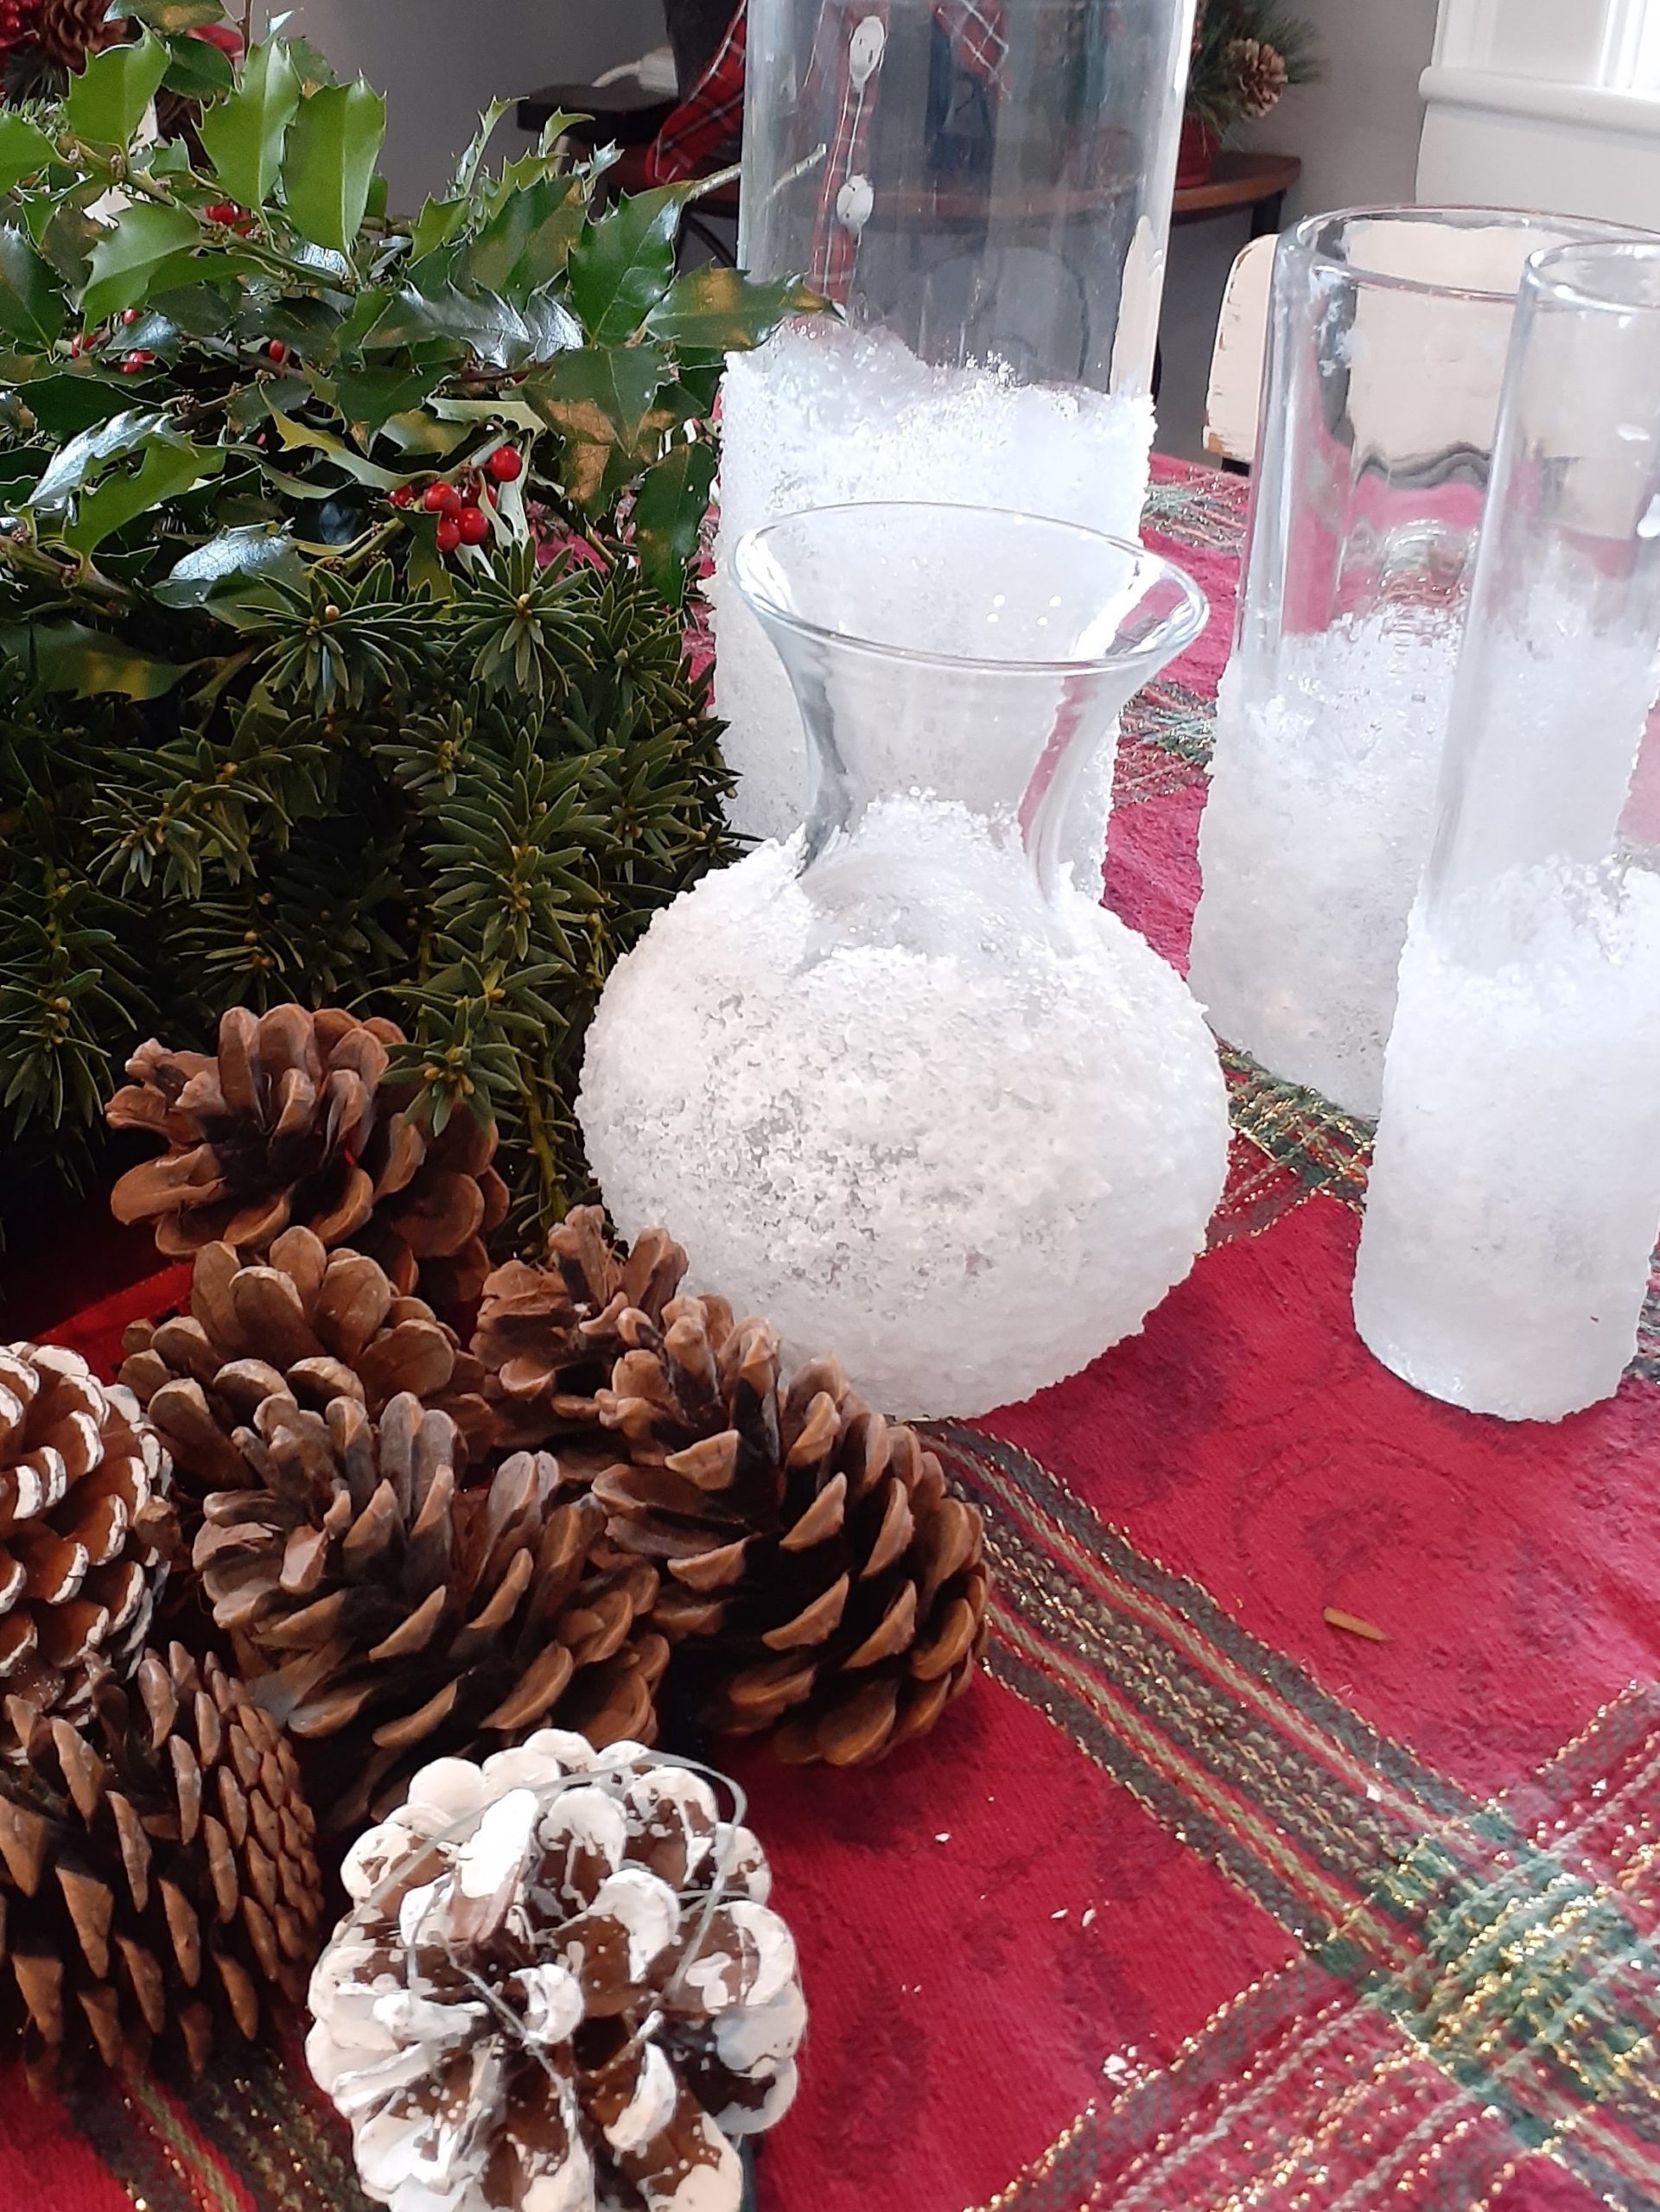
Bring the enchantment of the wintery outdoors inside your home with this festive holiday arrangement. Draw your inspiration from Mother Nature herself with this DIY Snowy Winter Vase to adorn your table or to give as a gift. Easy to follow step-by-step instructions from O’Malley’s Floral Expressions @omalleysfloral
Snowy Winter Vase
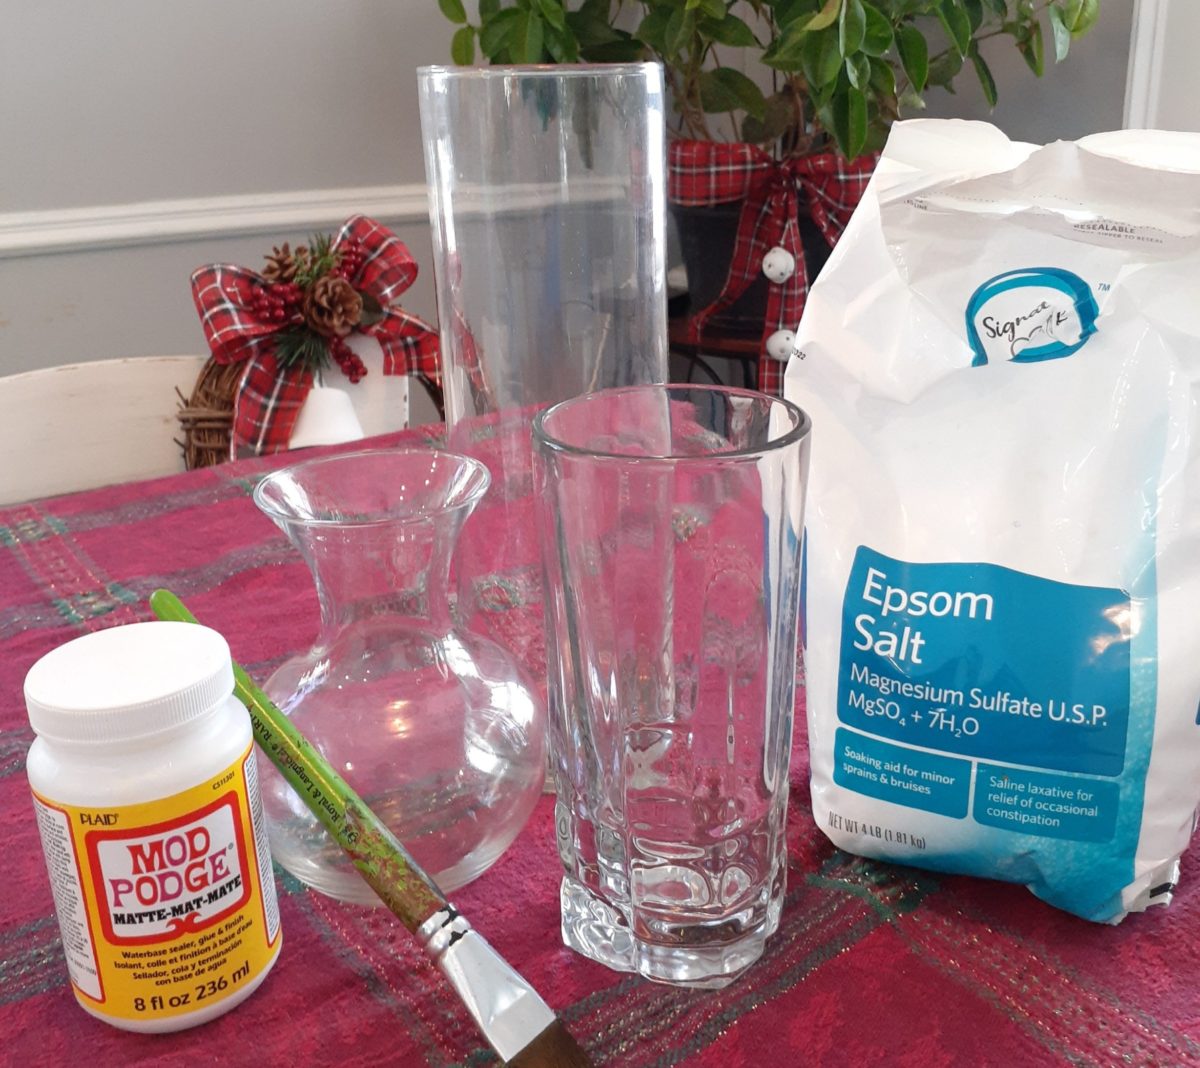
Supplies Needed:
- Misc. vases, drinking glasses
- Mod Podge Matte Waterbase Sealer
- Paint Brush
- Epsom Salt
- Assorted evergreens, holly, or favorite bush stems (You can even pillage from your own yard!)
- Pinecones
Step-by-Step Directions:
Look through your collection of vases and find the ones you would like to enhance or purchase some new ones.

Paint the Mod Podge on the vase where you would like the snowy ice motif to be. Press or roll the glued part of the vase in Epsom salt (use a container or tray to catch falling salt).

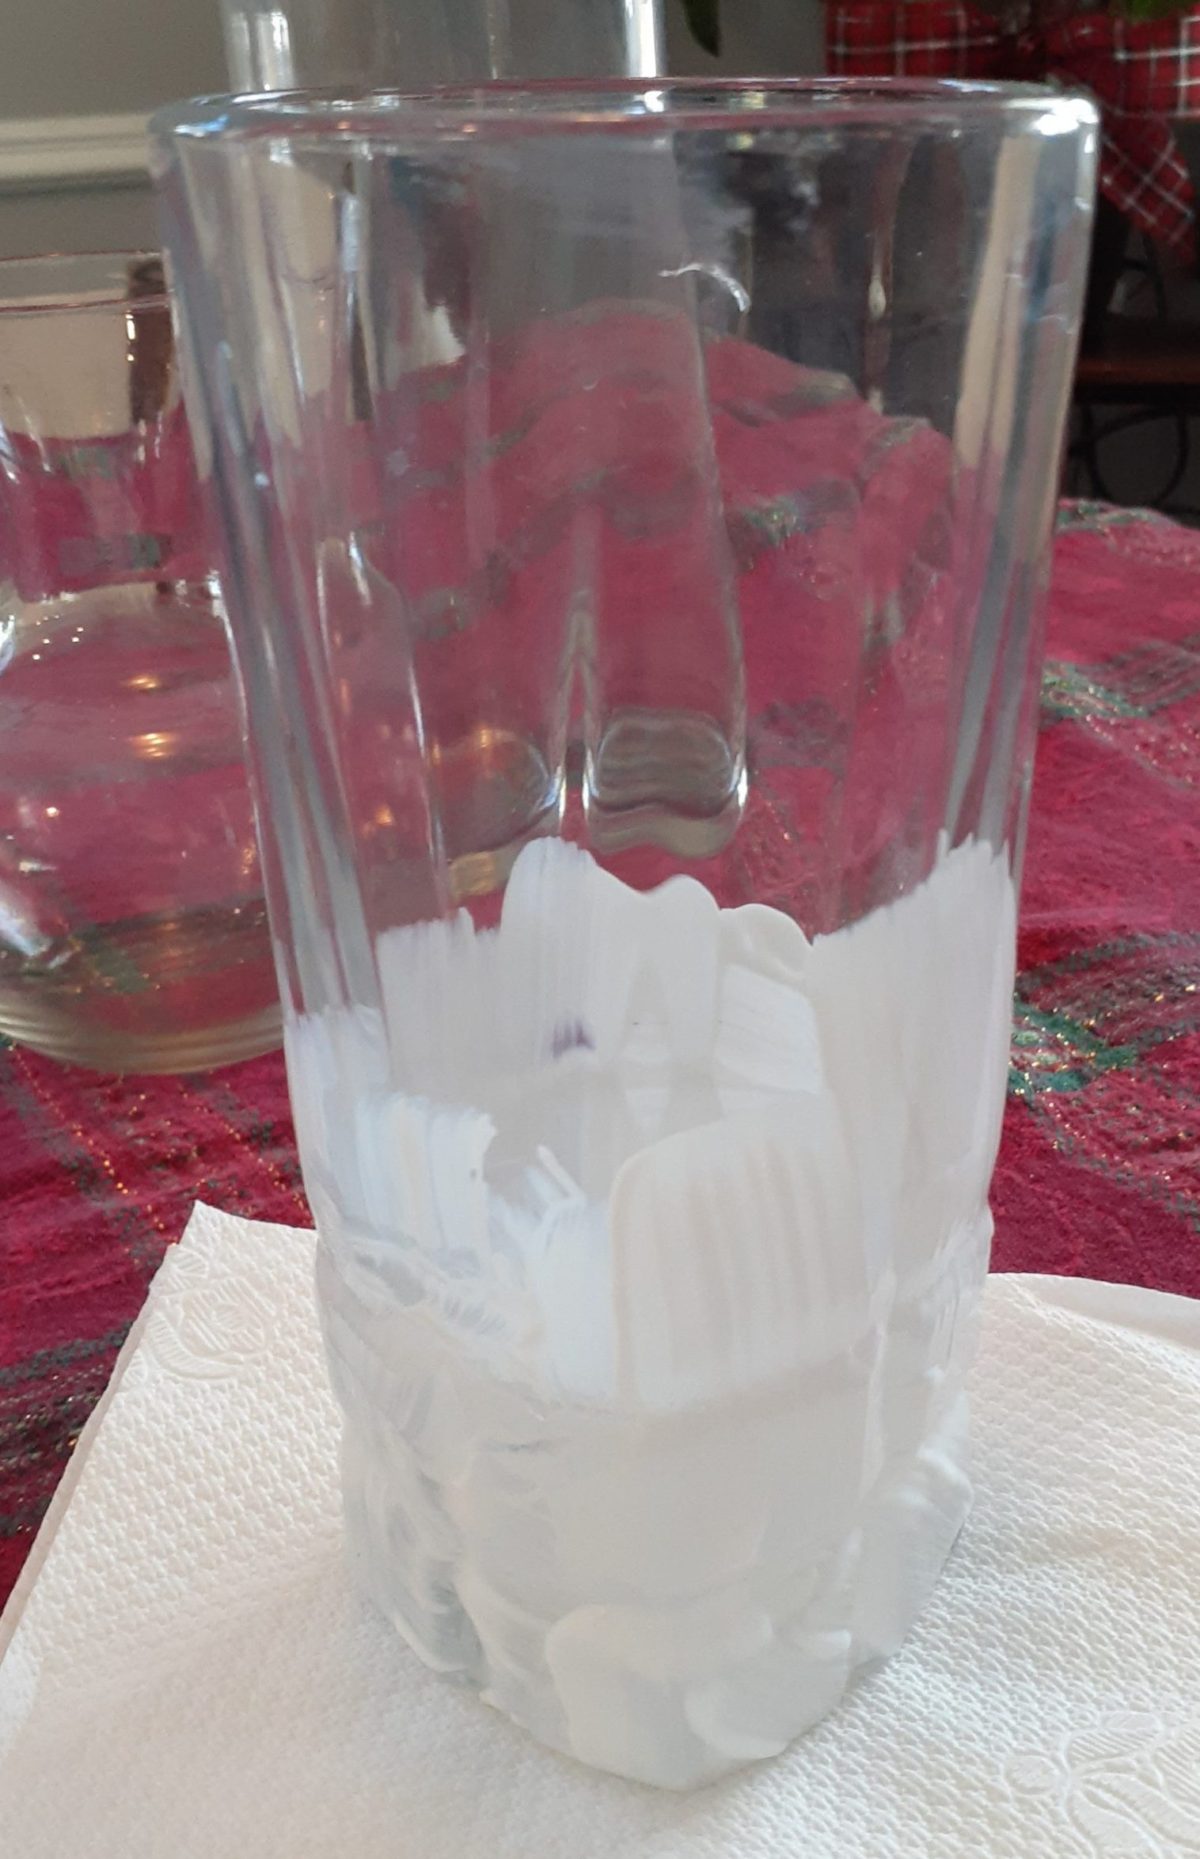
Let sit for 24 hours to dry. Once dry, paint another layer of Mod Podge over the Epsom salt area to ensure the salt stays put and doesn’t flake off.

Let dry.

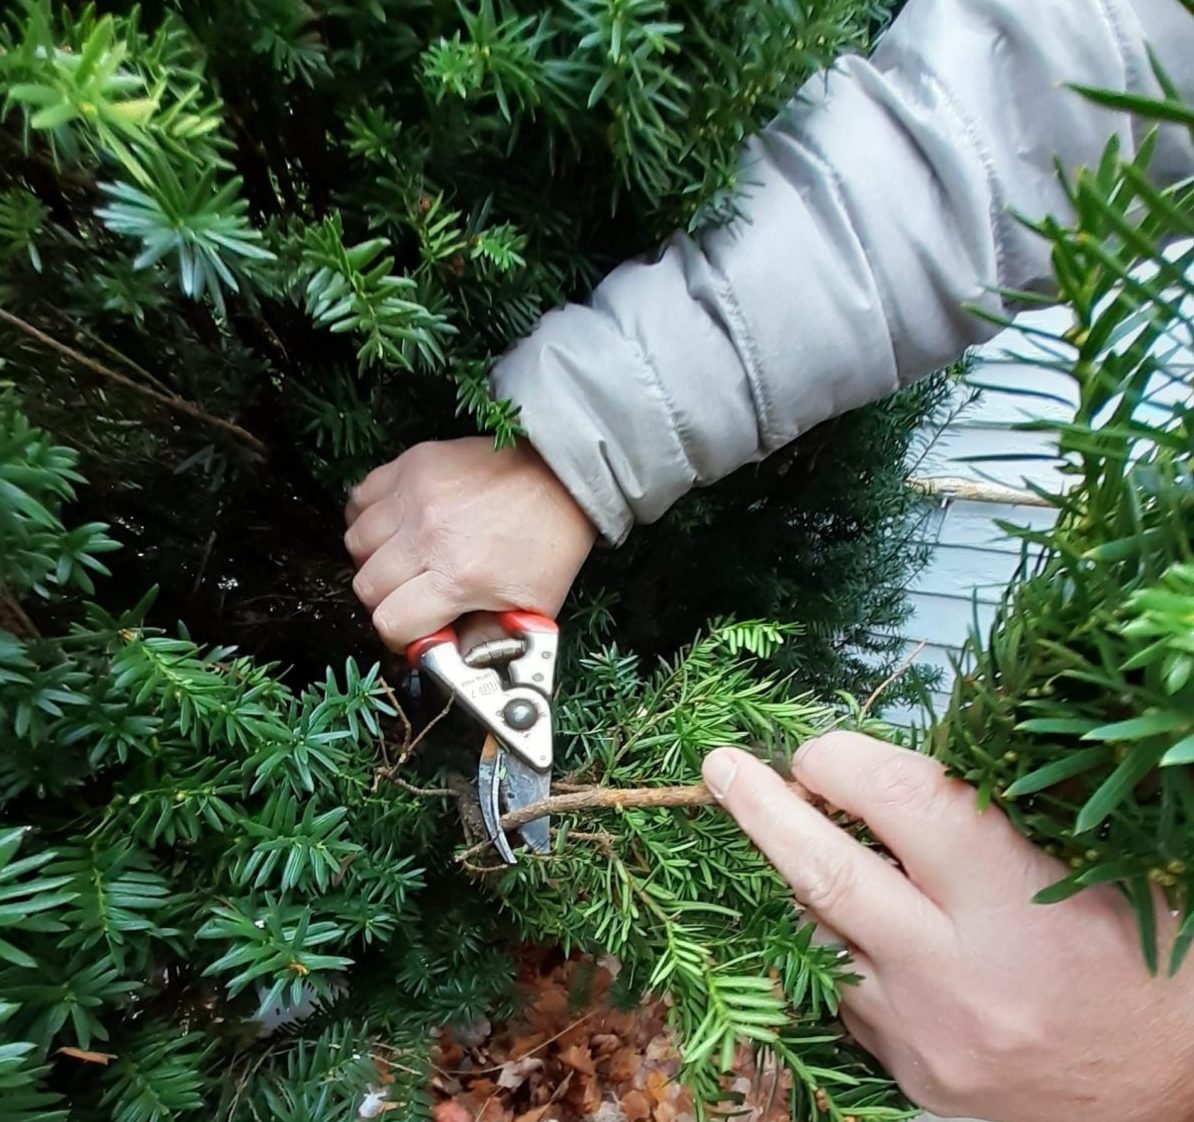
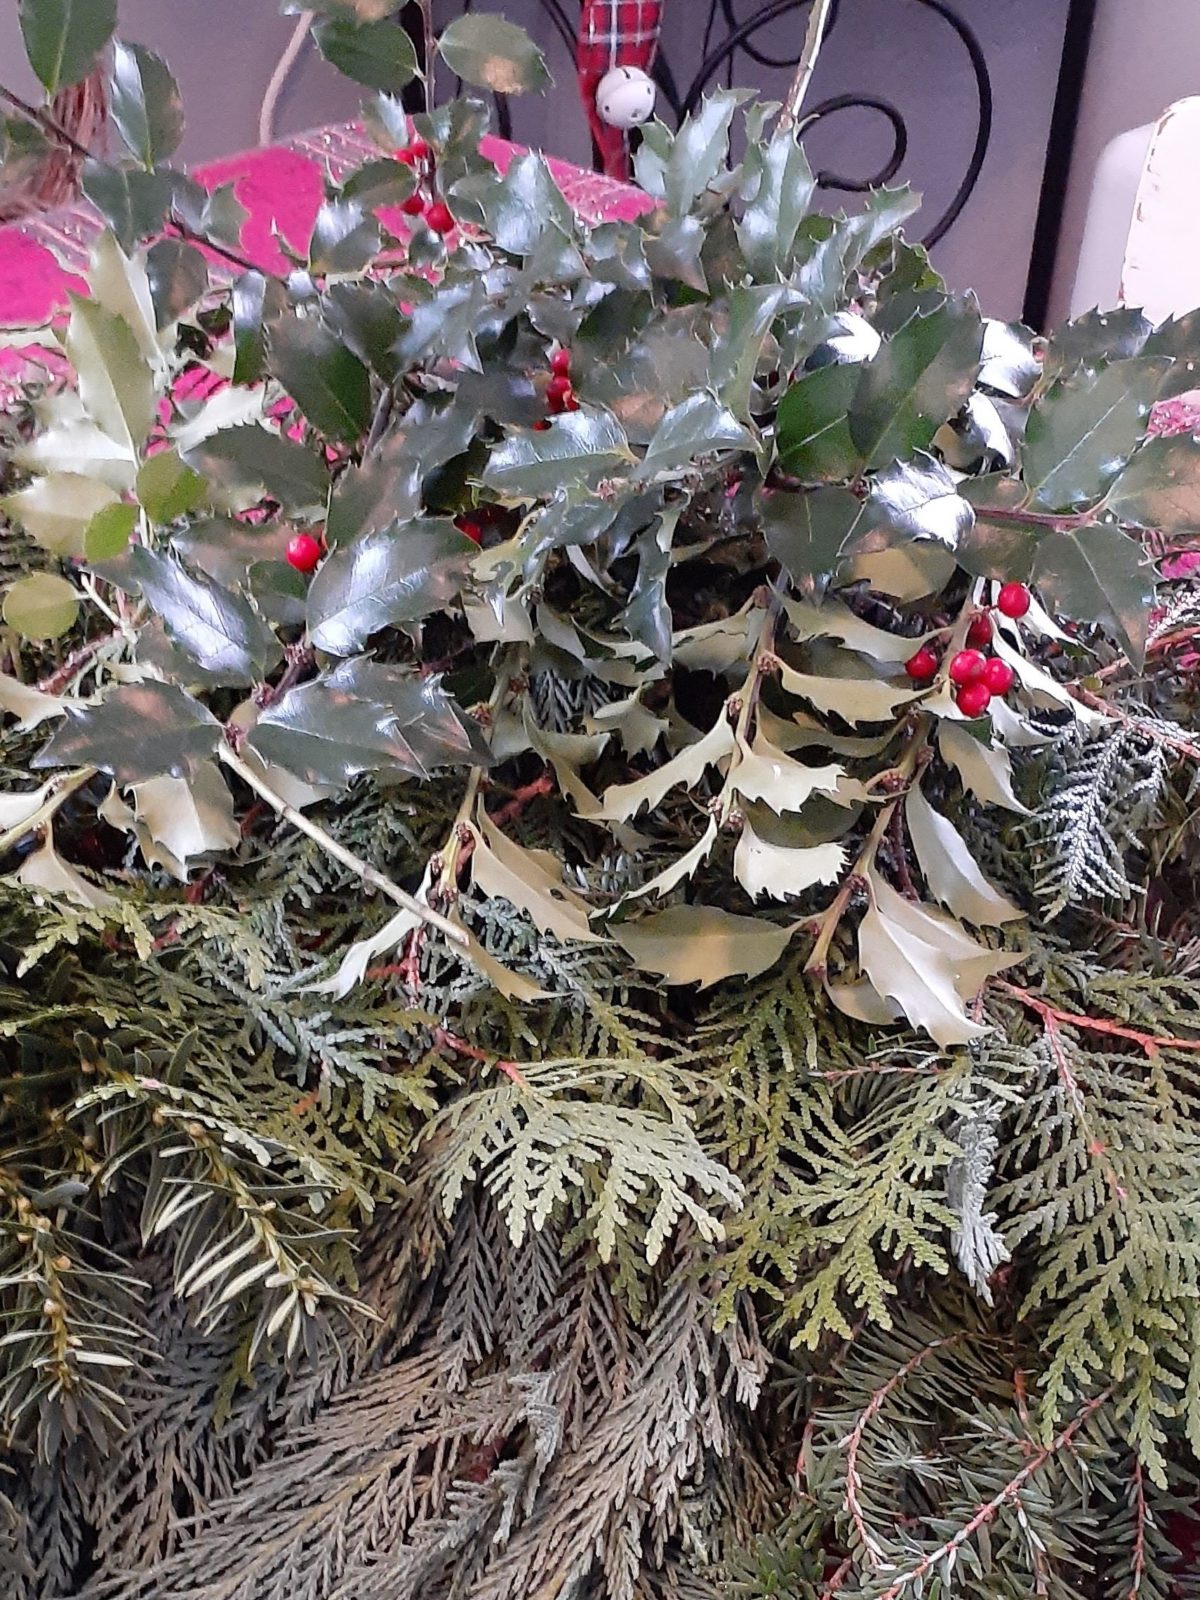
Walk through your yard, neighborhood, or local hiking trail to clip evergreen, holly and any favorite foliage clippings or purchase some from your local farm stand or florist.

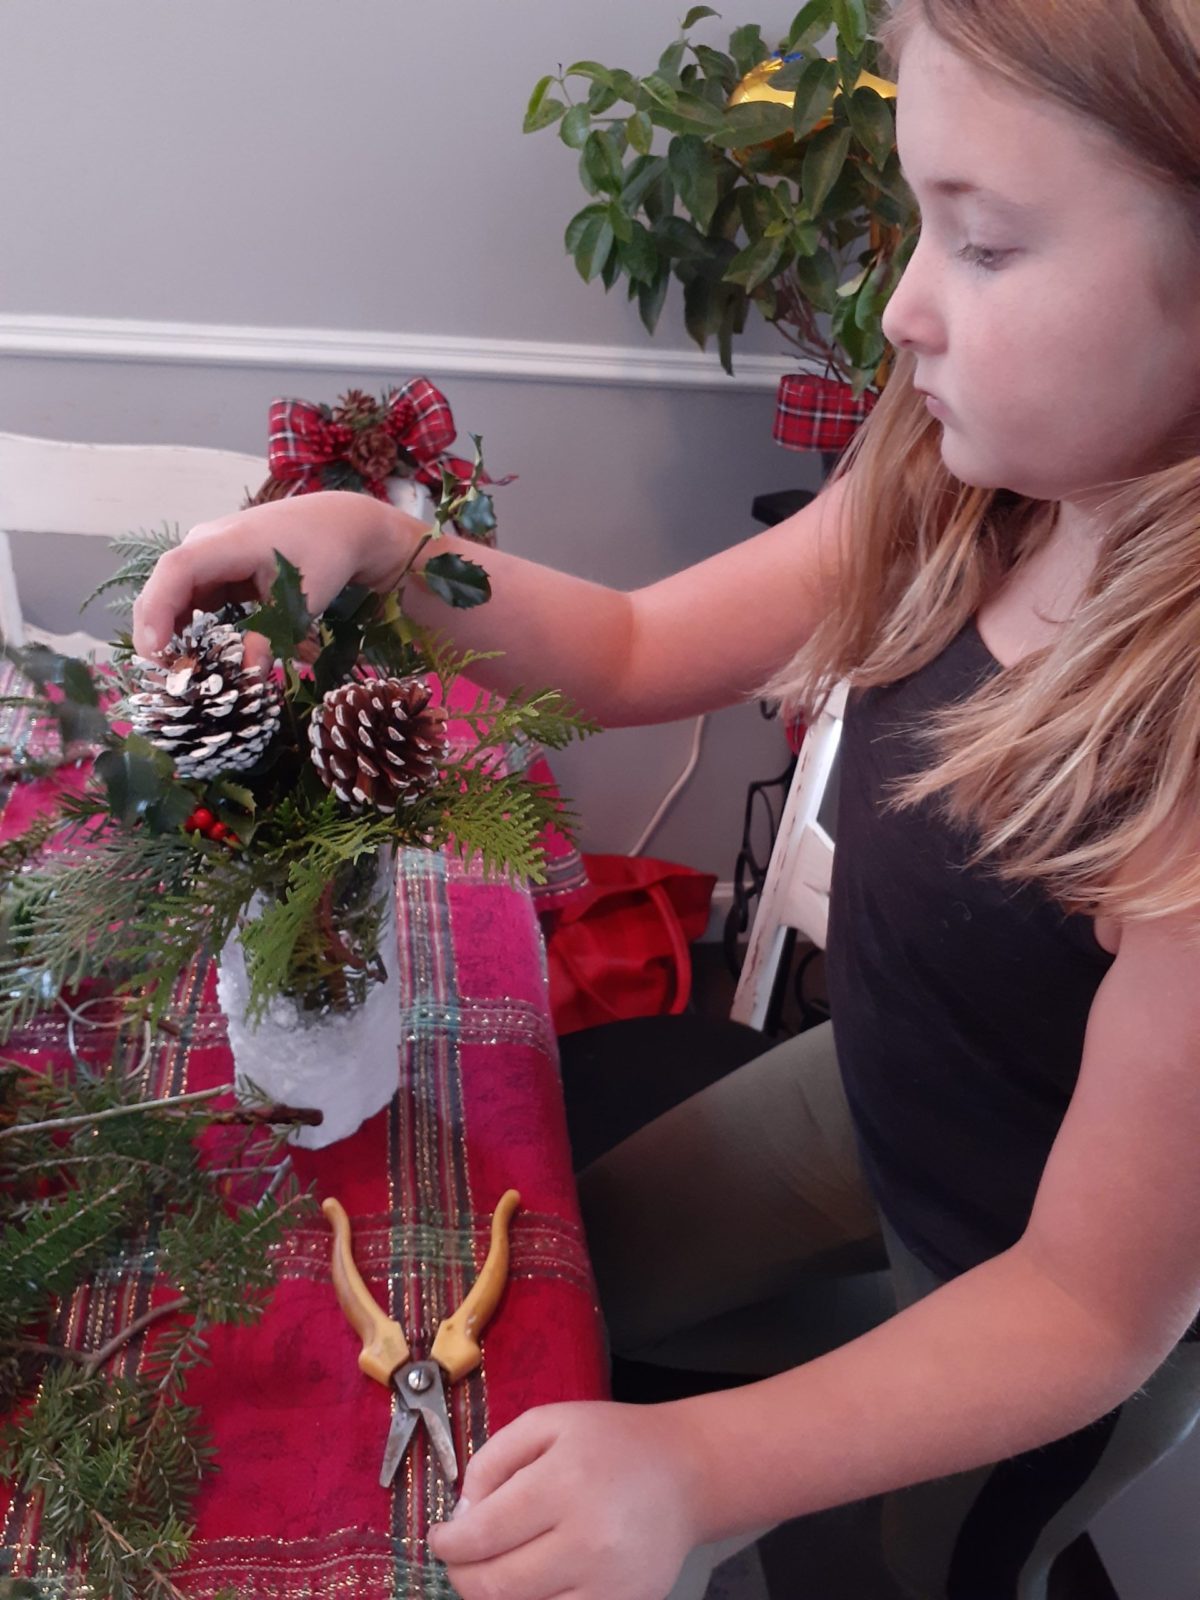
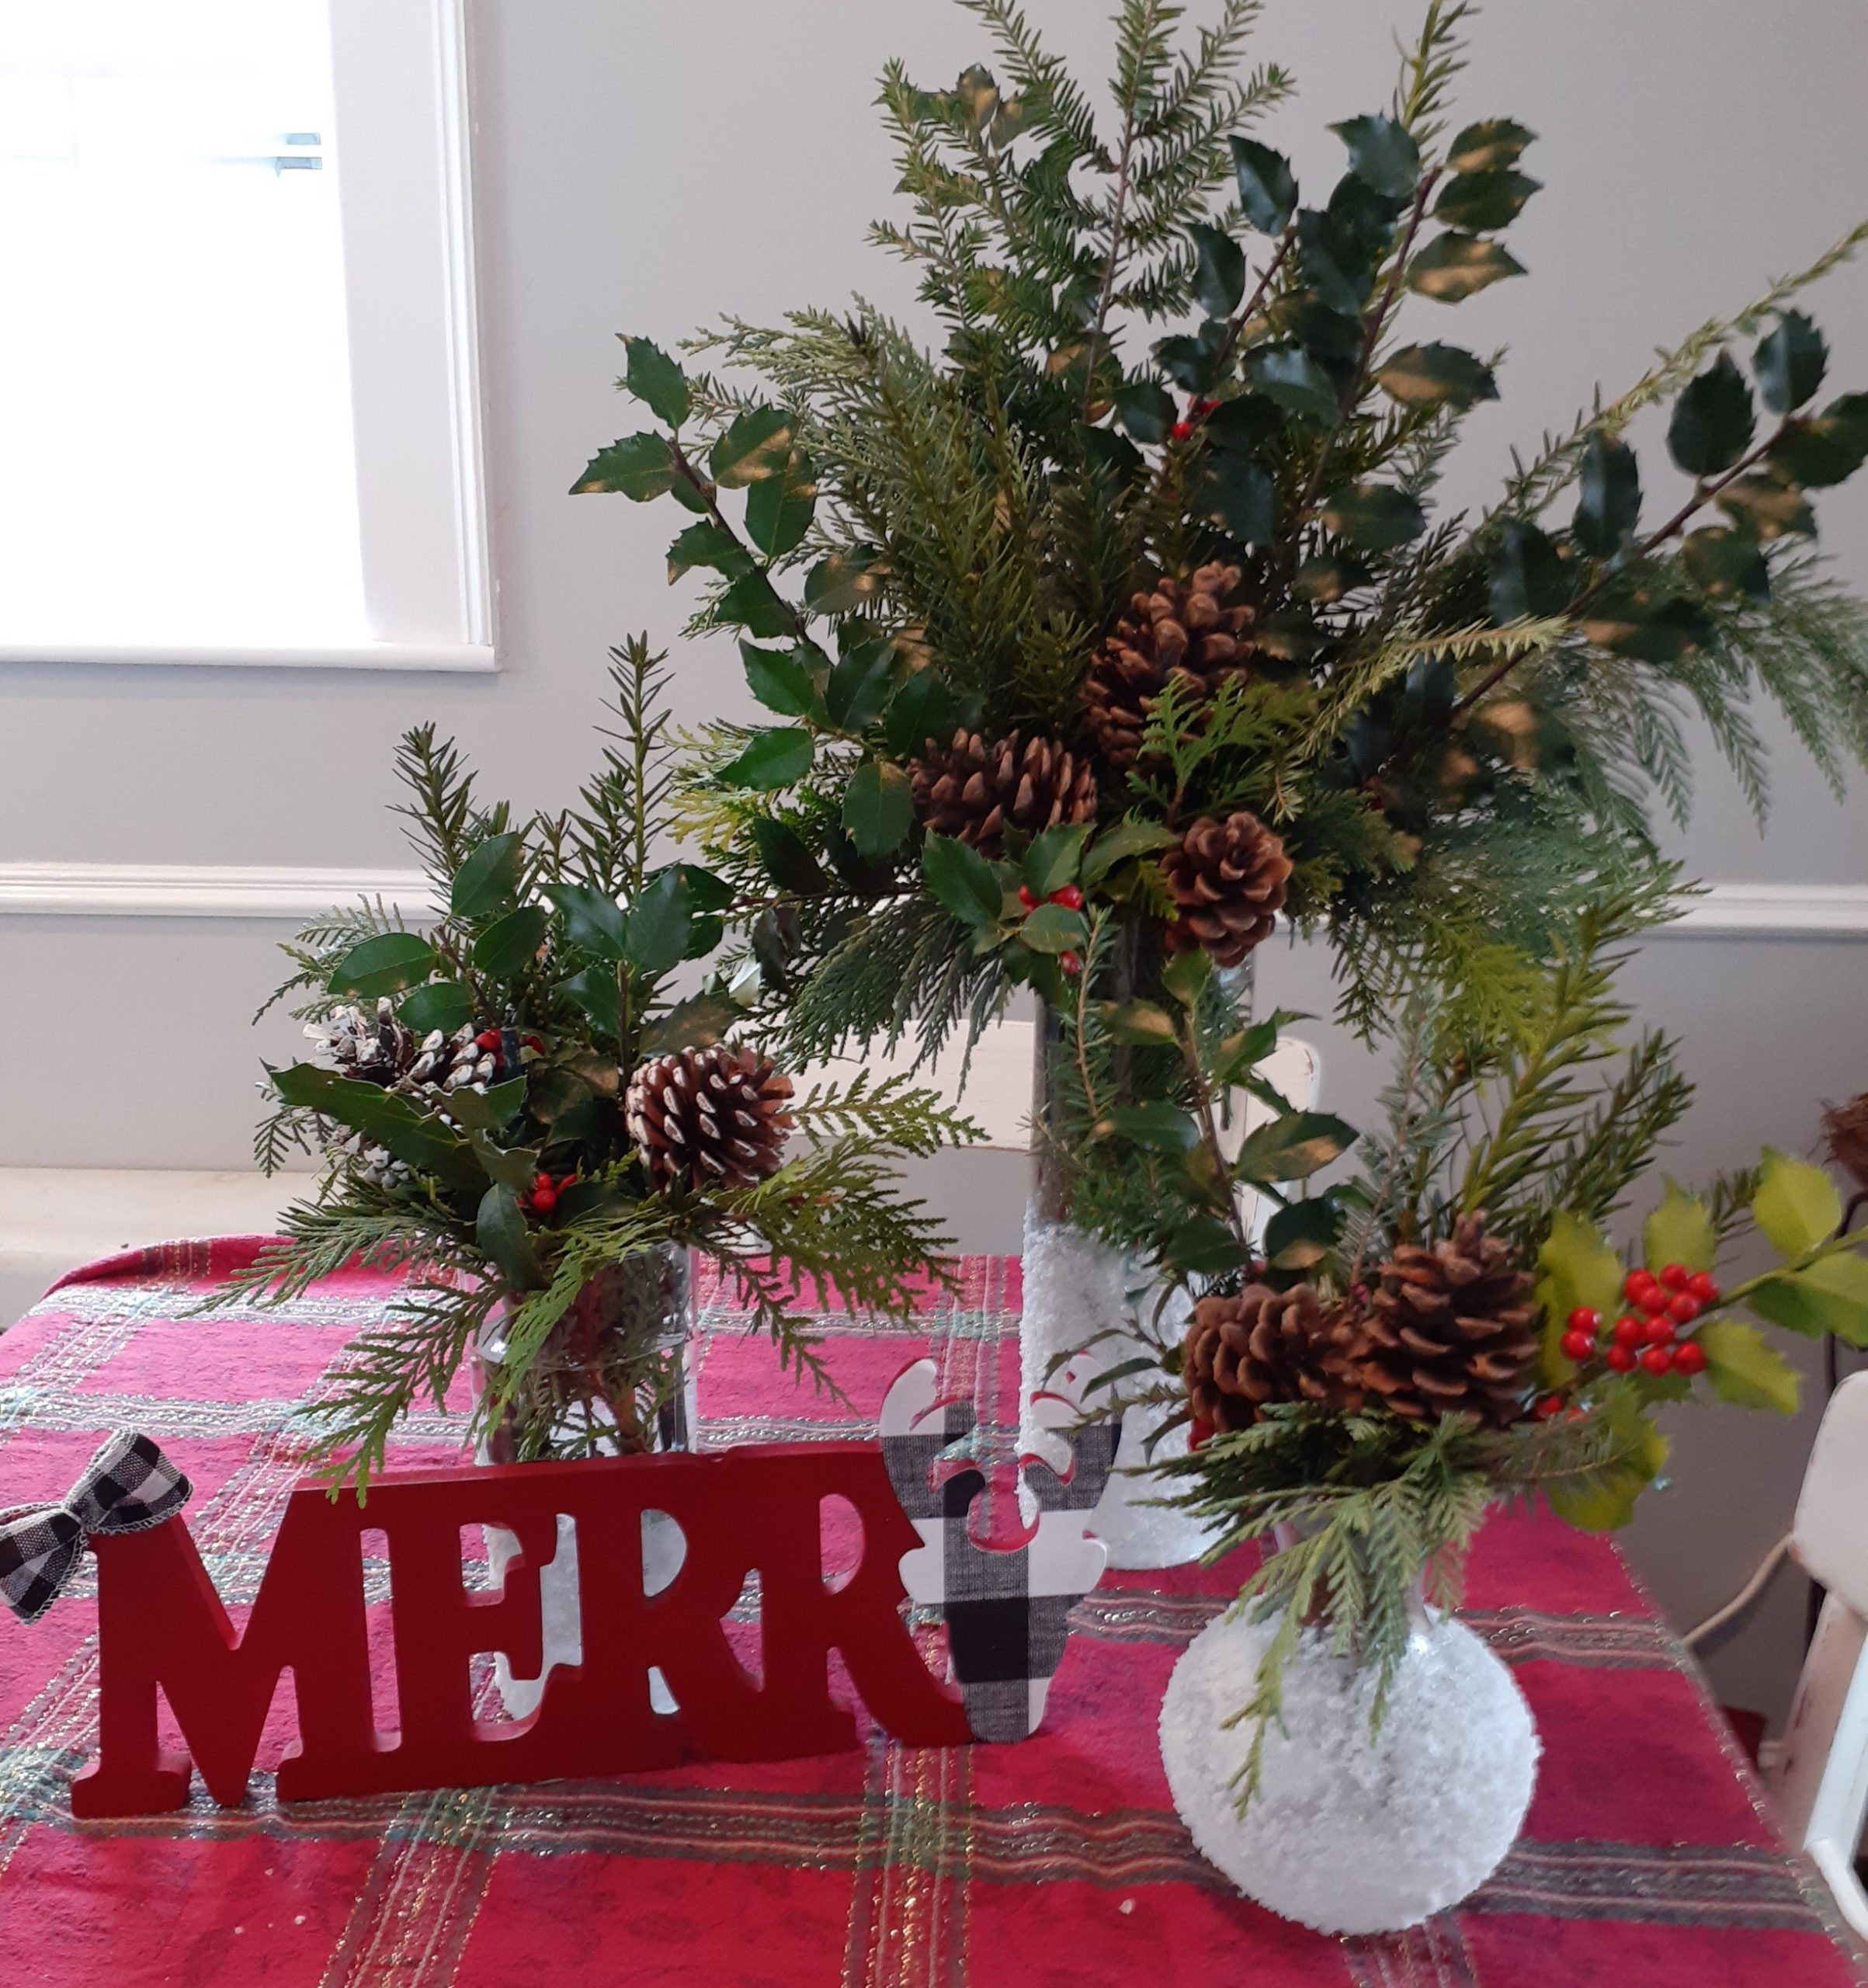
Fill the vase with water and arrange your fresh evergreen clippings. After collecting your winter greens, start with the largest stem and trim to desired height. Cut stems at an angle to allow for maximum water absorption. Remove foliage from the bottom of the stem that sits in water.
With the first few stems, build a “nest” by placing the stems in a crisscross pattern as this will allow support for the rest of the stems. Continue to add greens to desired fullness.

Fun Family Craft…It’s in the Cards!
There really is nothing better than going to the mailbox and finding real mail! You know the kind of mail that was hand addressed to you in a real-life envelope and wasn’t mass produced and sent as junk.

At the holidays we get lots of thrills with an influx of holiday cards, but it seems that they too can seem impersonal with labels, photo cards, and minimal messages. So here is an idea on how you can not only give that thrill to your friends and family to receive “real” mail, but also have a personal touch that involves your whole family!
Artist, Jennessa Durrani @justjennessa takes us through reinventing your holiday card tradition with supplies you likely already have at home, with minimal mess, but high impact. Better yet, this same method can be used for any holiday or for “just because!”
Supplies:

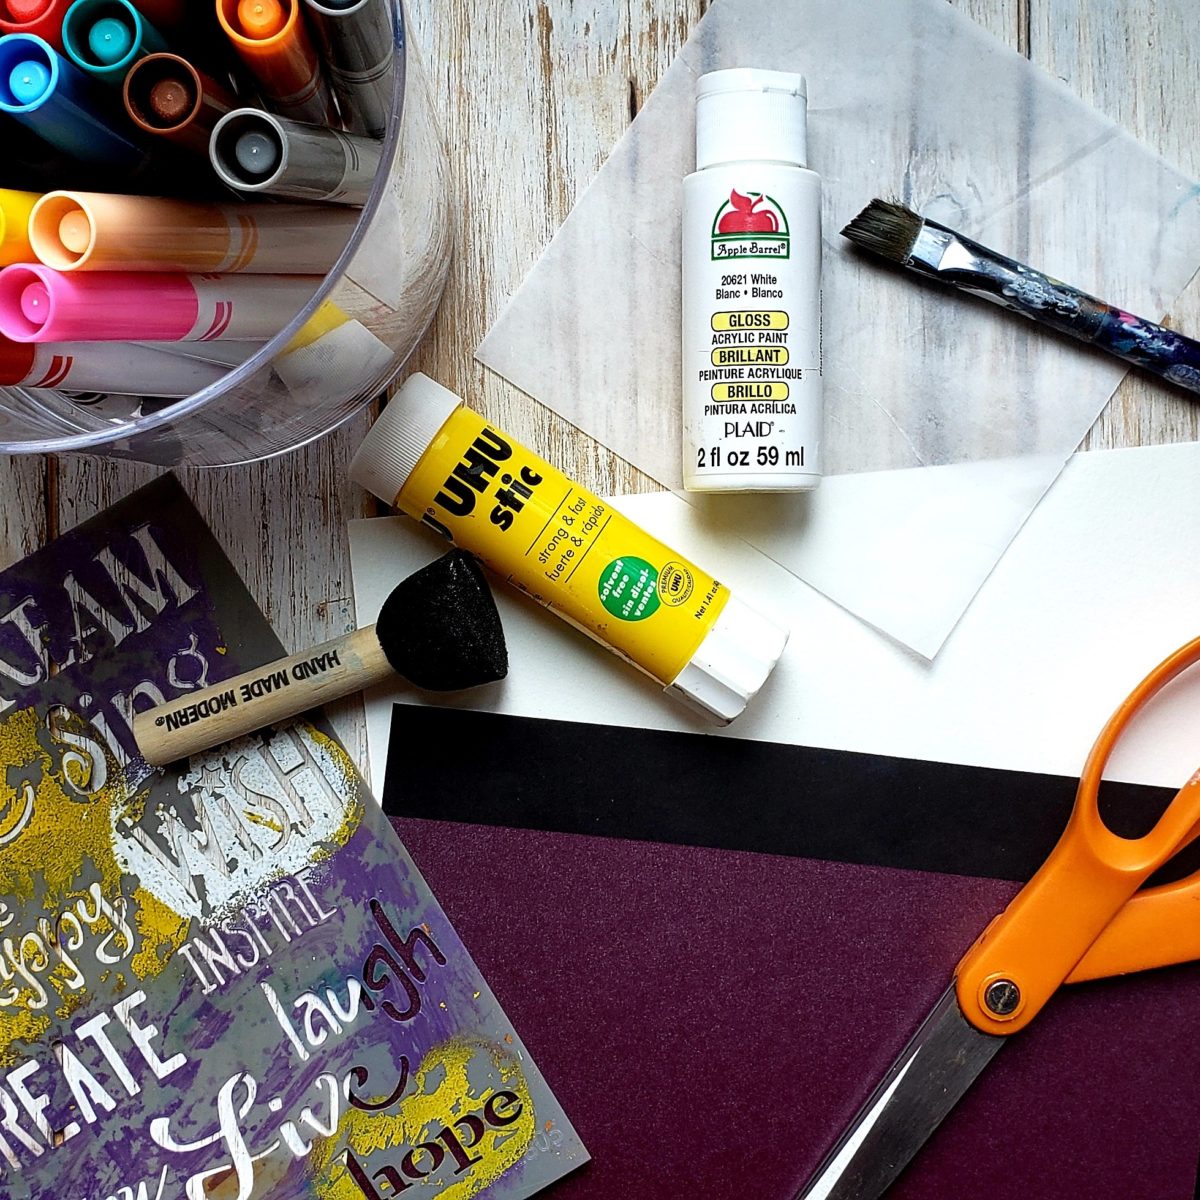
To create the samples shown here:
- Watercolor paper cut down to 5×7 or 4×6 depending on your envelope size. While you could use construction paper, watercolor paper will give you a more desired result
- Solid color scrapbook paper or construction paper
- Crayola broad tip markers
- Cup for water and paint brush
- Old paint brush or toothbrush
- White paint and a dish or waxed paper to use as a palette
- Black Sharpie
- White gel pen
- Scissors
- Stencil and stencil brush (optional)
Instructions:
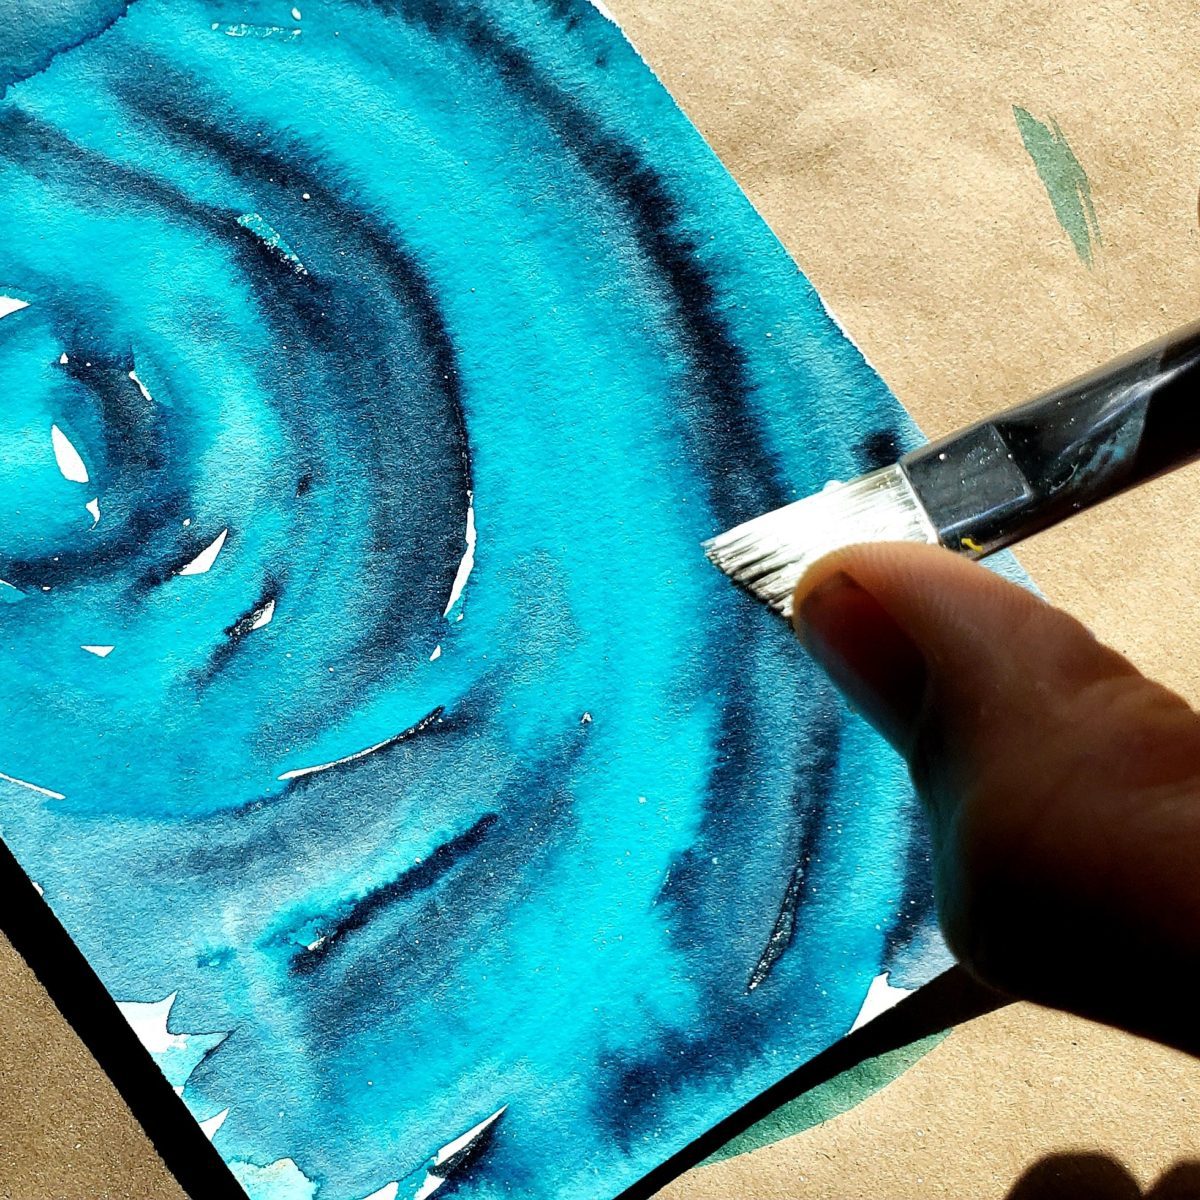
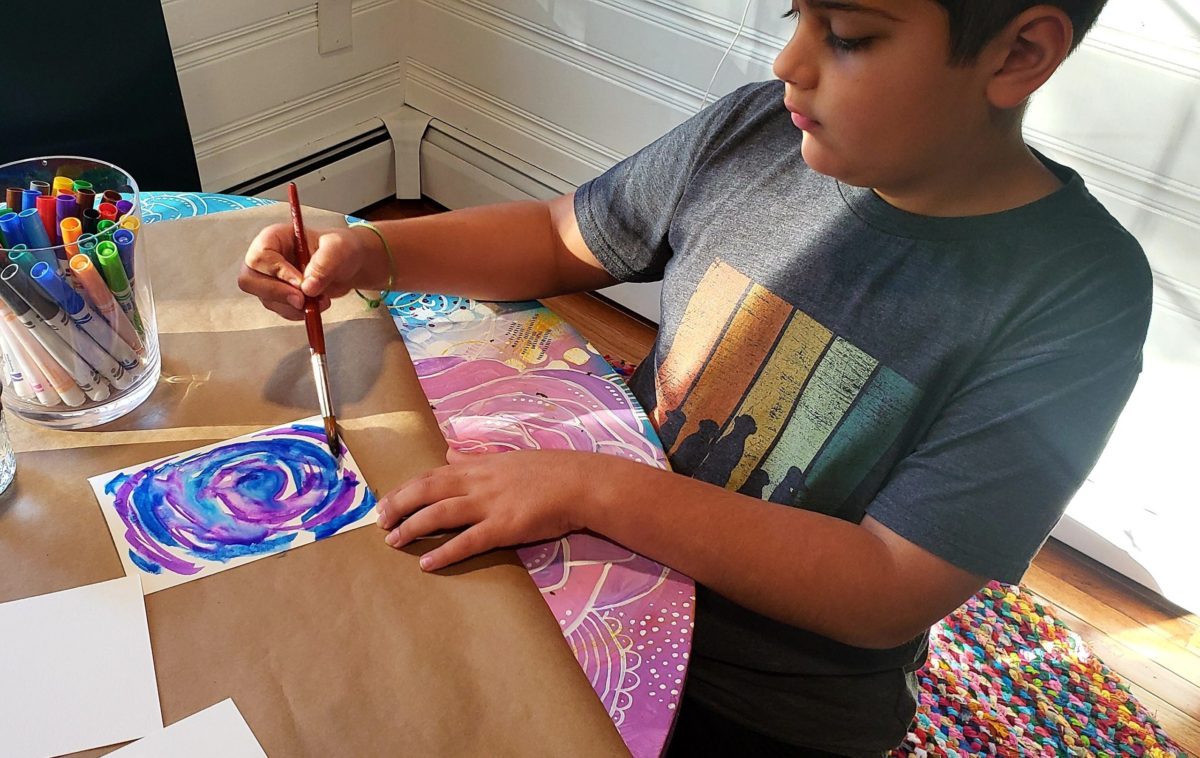
Step 1: Create Your Watercolors
Remember growing up when we had the paint books where the paint was already on the pages, and you just added water?
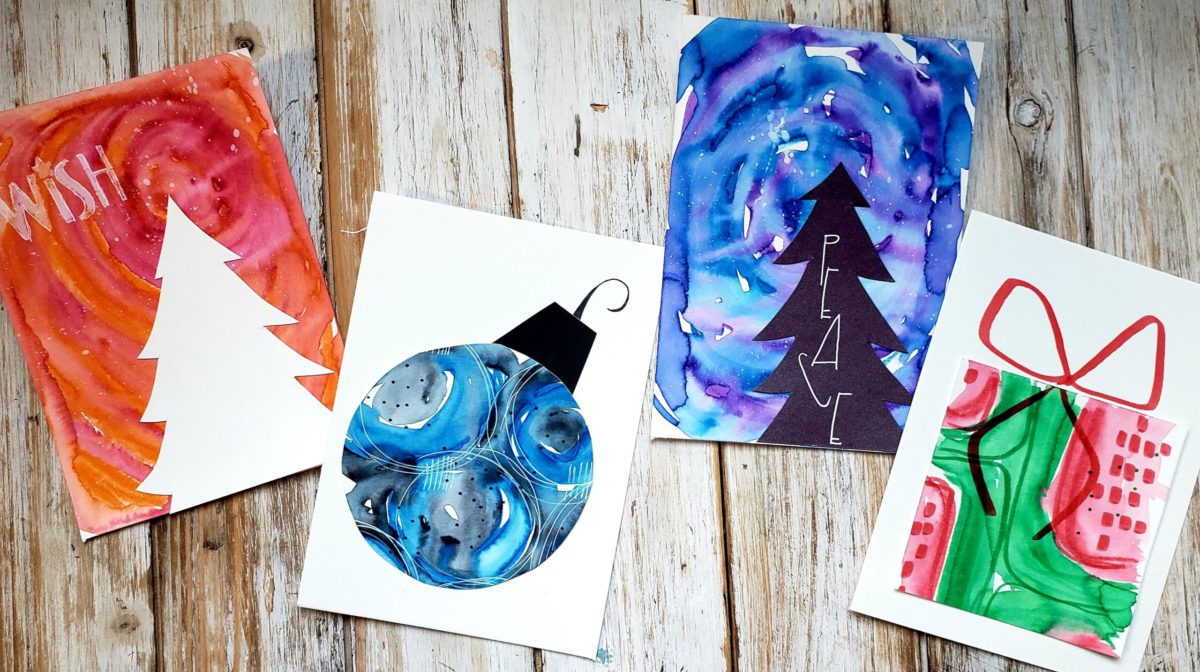
First, decide what type of card you want to create. One that has a watercolor background and then you add a silhouette to it, or a white background and you will add a watercolor object to it. See the samples above for the two options. You of course could do some of each! The process is the same.
Take the markers and create a pattern using two colors and leaving some white space between them. You can see from the samples above; this is very loose and “sketchy.” No perfectionism needed! You could have your child make the patterns, or you can create the patterns and then they add the water with brush strokes following the pattern. You can add water to one color at a time and fill the space between the markers’ strokes letting the colors merge. Rinse your brush between colors. Let all your cards/backgrounds dry completely.
Depending on how many cards you plan to make, you could do your patterns on the full sheets of watercolor paper and then cut them down to size after they have dried.
Step 2: Add Embellishments
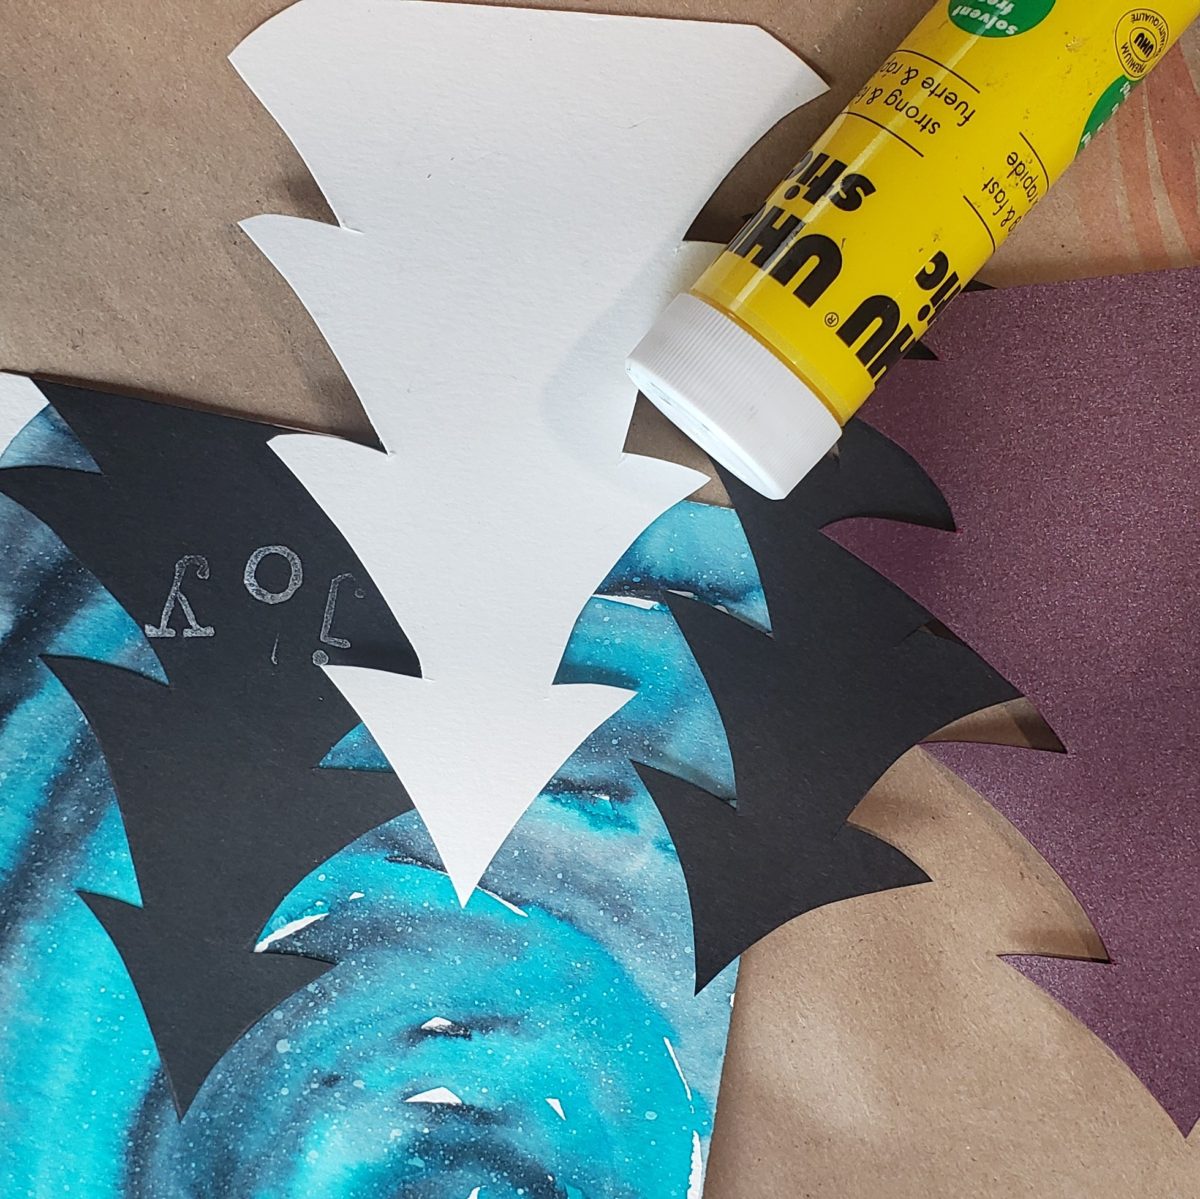
For the starry night samples, once your cards are dry, you can mix white paint with some water. Dip your paint brush or toothbrush into the paint and then with your thumb rub against the edge of the paintbrush “splattering” your card with the white paint creating droplets of white against the watercolor.
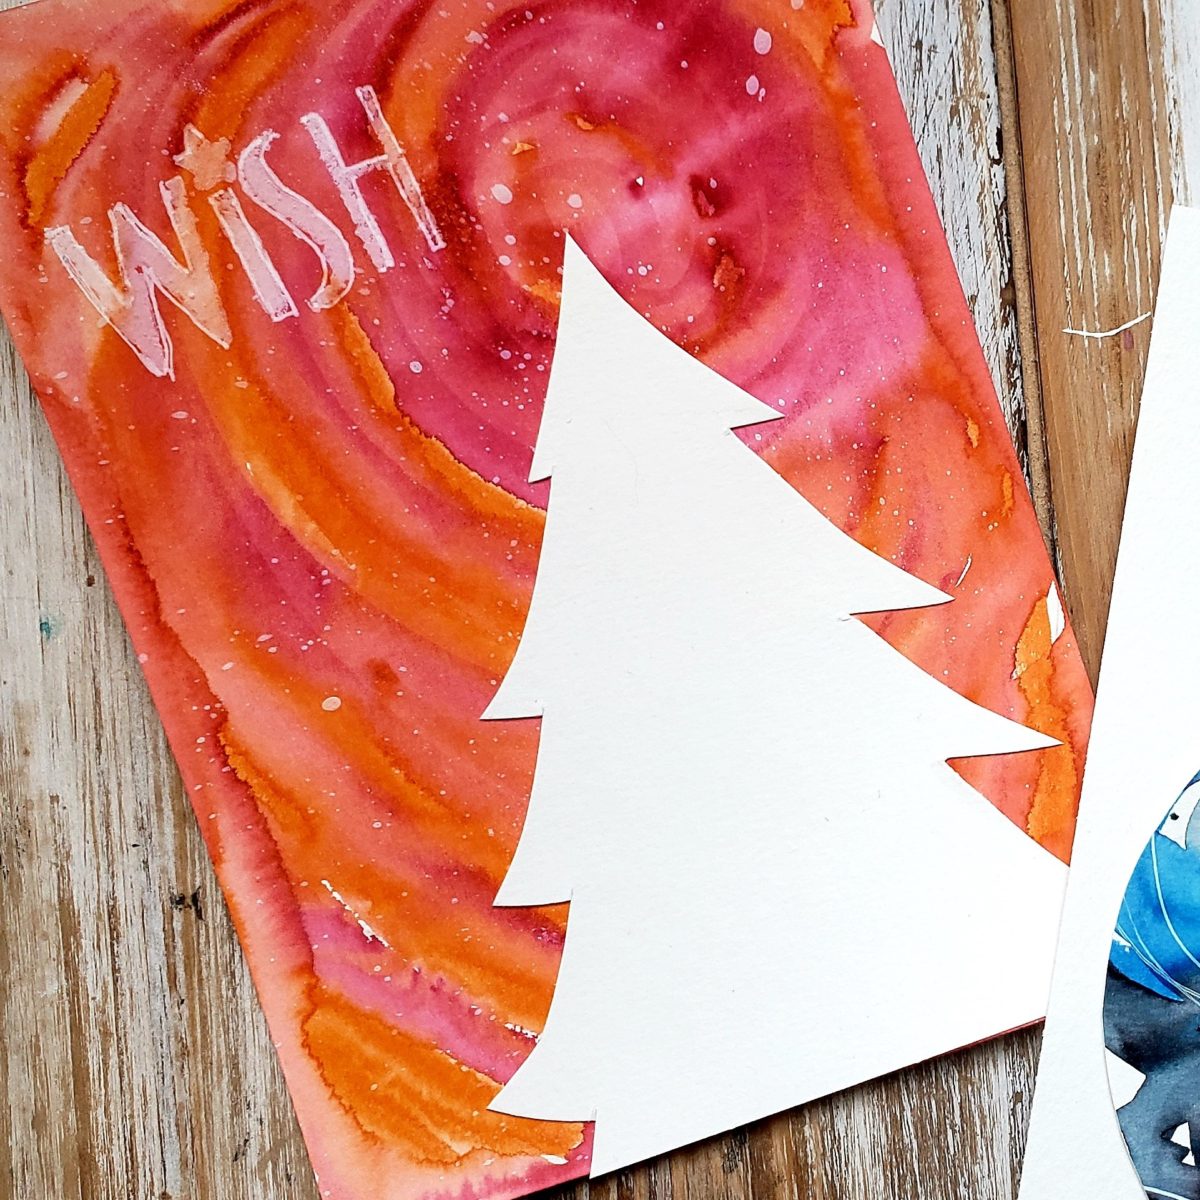
Once the droplets are dry, you can cut out silhouettes of trees to glue on top in either a color, black, or white, depending on the color background you created.
These were created without a template, because #perfectisboring, but you can always find something to trace online if that is more comfortable for you!
Once your silhouettes are in place, you can add a message, with stamps, stencils, stickers, or writing.

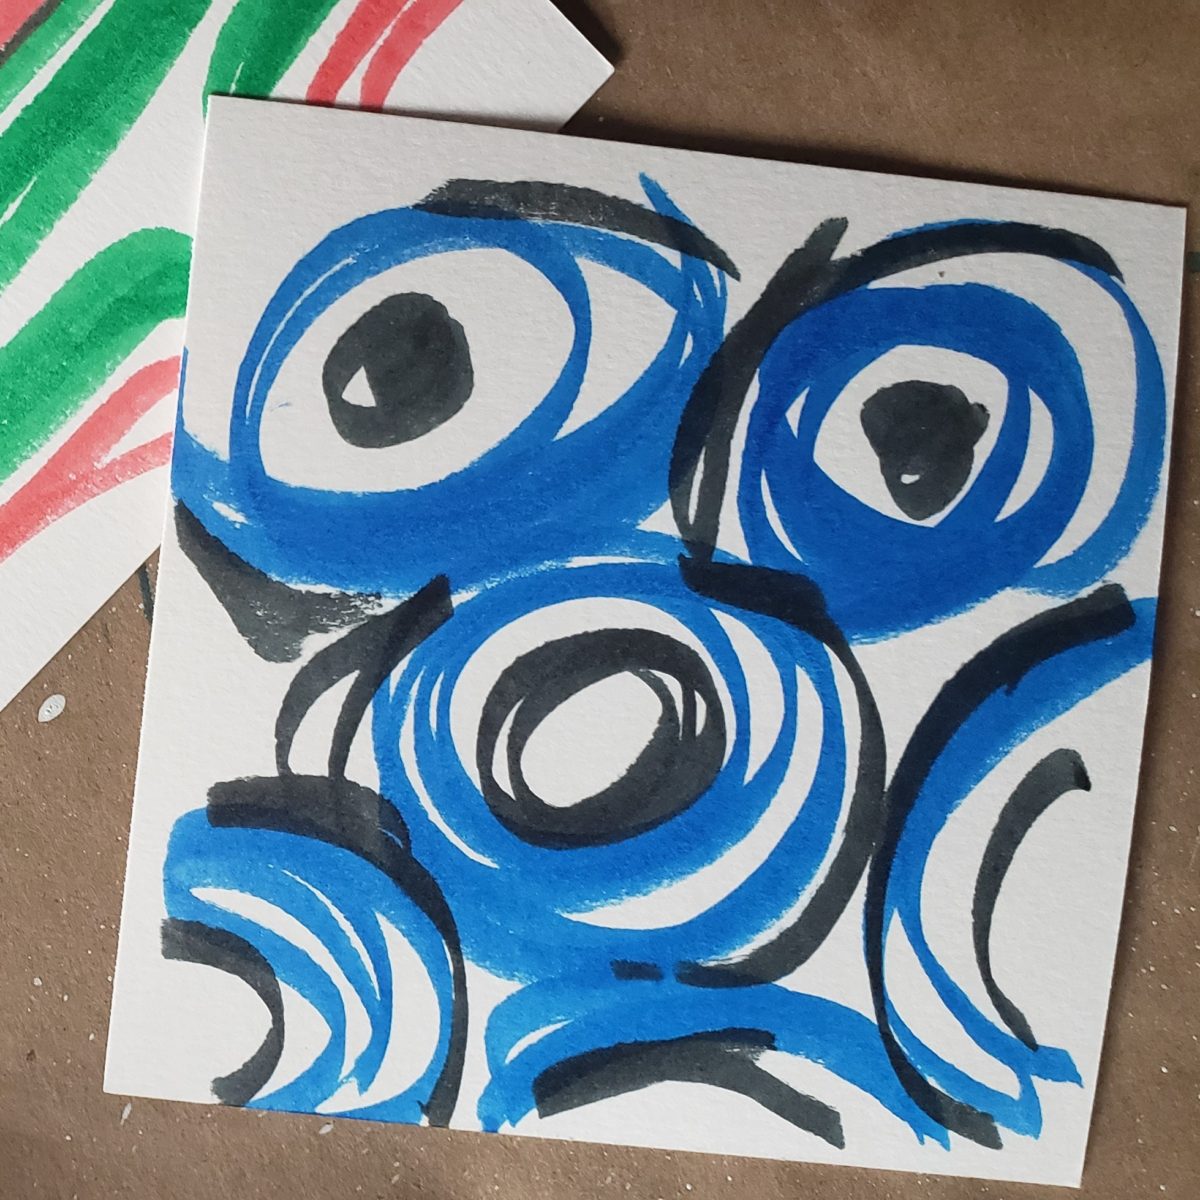
For the cards where you want to create an ornament or a present on a white card, you do the same watercolor treatment and let it dry. Once dry you can use your markers and the white pen, if you have one, to add lines, dashes, and marks. Again, this is not the time for perfectionism, just put them where you want and create one-of-a-kind patterns!
Then you can cut squares to create presents, and circles to create ornaments and glue to your blank watercolor cards. You can then use your markers to create a bow for the presents, and a piece of the dark paper to add a top to your ornament and then a pen to add the hook. You could also use the same methods to add messages on these cards like joy, wish, shine, love, merry, peace, etc.

The options are endless as you look at this method of creating patterns and backgrounds. You could do hearts for Valentine’s Day, shamrocks for St. Patrick’s Day, eggs for Easter, etc. And the trees and presents can be used for birthdays and “any occasion” cards as well.
Here is the key.
- The messier they are, with the most personality included, the more remarkable they will be and the happier your kids will be making them, and your friends and family will be receiving them!
- You could add a family photo on the back if they are flat, or on the inside if you decide to make them folded. You can purchase adhesive photo corners at your local craft store to hold them into place.
- Want to dress up the envelopes? You could do the same splatter technique on the outside of the envelope or use the same marks, dots, and dashes you used to dress up your patterns.
Try all of our experts’ winter holiday crafts and recipes and make your spirits merry and bright this holiday season!