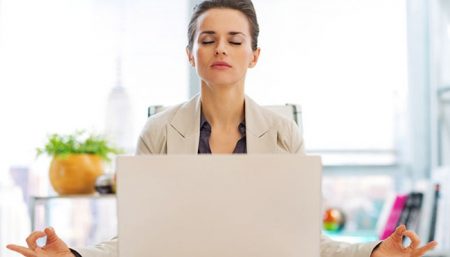
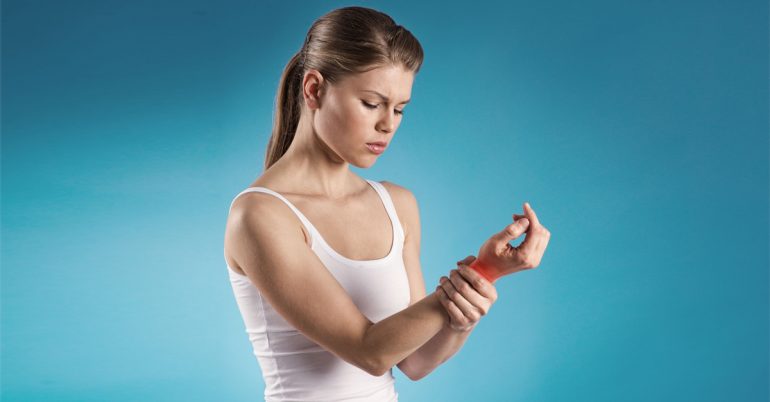
Carpal tunnel syndrome is a condition in which pressure on a nerve that leads from your spinal cord to your hands causes numbness pain or tingling in your hands or fingers. The carpal tunnel is a narrow passage formed by ligaments in your wrist through which nerves and tendons pass. When the muscles and ligaments of the carpal tunnel become swollen or inflamed, they compress the median nerve which leads to your thumb and first two fingers. This pressure causes pain or numbness. In some cases both wrists are affected.
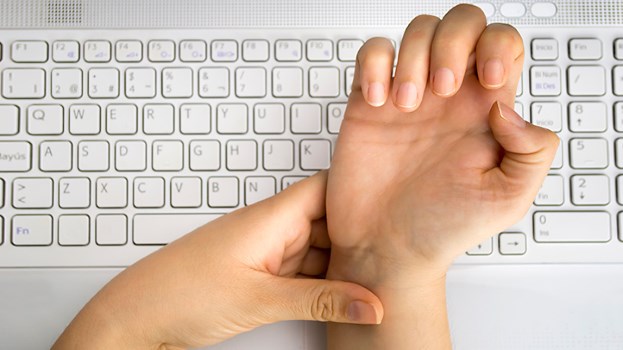
Carpal tunnel syndrome is more common in women than men, and is often found in workers whose tasks require repeating the same motion in the fingers and hand for long periods of time.
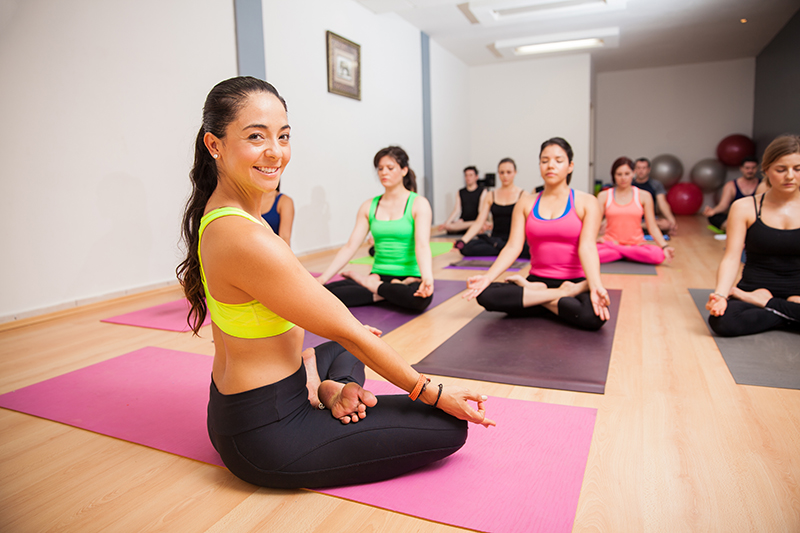
A study at the University of Pennsylvania Medical School. found that after eight weeks of performing yoga exercises, the group had significantly less pain and greater hand strength, whereas the control group (non-yogic) experienced no significant reduction in pain or increase in hand strength.
- Dandasana: sit on chair, trunk upright, press hands into chair, press shoulder blades into back, move shoulders back and down.
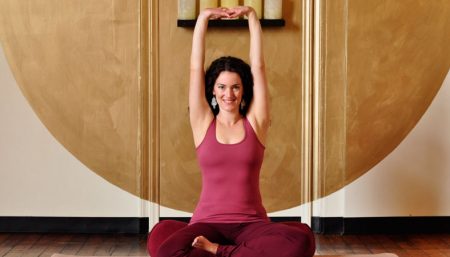
- Anjali Mudra or Prayer position: press palms and fingers together, stretch and bend fingers.
- Urdhva Hastasana: Stand with your feet together and arms at your sides. Feel the soles of your feet softening into the floor and the firmness of the floor supporting your weight evenly across each foot. Allow the breath to move freely along the full length of your torso, without bloating the belly. Surrender your shoulders and begin your inhalation, feeling your breath across your back as you raise your arms. You should sense lightness and length in your arms. Keep arms straight and shoulders down. Hold the position for several breaths.
- Parvatasana : Same as above, clasp fingers, turn palms upward.
- Chair twist: sit sideways in chair with right side against back of chair. Place hands on back of chair, twist to the right using hands for additional support. Repeat on other side.
- Tadasana: Stand with the big toes touching. Lift up all your toes and let them fan out, then drop them down creating a wide solid base. You can separate your heels slightly if your ankles are knocking together uncomfortably. Bring your weight evenly onto all four corners of both feet. Let the feet and the calves root down into the floor. Engage the quadriceps and draw them upward, causing your knee caps to rise. Rotate both thighs inward, creating a widening of the sit bones, and tuck your tailbone in between the sit bones. Tone the belly, drawing it in slightly. Widen the collar bones and make sure the shoulders are parallel to the pelvis. The neck is long, the crown of the head rises toward the ceiling, and the shoulder blades slide down the back. It may seem like you are just standing there, but bringing the body into alignment is hard work.
- Urdhva Mukha Svanasana : involves pushing with your arms into the floor, straightening them, and focusing more on an extension of your spine than strictly a deeper coiling backbend like Bhujangasana. Lie prone on the floor. Stretch your legs back, with the tops of your feet on the floor. Bend your elbows and spread your palms on the floor beside your waist so that your forearms are relatively perpendicular to the floor. Inhale and press your inner hands firmly into the floor and slightly back, as if you were trying to push yourself forward along the floor. Then straighten your arms and simultaneously lift your torso up and your legs a few inches off the floor on an inhalation. Keep the thighs firm and slightly turned inward, the arms firm and turned out so the elbow creases face forward. Press the tailbone toward the pubis and lift the pubis toward the navel. Narrow the hip points. Firm but don’t harden the buttocks. Firm the shoulder blades against the back and puff the side ribs forward. Lift through the top of the sternum but avoid pushing the front ribs forward, which only hardens the lower back. Look straight ahead or tip the head back slightly, but take care not to compress the back of the neck and harden the throat.
Urdhva Mukha Svanasana is one of the positions in the traditional Sun Salutation sequence. You can also practice this pose individually, holding it anywhere from 15 to 30 seconds, breathing easily. Release back to the floor or lift into Adho Mukha Svanasana with an exhalation. - Modified Virabhadasana: Stand in tadasana, raise arms to Tee position, urn palms up, then rotate arms in small circles, first forward then back. Lift arms straight overhead, join hands in prayer position, stretch up and look up at hands.
- Hands in prayer behind back: While standing in Tadasana, join palms behind the back, fingers pointing down and in line. Turn hands toward the trunk and then up. Raise them as high as possible between the shoulder blades. Join heels of the hands and press little fingers into the dorsal spine. Stretch fingers up. Turn upper arms outward and press shoulders back and down.
- Savasana: Lie flat on the back. Keep arms slightly away from thighs, palms up, heels together, and toes apart. Close eyes. Breathe deeply. Concentrate on soft, slow exhalation. Relax lower jaw, tongue, and pupils of the eyes. Relax completely and exhale slowly. Remain in pose for 10 to 15 minutes.
Each posture should be held for about 30 seconds and breathe through the nose. Do not tense the throat and keep the shoulders away from the ears. Repeat each position
Source: http://www.everythingyoga.com/
Disclaimer
The Content is not intended to be a substitute for professional medical advice, diagnosis, or treatment. Always seek the advice of your physician or other qualified health provider with any questions you may have regarding a medical condition.