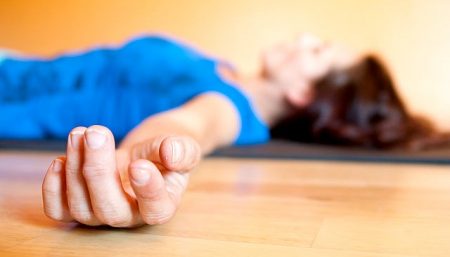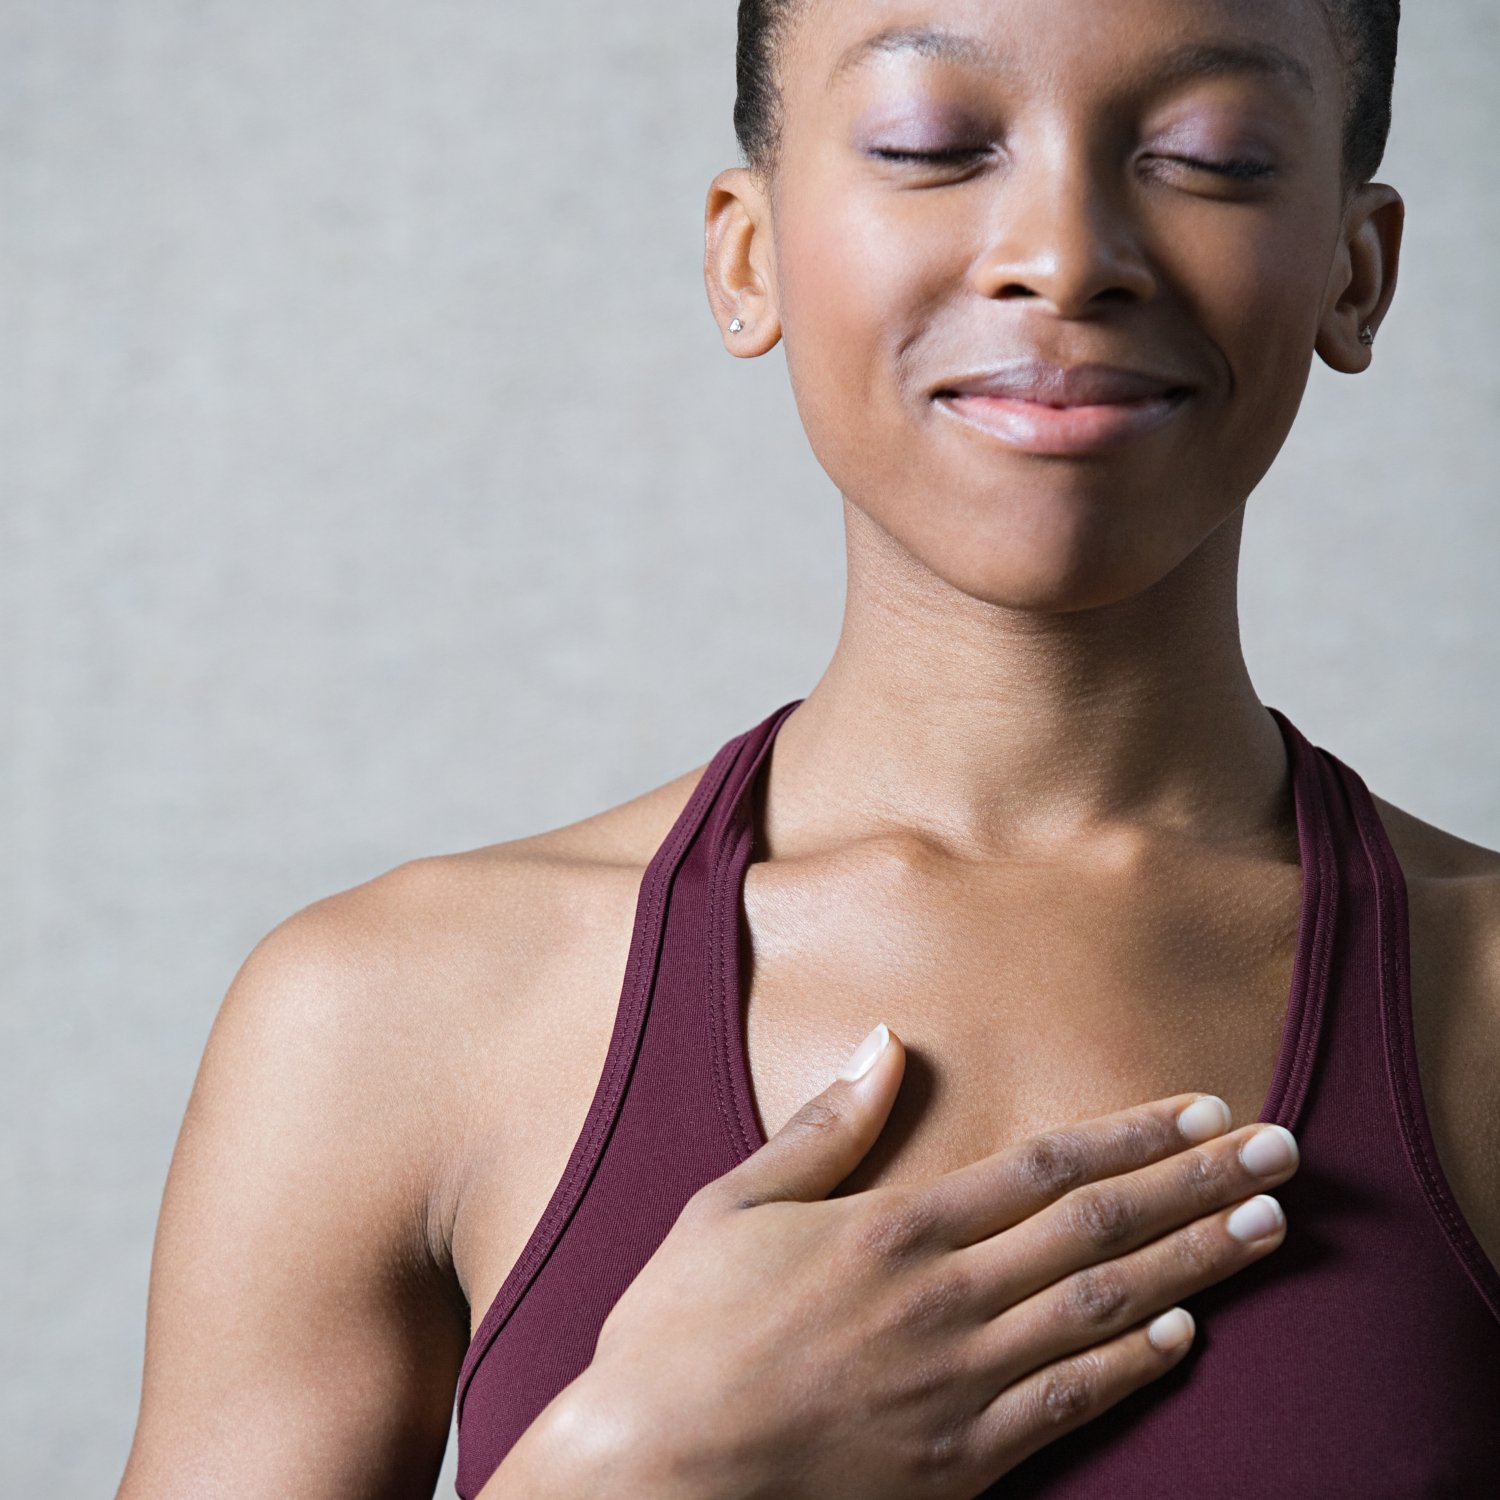
If you are trying to give up smoking and nicotine consumption there is no doubt that chest opening yoga exercises can go a long way to support your effort. Besides, opening the chest helps to tone the spine and increase the breathing capacity of the lungs. It relieves tightness in the back and shoulders. By lifting your heart, moving your shoulders back and lengthening the front and back of your body, you decrease back pain and shoulder tightness, and improve your spirits.
| The World Health Organization (WHO) notes that “about 22 percent of women in developed countries and 9 percent of women in developing countries smoke tobacco.” |
Chest openers provide extra help for women, according to Sadhana Yoga, including regulating menstrual flow, relieving cramps and preventing prolapse of the uterus.
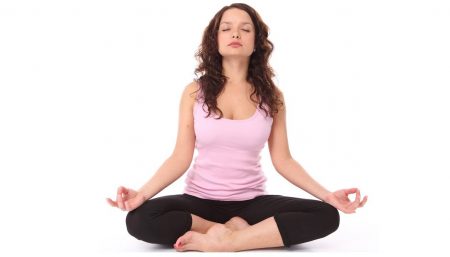
Depending on your level of fitness, you can harness yoga asanas like the cobra, locust, wheel, bow, bridge etc in order to achieve results. A pose called mountain brook can calm the anxiety often experienced when nicotine cravings arise. Supported with Pranayama and Meditation chest openers can help those trying to overcome smoking.
Note: As you perform these poses, relax your neck and shoulders, and focus on opening and relaxing your chest. Also, breathe deeply and feel the connection to your lungs. It is best to learn proper alignment of yoga poses from an experienced instructor.
- Bhujangasana (the Cobra)
- Lie straight on your stomach, keeping the palms on the floor below the shoulder blades and the elbows touching the middle part of the body. Bend the head and neck backward.
- Inhale and raise the head and chest, above the naval area, upwards. Tighten the legs allover from the waist down to the toes.
- Hold your breathe and retain in the same position for about 6 seconds.
- Exhale and simultaneously lower the head towards the floor. Relax your body and rest with your right or left cheek on the floor for about 6 seconds.Exhale and simultaneously lower the head towards the floor. Relax your body and rest with your right or left cheek on the floor for about 6 seconds.
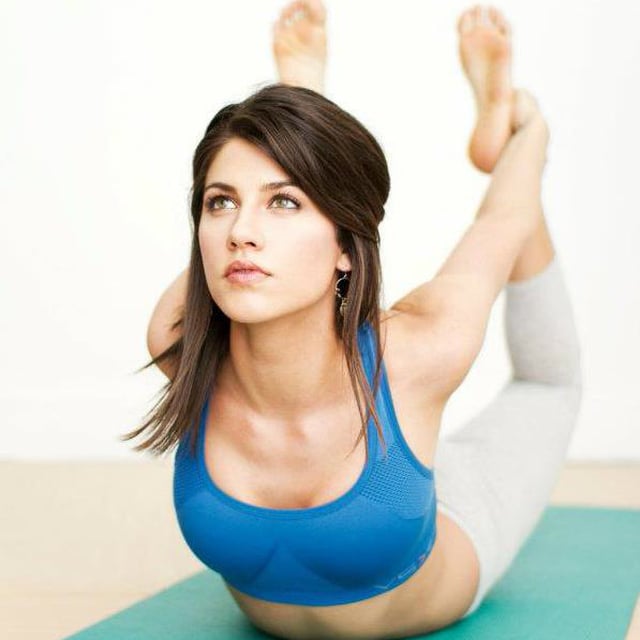
Dhanurasana (the Bow)
- Take prone lying position, legs together, hands straight by the side of the thighs, chin resting on the ground.
- Fold the legs at the knees and bring them on the thighs. Knees must remain together.
- Bring your hands backward and hold the toes of respective legs from the thumb and forefinger of the respective hands.
- Raise your legs a little up and simultaneously raise your head and chest.
- Holding the toes, pull the legs towards ears and bring the toes near the ear. Gaze in front.
- While returning to this original position, loosen your hands, take legs backward, let the thighs touch the ground, leave the toes and ultimately bring the legs and hand to the first position.
Remember:
- Do not try to bring the toes near ears forcefully if it is difficult.
- Gradually increase the practice.
-
Setu Bandha Sarvangasana (Bridge Pose)
- Come to lie on the back. Bend the knees, bringing the soles of the feet parallel on the mat close to the buttocks. Lift the hips up towards the ceiling. Interlace the fingers behind your back and straighten the arms, pressing them down into the mat.
- Roll one shoulder under and then the other. Lift the hips higher. Draw the chest toward the chin, but do not move the chin toward the chest. Make sure the feet stay parallel.
- Release the hands and bring the upper, middle, and then lower back down. Rest, allowing the knees to knock together.
- Beginners: For a restorative variation, bring a block under the sacrum. Let your weight rest on the block. When coming down, keep the hands interlaced under the weight of the body for a shoulder opener.
- Ustraasna (the Camel)
- Come up onto your knees. Take padding under your knees if they are sensitive. Draw your hands up the side of your body as you start to open your chest. Reach your hands back one at a time to grasp your heels.
- Bring your hips forward so that they are over your knees. Let your head come back, opening your throat.
- Beginners: Curl your toes under and come to the balls of your feet if you cannot reach your heels when the feet are flat, or use blocks on either side of your feet.
- Shalabhasana (the Locust)
- Lie on the stomach with the head turned to one side and the arms alongside the body with palms facing upward.
- Turn the head and place your chin on the floor. Slide your hands under your thighs, with the palms pressed gently against the top of your thighs.
- Inhale slowly and then raise the head, chest, and legs off the floor as high as possible. Tilt your head as far back as possible. Keep your feet, knees, and thighs pressed together.
- Starting at the top of the head and working your way down to the feet, bring your attention to each part of your body, consciously relaxing it before proceeding on to the next.
- Remain in the posture while holding the breath. You can support your legs by pressing the hands upward against your thighs.
- Hold the posture for as long as you can hold the inhaled breath then slowly return the legs, chest, and head to the floor while exhaling.
- Remove your hands from under your thighs and place the arms alongside your body. Turn your head to the side and rest.
- Hold this posture for as long as you can hold the inhaled breath. Repeat the shalabha-asana three times.
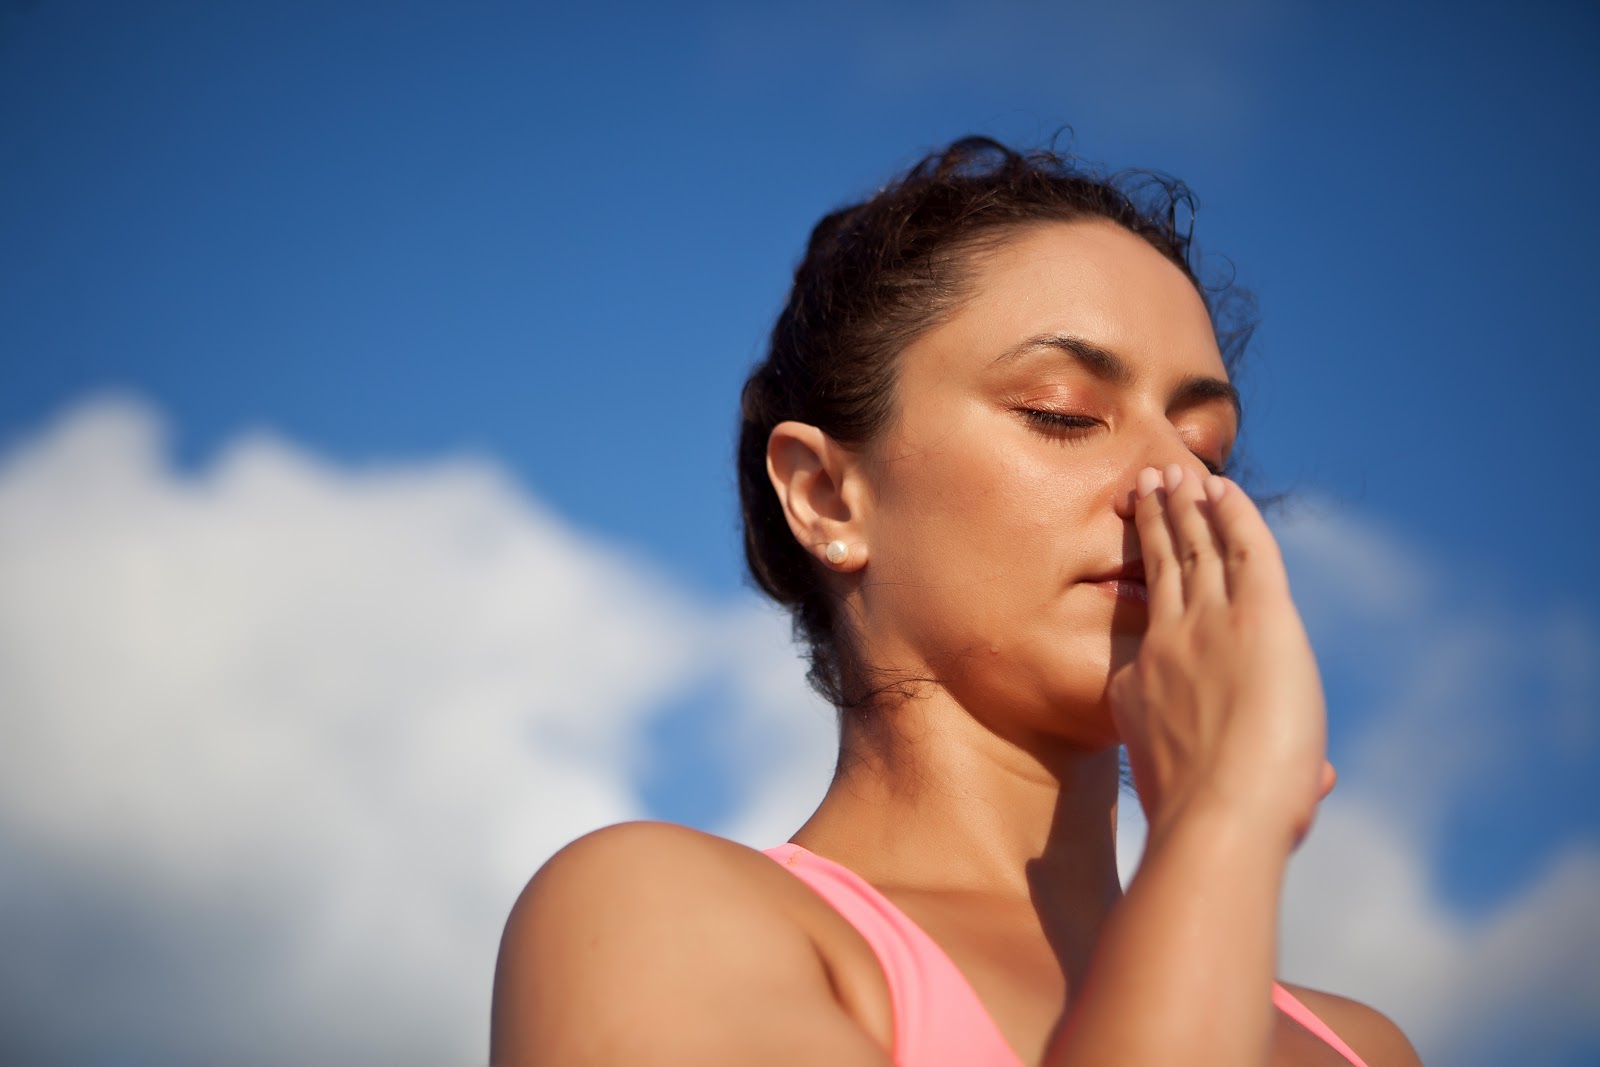
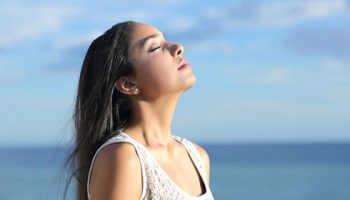
- Pranayama & Chest Opening
- When we breathe, we use primary and secondary muscles groups. The primary muscles are the abs, diaphragm and intercostal muscles (the muscles in between your ribs). The second group includes the scalenes, sternocleidomastoid, and the pectoralis minor. According to Workshop in Review: Pranayama and Chest Opening asanas helpful for deep breathing ” Utkatasana opens the front ribs and allows the diaphragm to lift. Practicing half Downward Facing Dog at the wall can bring awareness into the back side of your lungs. Trikonasana opens your sides, and Ardha Chandrasana allows you to be open and free, just the way your breath should be! We also practiced Ustrasana to open the entire front side of the body.”
- One simple exercise you can do at home is sandbag breathing. Use a five and ten pound sandbags, but a bag of rice or beans can work just as well. While lying on your back, rest the bag between the bottom ribs and navel (basically right under your chest). Try to receive the weight of the bag instead of pushing against it. Take a few minutes of deep breathing like this, then remove the bag. Continue to breathe deeply and notice the differences!
Referance:
- “Light on Yoga”; B.K.S. Iyengar
http://tampayoga.wordpress.com
Disclaimer
The Content is not intended to be a substitute for professional medical advice, diagnosis, or treatment. Always seek the advice of your physician or other qualified health provider with any questions you may have regarding a medical condition.