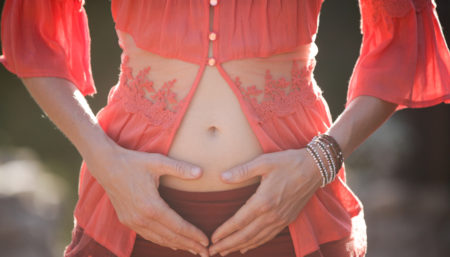
A healthy pelvic floor is crucial for every woman at all stages of her life. Aging and sedentary lifestyle tend to influence the health of pelvic area.
Bringing tone and vitality to this area will help protect you from many problems that might occur. By exercising your pelvic floor you will help to strengthen the muscles which support the urethra, bladder, uterus and rectum. In turn this could dramatically alleviate urinary incontinence, support childbirth and discourage pelvic disease and menstrual problems.
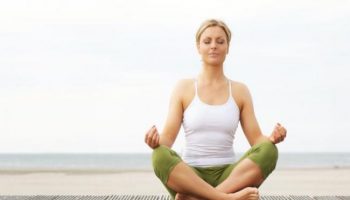
Below are few yoga asanas, to help restore hypertonic pelvic floor.
Urdhva Mukha Savasana
This involves pushing with your arms into the floor, straightening them, and focusing more on an extension of your spine than strictly a deeper coiling backbend like Bhujangasana.
- Lie prone on the floor. Stretch your legs back, with the tops of your feet on the floor.
- Bend your elbows and spread your palms on the floor beside your waist so that your forearms are relatively perpendicular to the floor.
- Inhale and press your inner hands firmly into the floor and slightly back, as if you were trying to push yourself forward along the floor. Then straighten your arms and simultaneously lift your torso up and your legs a few inches off the floor on an inhalation.
- Keep the thighs firm and slightly turned inward, the arms firm and turned out so the elbow creases face forward. Press the tailbone toward the pubis and lift the pubis toward the navel. Narrow the hip points. Firm but don’t harden the buttocks. Firm the shoulder blades against the back and puff the side ribs forward.
- Lift through the top of the sternum but avoid pushing the front ribs forward, which only hardens the lower back. Look straight ahead or tip the head back slightly, but take care not to compress the back of the neck and harden the throat.
Urdhva Mukha Svanasana is one of the positions in the traditional Sun Salutation sequence. You can also practice this pose individually, holding it anywhere from 15 to 30 seconds, breathing easily. Release back to the floor or lift into Adho Mukha Svanasana with an exhalation.
Prasarita Padotonasana
- Stand in Tadasana. Place your hands on your hips, with your thumbs on your thumbs on your back and your fingers on the front of the hips. Inhale, and spread your feet 1.2m (4ft) apart. Your feet should be parallel to each other, the toes pointing forward. Press the outer edges of your feet to the floor. Keep your back erect.
- Exhale, and lift both kneecaps. Bend forward, extending your spine, and bring your torso down toward the floor. Look up as you bend to ensure that your back is concave. Take both hands off your hips, and lower them to the floor. Place your palms flat on the floor with your fingers spread out.
- Widen your elbows, keeping your palms flat on the floor. Place the crown of your head on the floor, between your palms. Push your sternum forward and draw the abdomen in. Move the thighbones and groin back to reduce the pressure on your head. Stay in the pose for 1 minute.
Uttanasana (Standing Forward Bend)
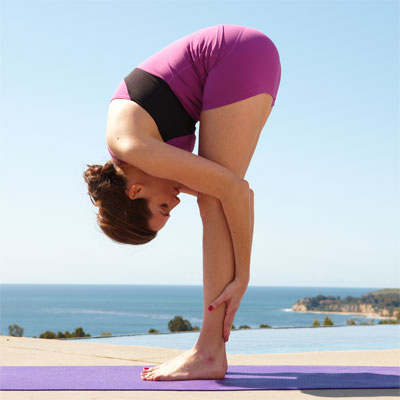
- Stand in Tadasana, hands on hips. Exhale and bend forward from the hip joints, not from the waist. As you descend draw the front torso out of the groins and open the space between the pubis and top sternum. As in all the forward bends, the emphasis is on lengthening the front torso as you move more fully into the position.
- If possible, with your knees straight, bring your palms or finger tips to the floor slightly in front of or beside your feet, or bring your palms to the backs of your ankles. If this isn’t possible, cross your forearms and hold your elbows. Press the heels firmly into the floor and lift the sitting bones toward the ceiling. Turn the top thighs slightly inward.
- With each inhalation in the pose, lift and lengthen the front torso just slightly; with each exhalation release a little more fully into the forward bend. In this way the torso oscillates almost imperceptibly with the breath. Let your head hang from the root of the neck, which is deep in the upper back, between the shoulder blades.
- Uttanasana can be used as a resting position between the standing poses. Stay in the pose for 30 seconds to 1 minute. It can also be practiced as a pose in itself.
- Don’t roll the spine to come up. Instead bring your hands back onto your hips and reaffirm the length of the front torso. Then press your tailbone down and into the pelvis and come up on an inhalation with a long front torso.
Natarajasana:
This asana tones and lengthens the leg and hip muscles. It will stimulate a full range of motion in the shoulders. The chest expands fully.
- In Tadasana, take a few moments to establish your center. Find a point to gaze at either at eye level or on the floor. Shift your weight onto one leg.
- Inhale and bend the knee of the other leg, bringing it backwards and grab hold of the ankle or foot with the hand of the same side. Take a moment to balance and then move the knees so they are in alignment with the hip joints. Hold here and breathe into the stretch from the abdominal muscles into the quadriceps.
- Inhale and extend the arm of opposite side-body directly up from the shoulder, towards the sky. Feel the energy move all the way through the fingertips. Hold here for several breaths. You may want to remain in this phase of the posture and work up to the final pose.
- To move further, simultaneously lengthen the arm and torso up and forward while the opposite leg lengthens back and up. In the final posture the thigh becomes parallel to the floor and the torso at an angle to the floor.
- As you hold the pose, breathe into the stretch on the inhalation and relax on the exhalation, creating an equal and opposite stretch forward through the arm and backward through the leg. Allow your gaze to rest slightly above the horizon.
- Slowly bring the torso back to center. Release the bent knee and stand in Tadasana.
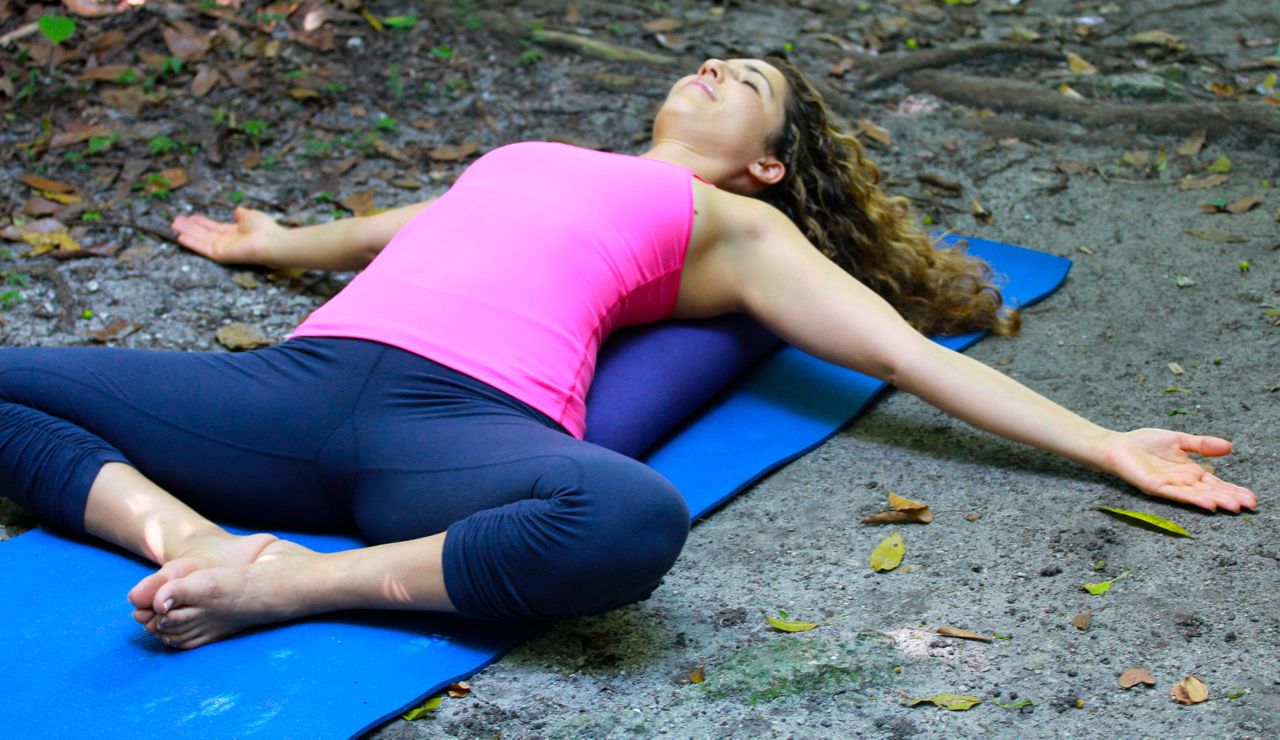
Supta Virasana
- Kneel in Virasana and place a bolster behind you, the short end touching your buttocks. Place a rolled blanket on the far end. Make sure that the inner sides of your feet touch hips. Keep your back straight. Place your fingers on the floor beside your toes.
- Press your palms on the floor, bend both elbows, and lean back toward the bolster. Place your elbows and forearms, one at a time, on the floor. Gradually lower your back onto the bolster. To avoid strain in the pelvic area or the thighs, ensure that your knees remain firmly on the floor.
- Once you lower your back onto the bolster, rest the back of your head on the rolled blanket. Keep your chest fully expanded. Press your shoulder blades down on the bolster to lift your chest . Extend your toes and ankles toward the bolster. Push your feet closer to your hips with your hands. Extend the pelvis, and press your thighs close together.
- Move your arms out to the sides, with the palms facing upward. Extend your neck, but keep your throat relaxed. Drop your eyelids down gently. Experience the relaxation of the thighs and the abdomen, and the lift of the chest. Feel the continuous stretch from the cervical spine to the tailbone. Initially, stay in the pose for 1 minute. With practice, increase the duration to 5 – 10 minutes.
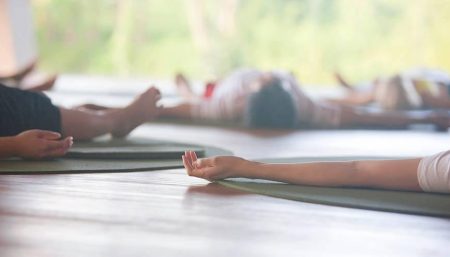
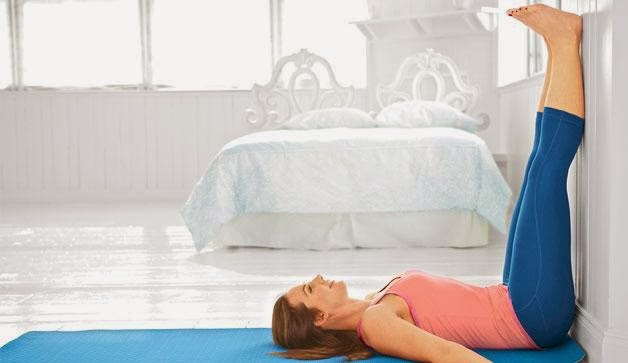
Viparita Karani (Legs up on the wall pose):
helps increase circulation and space in the pelvis.
- Lie on your side with your buttocks close to wall
- Slowly inhale and exhale, then when you are exhaling turn your body and move your legs up to the wall at the same time so that you create a 90-degree angle at your pelvis between your legs and body
- Stay in this pose for a few minutes inhaling and exhaling slowly.
Regular practice of these asanas will strengthen the pelvic floor muscle and improve blood circulation to the pelvic area. Increased blood circulation, combined with strengthened muscles, work together to improve and regain vitality.
Also, aim to practice diaphragmatic breathing lying down with sandbags on the thighs.
Disclaimer
The Content is not intended to be a substitute for professional medical advice, diagnosis, or treatment. Always seek the advice of your physician or other qualified health provider with any questions you may have regarding a medical condition.