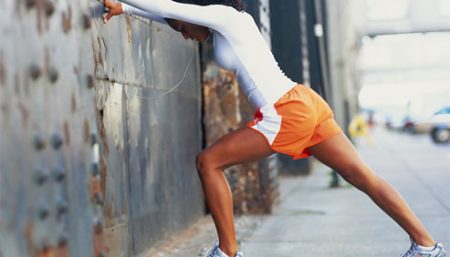
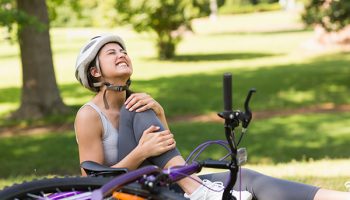
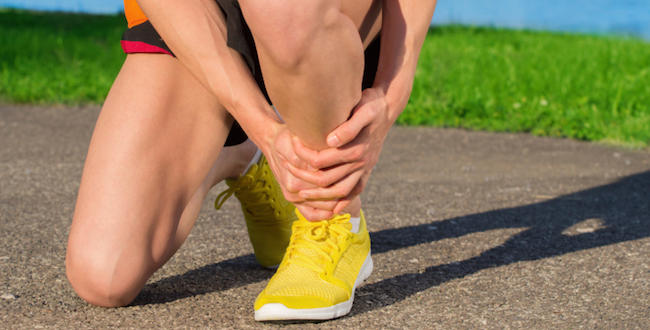
Shin bone pain, also known as shin splints, are a common occurrence and affect a number of people all over the world. It is known to be more common amongst individuals that place a significant amount of consistent stress on their legs such as athletes and people who go for regular walks or runs.
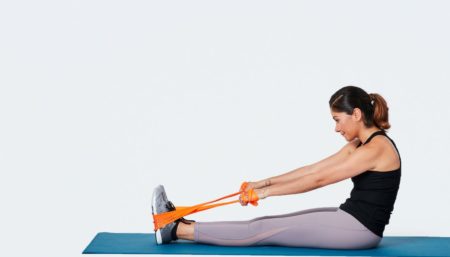
Shin splints are an imbalance in the muscles that pull the foot up and point the toe down, and exercises that help prevent shin splints are those in which these muscles are pushing and pulling against resistance.
Symptoms:
An aching, throbbing or tenderness along the inside of the shin (though it can radiate to the outside also) about halfway down, or all along the shin from the ankle to the knee. Pain when you press on the inflamed area. Pain is most severe at the start of a run, but can go away during a run once the muscles are loosened up (unlike a stress fracture of the shinbone, which hurts all the time). With tendinitis, pain resumes after the run.
Causes:
Tired or inflexible calf muscles put too much stress on tendons, which become strained and torn. Over-pronation aggravates this problem, as does running on hard surfaces, such as concrete sidewalks. Beginning runners are the most susceptible to shin splints for a variety of reasons, but the most common is that they’re using leg muscles that haven’t been stressed in the same way before.
Another common cause of shin splints among beginners is poor choice of running shoes, or running in something other than running shoes. Runners who have started running after a long layoff are also susceptible to shin splints because they often increase their mileage too quickly.
The following Yogasanas (poses) and guidelines will help people diagnosed with shin splints. However, the treatment for shin splints is not universal in all conditions, and you should consult your doctor regularly, particularly in cases of enduring shin pain, even before starting the therapy. Try to follow these tips as well.
- Apply ice packs on or around the region for 20 – 25 minutes, thrice a day.
- Consider the use of special footwear.
- Never neglect your doctor’s anti-inflammatory medication.
The presence of cramps around the shin bone could also indicate a deficiency of potassium in the body – something that can easily be treated with the increased consumption of bananas – which are a great source of the mineral. |
Yogasanas (Poses)
You need plenty of relaxation in your condition, so the best asana for you would be Shavasana (Corpse pose). In addition, you may do two other poses that will help relieve the pressure on the region.
These are Viparita Karani (Legs up the Wall Inverted Pose) and Sarvangasana (Shoulder Stand).
Viparita Karani (Legs up the Wall Inverted Pose)
 Sit next to a wall with the side of your body on the wall and your knees bent into the chest.
- Bring the lower back onto the floor while bringing the legs up the wall. Keep the upper body supported with the elbows on the floor.
- Slowly release the elbows and lower the whole back down to the floor.
- If you are comfortable, stay here several minutes.
- To come out, bring the knees into your chest and roll to your side.
You may wish to support the low back with a bolster or several folded blankets placed right at and parallel to the wall. This also increases the angle of inversion.
Sarvangasana (Shoulder Stand)
- Lie down with your back on a Yoga Mat.
- Your shoulders should lie on the edge and your head rests on the mat. Your legs are drawn in and still stand on the mat.
- Lift your hips off the floor and bring your legs up, over and beyond your head.
- At this point, lift your back and move your legs further beyond your head.
- Straighten your spine and keep your back straight. Move your hands toward your back.
- Place your arms against your upper back and try to place your hands as near as possible to the shoulder blades. Try to place your elbows at shoulder-width. If you cannot do this, put them at a somewhat wider distance from each other. If you want, you can use a belt to keep the arms together.
- Push your back upwards with your hands. You will get a force upwards coming from the seventh neck-vertebra.
- Use your hands to push the back forward with the result that it gets narrower and straighter and there is an increased pressure on your shoulders. At the same time, this requires more power of the muscles of the lower back. Rest your weight on the back side of the shoulders. See to it that you do not bend the upper back and the chest.
- Lift up your legs, one at a time, and see to it that the pelvis is placed straight over your back and your hands. Your legs are placed a little forward. Divide the weight of your legs between the hands and the shoulders. Build up strength in the upper lower back and give space to your chest and shoulder muscles.
- A slight bending of the legs sees to it that the back remains straight and that the dynamism from the sacrum and the hip is maintained. Wait until your shoulders start to relax more. Try to increase the right dynamism through the angle of the legs and via the hands.
- After some time, try placing your arms a little lower in the direction of the shoulder blades on your back. See to it that the elbows do not stand too far apart. Breathe in and out quietly and try to find your balance.
- Slowly bring your legs back to the mat, one by one, stretch out your arms (lengthwise), away from you and slowly roll your back downward.
Pranayama (Breathing exercises)
 Kapalabhatti (Skull cleansing) – Kapalabhatti is a series of short, sharp exhales through the nose, using the lower belly to help snap the air out.
In order to prevent hyperventilation when doing this breathing exercise, it is important to focus on the exhale; a brief inhale will happen as a natural reflex. Keep the exhale quick and sharp, but do not exert too much force through the nostrils, as this can cause damage.
- Sit in a comfortable cross-legged position on the floor or on a yoga block.
- Bring both hands behind you and press just the fingertips into the floor to help lift and open your chest.
- Inhale to about ¾ your regular lung capacity.
- Using the low belly to snap the air out, begin to exhale in quick, sharp exhales.
- Continue for approximately 50 short breaths, or until you feel the need to inhale.
- Take a few deep breaths and then repeat the breathing exercise.
- Anuloma Viloma (Alternate nostril breathing) – If you are really healthy, you will breathe predominantly through the Ida nostril about one hour and fifty minutes, then through the Pingala nostril. But in many people, this natural rhythm is disturbed. Anuloma Viloma restores, equalizes and balances the flow of Prana in the body.
- Sit in Padmasana.
- Fold your index and middle finger of right hand towards palm. Now thumb should remain towards right nostril and ring finger and little finger should be towards left nostril.
- Closing the right nostril with the thumb inhale (prolonged) through the left nostril.
- Now closing the left nostril with the ring finger and the little finger, exhale slowly through right nostril removing the thumb. (The time should be double than the time taken for inhaling i.e. the ratio should be 1 : 2).
- After exhalation, inhale (prolonged) through the same nostril (right).

- Now closing the right nostril with thumb exhale through left nostril (removing the ring finger and the little finger) as per previous practice. This completes one round of easy Anuloma-Viloma.
Tips
- Shin splints are due to an imbalance between the muscles that lift the foot and those that pull it down.
- Avoid walking and running competition until the pain is gone.
- Ibuprofen or other anti-inflammatory can help.
- Anterior Compartment Syndrome is a more rare cause of pain on the outer side of the lower leg.
-
Stress Fracture can occur in those starting an exercise program, with sharp pain a below the knee.
Disclaimer
The Content is not intended to be a substitute for professional medical advice, diagnosis, or treatment. Always seek the advice of your physician or other qualified health provider with any questions you may have regarding a medical condition.