If you are a runner, swimmer or a work-alcoholic there stands a great risk of stiffening of piliformis muscle. This muscle is located beneath the gluteal (butt) muscles and laterally rotates and stabilizes the hip.
The piriformis turns your thigh out and helps to stabilize your pelvis and sacrum. Located under the gluteus maximus muscle, it runs from your sacrum to your upper thigh bone. The piriformis is probably best known as the cause of piriformis syndrome. The sciatic nerve runs directly under the piriformis and down the back of your leg. If your piriformis is tight or in spasm, it can cause a painful pinching of the sciatic nerve.
In order to check the piriformis Syndrome, try incorporating the following yoga asanas in your stretching routine.
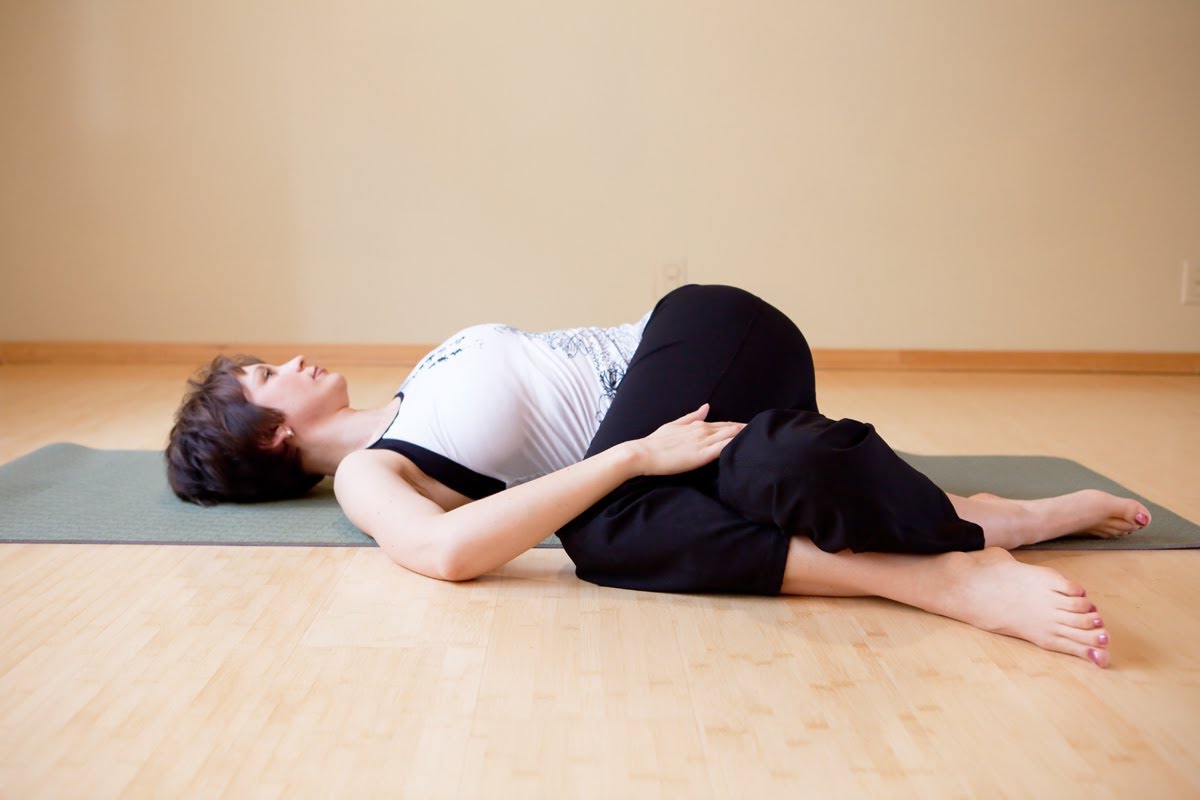
Ardha Matsyendrasana (Half Spinal Twist):
- Kneel down with your legs together, resting on your heels.
- Then sit to the right of your feet.
- Lift your left leg over your right, placing the foot against the outside of the right knee. Bring your right heel in close to your buttocks. Keep the spine erect.
- Stretch your arms out to the sides at shoulder level, and twist around to the left.
- Now bring the right arm down on the outside of the left knee and hold the left foot in the right hand, placing your left hand on the floor behind you. As you exhale, twist as far as possible to the left. Look over the left shoulder.
Agnistambhasana (fire-log pose)
- From Staff Pose – Dandasana, bend the knees.
- Bring the right shin parallel to the front of the mat.
- Stack the left ankle directly on top of the right knee, bringing the left shin parallel to the right. Flex both feet. Keeping the spine long, come into a forward bend.
- Repeat on the other side. if you are a beginners, take padding under the sit bones if necessary. Position a block or blanket under the top knee if the gap is very big.
Keeping the spine long, come into a forward bend.
Gomukhasana (Cow-Face pose)
 Slide your knees together in front of you, stacking the right knee directly on top of the left. If you find this movement to be difficult, try coming forward on your hands and knees before aligning the knees. When aligned, sit back in between your feet – which should be equidistant from your hips. Support your weight evenly amongst your sitting bones.
- For the upper body, extend your left arm up towards the sky. Then, bring your left hand down to the center of your back (hinging at the elbow). Reach your right arm out to the same side, parallel to the floor. Rotate the arm inward – your thumb will turn first towards the floor – until your palm faces the sky above.
- This movement should put your shoulder in correct position for the next one. Take a deep breath and, as you exhale, sweep your right arm behind and in the hollow of your lower back (as parallel to your spine as is comfortable).
- Keeping your spine long, hook fingers or hold hands behind your back. If they don’t reach, hold a belt or strap in both hands. Then, lift your left elbow toward the sky and draw your right elbow toward the ground. Keep your left arm close to your head. Center yourself.
- Lift your chest and firm your shoulders blades against your lower back for stability. As a beginner, breathe steady and deep 4-6 times while holding posture. Then, release your arms, uncross your legs, and repeat Gomukhasana with the left knee on top and left elbow pointing down.
Kapotasana (Pigeon Pose):
It is excellent hip opener for all those who spend long hours sitting or maintain wrong posture.
- From Downward Facing Dog, step both feet together and bring your right knee forward between your hands, such that your outer right leg is resting on the mat.
- Drop your back leg to the ground. Keep the back leg turned under.
- Keeping your front leg bent, place it shin down on floor behind your right wrist.
- Align your right knee straight in front of your right hip and your right shin parallel to the front of your mat.
- Lower your hips, bringing your left knee to the floor and walk your left foot back a few inches to straighten your left leg directly behind your left hip. Rest the top of your left foot on the floor.
- Walk your fingertips out to 18 inches in front of your right shin and bring your elbows to the floor, forearms parallel to each other.
- Draw your right hip back, and your left hip forward.
- Take quite a few breaths in Pigeon (3-7 breath) . Make sure your front foot is well flexed. You may feel this pose in your hips as they open up.
Garudasana (Eagle pose)
 Stand in Tadasana. Bend your knees slightly, lift your left foot up and, balancing on your right foot, cross your left thigh over the right. Point your left toes toward the floor, press the foot back, and then hook the top of the foot behind the lower right calf. Balance on the right foot. If you are a beginner, instead of hooking the raised foot and calf, press the big toe of the raised-leg foot against the floor to help maintain your balance.
- Stretch your arms straight forward, parallel to the floor, and spread your scapulas wide across the back of your torso. Cross the arms in front of your torso so that the right arm is above the left, then bend your elbows. Snug the right elbow into the crook of the left, and raise the forearms perpendicular to the floor. The backs of your hands should be facing each other.
- Press the right hand to the right and the left hand to the left, so that the palms are now facing each other. The thumb of the right hand should pass in front of the little finger of the left. Now press the palms together (as much as is possible for you), lift your elbows up, and stretch the fingers toward the ceiling.
- Stay for 15 to 30 seconds, then unwind the legs and arms and stand in Tadasana again. Repeat for the same length of time with the arms and legs reversed.
Note: Before any activity be sure to thoroughly warm up all the muscles and tendons that will be used during your sport or activity.
Disclaimer
The Content is not intended to be a substitute for professional medical advice, diagnosis, or treatment. Always seek the advice of your physician or other qualified health provider with any questions you may have regarding a medical condition.