The spine has three types of curves:
- Kyphotic curves refer to the outward curve of the thoracic spine (at the level of the ribs).
- Lordotic curves refer to the inward curve of the lumbar spine (just above the buttocks).
- Scoliotic curving is a sideways curvature of the spine and
is always abnormal.
Lordosis or swayback
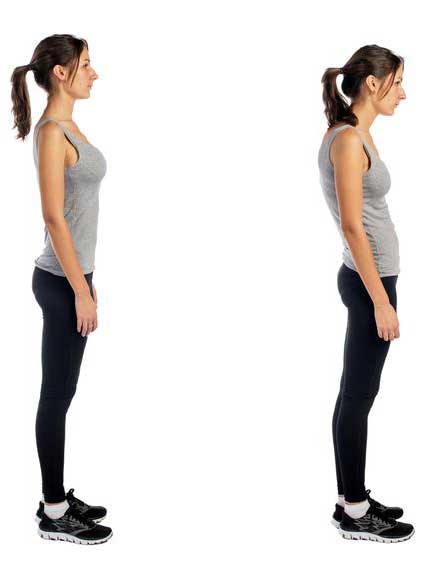
is a disorder defined by an excessive inward curve of the spine. It differs from the spine’s normal curves at the cervical, thoracic, and lumbar regions, which are, to a degree, either kyphotic or lordotic. The spine’s natural curves position the head over the pelvis and work as shock absorbers to distribute mechanical stress during movement.
Lordosis can be found in all age groups. It primarily affects the lumbar spine, but does occur in the neck (cervical). When found in the lumbar spine, the patient may appear swayback, the buttocks more prominent, and in general an exaggerated posture.
Contributing Factors
Certain disease processes can adversely affect the structural integrity of the spine and contribute to lordosis. Some of them are listed below
- Achondroplasia is an inherited bone growth disorder that may cause a type of dwarfism.
- Discitis is inflammation of intervertebral disc space.
- Kyphosis (e.g. humpback) may force the low back to compensate for the imbalance created by a curve occurring at a higher level of the spine (e.g. thoracic).
- Obesity may cause some overweight people to lean backward to improve balance. This has a negative impact on posture.
- Osteoporosis is a bone density disease that may cause vertebrae to loose strength compromising the spine’s structural integrity.
- Spondylolisthesis occurs when one vertebra slips forward in relation to an adjacent vertebra, usually in the lumbar spine.
Management of Lordosis
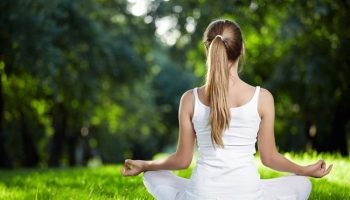
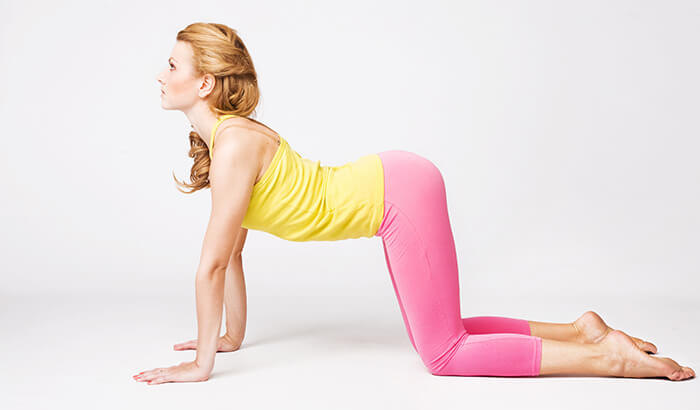
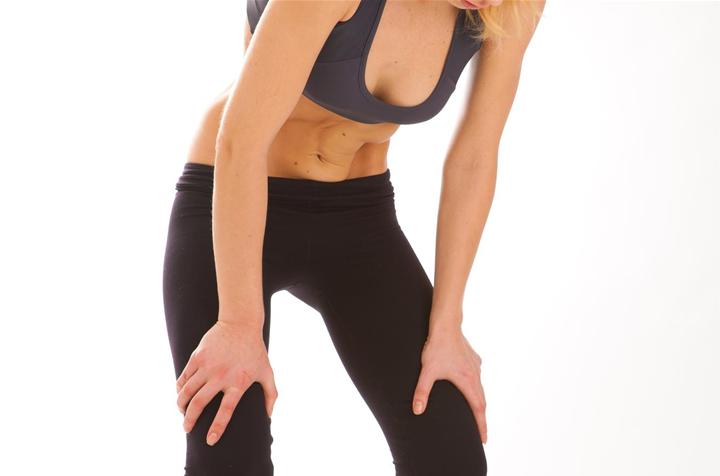
Backbends usually give relief to lordosis. When done purposefully backbends increase the C curve of your lower back, and thereby help in building strengthrather than exploiting your weaknesses. Certain poses, such as Bridge, will help you to build strength in the lower back muscles, which in time may help correct your lordosis. Also Cobra, when done correctly (check with a good teacher) will build strength in your middle and lower back. Agnisara and Nauli can strengthen the abdominal muscles and diaphram. Tadasana (standing straight) will also help in giving a correct posture.
Remember, whatever back problem it is, and whatever Asana you do, if you can find the time to just lay down in the corpse pose, then its great! Its amazing how simply lying on a flat floor can relieve any tension in the back! It makes you feel so calm and relaxed in the mind too.
Bhujangasana (Cobra)

- Lying down on your tummy, feet together.
- Place your hands beneath your shoulders, finger lined up with the end of the shoulders. Hold the elbows close to your sides.
- As you breathe in, begin to raise your forehead, nose and chin, drawing the head back to where it still remains comfortable. Lengthen through the neck
- Continue to lift the chest upwards and back, being aware of each of the vertebra as they curve, one by one, into the backbend.
- Press your pubic bone into the floor as you extend up through the crown of the head. · Lengthen the tips of the toes away from the hips.
- Press down on the palms of the hands to lengthen the stretch from the hips up through the sides of the ribs, keeping the shoulders back and down away from the ears.
- Lift the breastbone up towards the ceiling. Breathe normally as you hold the posture. Come out of the pose with as much awareness as you moved into it. Exhale as you begin to lower the chest back down, one vertebra at a time, lastly tucking under the chin, nose, and forehead. Strengthen the back muscles by activating them, so they help you lower the chest back down to the floor.
- Repeat 3 times, then rest and relax using the complete breath to replenish the body with oxygen and energy.
Caution: Do not hold your breath during the pose.- Keep the shoulders down and away from the ears. – Tighten the buttocks if you have lower back discomfort – Let the feet be apart if you have lower back discomfort
Setu Bandhasana (Bridge Pose)
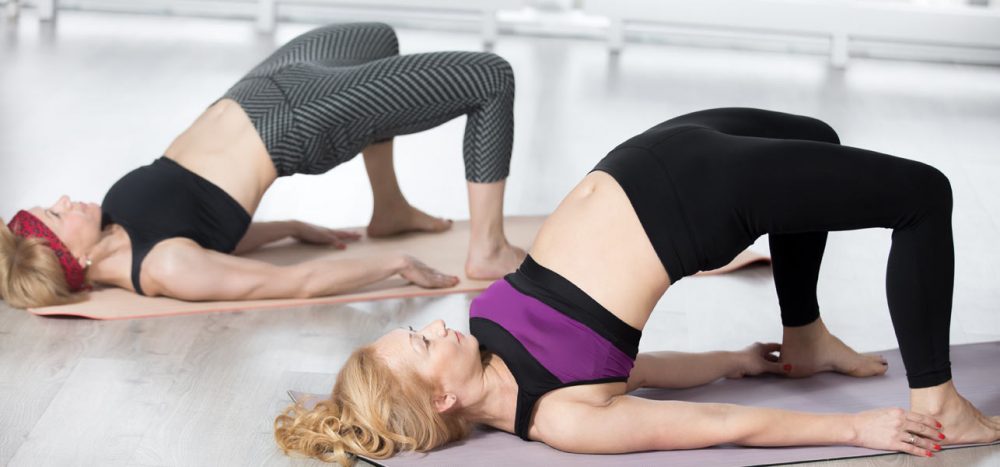
- Lie flat on your back, legs extended together.
- Bend the knees and draw the heels back towards the buttocks. Feet should be hip width apart, with the toes slightly turned inwards. (A good way to measure the distance of your heels from your buttocks is to lay your arms beside the body and the middle finger of each hand should be able to just brush the heels. If you cannot reach the heels, then have the heels as close to your buttocks as is comfortable).
- As you breathe in, begin to raise the hips up slowly, with awareness of each of the vertebrae of the spine as they lift off the floor.
- Bring the chest towards the chin, being sure that the shoulders, neck and head remain down on the floor, as in shoulderstand.
- Be sure to keep the heels on the floor, and the weight evenly distributed on the feet so that the arches do not lift. This strengthens the inner thigh muscles.
- Try to roll the shoulders under, creating a nice space between the shoulderblades to accommodate the larger cervical vertebrae.
- Breathe and hold for 10-20 seconds. Then slowly roll the hips and spine back down to the floor, with awareness of each vertebrae as it touches the floor.
Agnisara
Push the navel against the spine a hundred times. Having thus got rid of abdominal diseases, one increases; the gastric fire.
Note: This can be practiced either in the position of Uddiyana or in Padmasana or even in any sitting posture in which you can remain steady
- Stand erect.
- Make a distance of 1-1/2 feet between legs and place both hands on respective knees.
- Slowly exhale completely. As we retain breath out in Uddiyana, so retain it out.
- After that, the stomach, which has gone in due to complete exhalation.
- Without inhaling try to blow it out like a balloon, maintaining for two seconds, take the stomach in and again blow it out. Do it likewise for 4 to 6 times.
- Now inhale. This forms one round of Agnisara. Practice it for four or five times.
Remember:
- Practice it on empty stomach.
- Do not practice it at least for four hours after meal.
Disclaimer
The Content is not intended to be a substitute for professional medical advice, diagnosis, or treatment. Always seek the advice of your physician or other qualified health provider with any questions you may have regarding a medical condition.