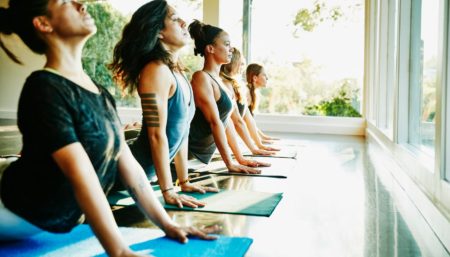
Yoga can alleviate menopausal symptoms such as insomnia, depression, hot flashes, and mood swings.
In one of the few studies concerned with hot flashes and body management, researchers at the Wayne State University School of Medicine studied 33 women with frequent hot flashes and their responses to deep breathing, muscle relaxation, and brain-wave biofeedback. Deep breathing was associated with a significant reduction in the frequency of hot flashes, while the other two techniques had no effect. This study’s small scale makes one reluctant to draw any conclusions. However, the authors speculate that deep breathing somehow works to after the sympathetic nervous system activity that gives rise to hot flashes.
The following is a sequence of poses to stimulate the ovaries and pituitary gland to produce more hormones. This series has a claming, soothing, quieting effect on the nervous system and, if practiced regularly, helps ease menopausal symptoms. These postures provide a good foundation on which to build a yogapractice that will help maintain a woman’s well-being during her menopausal years and beyond.
- Standing Forward Bend
- Dog Pose
- Supported Lying Down Bound-Angle Pose
- Supported Legs-Up-the-Wall Pose
- Supported Bridge Pose
- Supported Child’s Pose
- Lying Down Spinal Twist
- Supported Deep Relaxation Pose
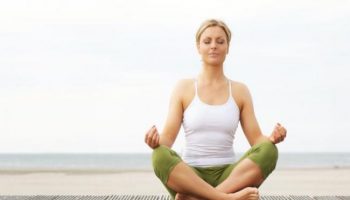
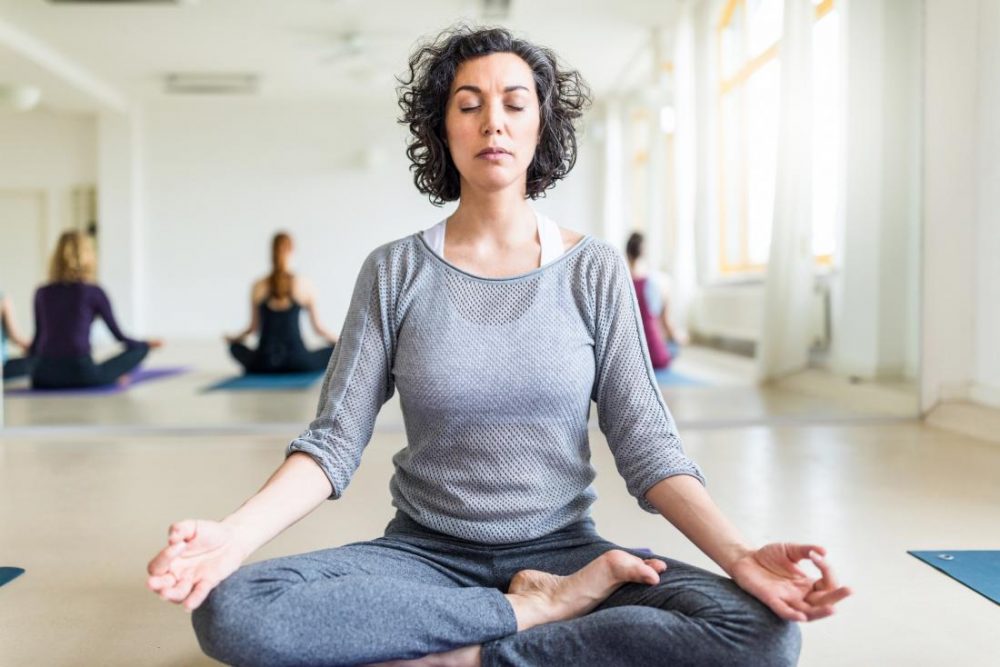
The body-mind connection is a powerful element of hot flashes and emotional symptoms. Rhythmic breathing exercises (paced respiration), which helps you meditateand relax, can effectively reduce your hot flashes. Researchers have found that deep, slow breathing can reduce the effects of hot flashes in half, probably by calming the central nervous system.
Uttanasana (Standing Forward Bend)
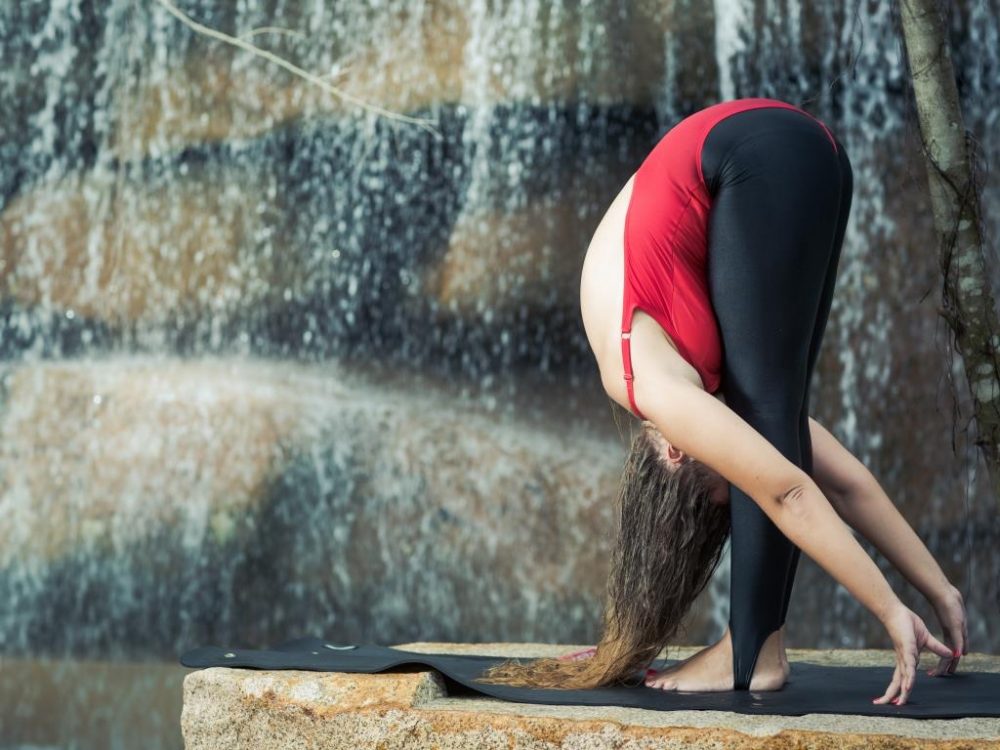
Instructions
- Stand in Tadasana, hands on hips. Exhale and bend forward from the hip joints, not from the waist. As you descend draw the front torso out of the groins and open the space between the pubis and top sternum. As in all the forward bends, the emphasis is on lengthening the front torso as you move more fully into the position.
- If possible, with your knees straight, bring your palms or finger tips to the floor slightly in front of or beside your feet, or bring your palms to the backs of your ankles. If this isn’t possible, cross your forearms and hold your elbows. Press the heels firmly into the floor and lift the sitting bones toward the ceiling. Turn the top thighs slightly inward.
- With each inhalation in the pose, lift and lengthen the front torso just slightly; with each exhalation release a little more fully into the forward bend. In this way the torso oscillates almost imperceptibly with the breath. Let your head hang from the root of the neck, which is deep in the upper back, between the shoulder blades.
- Uttanasana can be used as a resting position between the standing poses. Stay in the pose for 30 seconds to 1 minute. It can also be practiced as a pose in itself.
- Don’t roll the spine to come up. Instead bring your hands back onto your hips and reaffirm the length of the front torso. Then press your tailbone down and into the pelvis and come up on an inhalation with a long front torso.
Dog Pose (Adho Mukha Shvanasana)
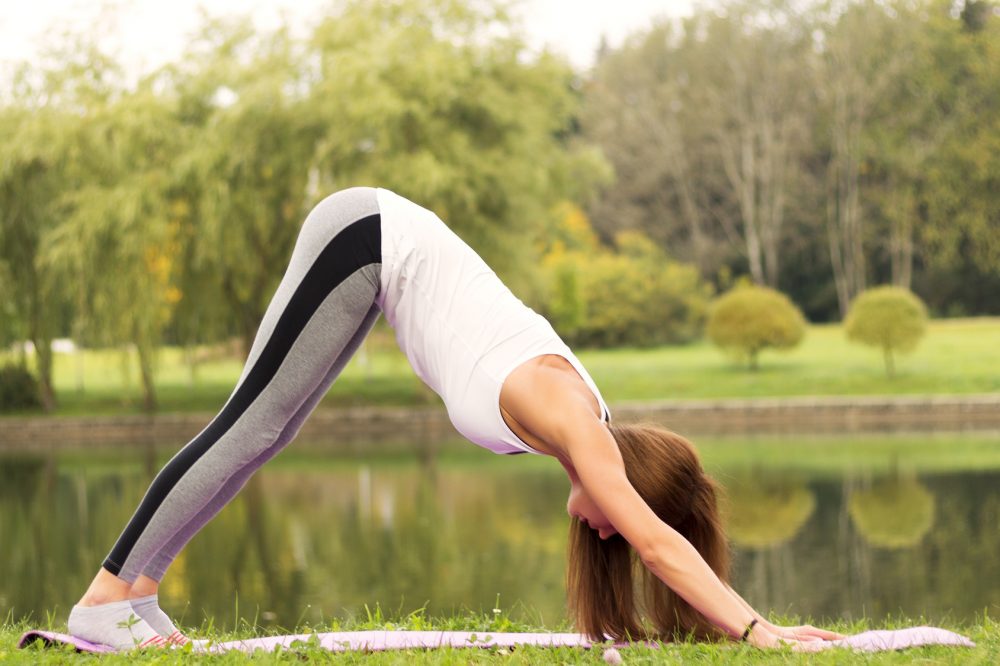
- Start on your hands and knees. Position your hands directly beneath your shoulders and your knees directly beneath the hips. Have your fingers fully spread with the middle fingers pointing straight ahead. Make your back horizontal and flat. Gaze at the floor. This is your “neutral” positioning. When your pelvis is in neutral, your spine will be at full extension, with both the front and back sides equally long.
- As you wait for the inner cue, do not sag into your shoulders . Instead, create a line of energy through each arm by pressing downward into your hands and lifting upward out of your shoulders
- Go back and forth like this several times to make sure you understand the movement As you exhale, sag into your shoulders and do the incorrect action; as you inhale, lengthen the arms, lift out of the shoulders and do the correct action.
- When you are ready to begin, breathe in deeply. As you exhale, turn your hips into “cat tilt” . Do this by gently pulling the abdominal muscles backward toward the spine, tucking the tailbone (coccyx) down and under, and gently contracting the buttocks. Press firmly downward with your hands in order to stay lifted out of the shoulders, and press the middle of your back toward the ceiling, rounding your spine upward. Curl your head inward. Gaze at the floor between your knees.
- As you inhale, turn your hips into “dog tilt” . Do this by releasing the grip of the buttocks, reversing the tilt of your pelvis, and curving your spine into a smoothly arched backbend. The pubic bone will move backward through the legs, the sitting bones will turn upward, and the sacrum will change its angle.
- Keep the navel backward toward the spine as you do this, and continue pressing downward into your hands to lengthen the arms and stay lifted out of the shoulders. Lift your chest away from the waist, lift your head, slide the shoulder blades down your back, and either gaze at a point on the floor in front of you or upward toward the ceiling – or close your eyes and immerse yourself in the way this feels.
- Feel the flow of the curve. Increase the curve by tilting your pelvis more and moving the spine deeper into your back, bringing the curve up your back. Do this without sagging into the shoulders. Arch the full length of your spine to its maximum. Your spine is now arched. Gently pull the navel backward toward your spine to stabilize your pelvis.
- Your first objective was to establish Dog Tilt with straight arms and straight legs. Your second objective is to straighten your arms and legs. As you inhale, press downward into your hands and lift upward out of the shoulders. Lift your head and torso away from the floor as much as possible; this is “not sagging” or “lengthening the arms.” As you exhale, move your pelvis backward and upward, bringing your torso toward your legs. Feel how the groin, the crease formed by your torso and thighs, moves up, away from your wrists.
- Your third objective, once you have achieved a straight line from your hands to your coccyx, is to deepen the fold at your hips and bow your spine toward the floor. Do this by squeezing your head and chest downward and inward toward your legs. As you inhale, press into your hands to lengthen the arms and achieve maximum length from your hands to coccyx. As you exhale, gently squeeze your head and chest toward your legs.
Supported Lying Down Bound Angle Pose—The Goddess Pose (Supta Baddha Konasana)
- Sit in front of the bolster placed lengthwise behind you, the soles of your feet together. As in Deep Relaxation Pose, have one or two folded blankets at the top to create a comfortable support for your head and neck. The edge of the bolster should touch your sacrum.
- Loop a strap behind your back, at your sacrum (near your tailbone, not your waist). Bring it forward, around your hips, across your shins, andunder your feet so that the soles of your feet are secure. Secure the strap in such a way that it is not too tight or too loose.
- Center your spine on the bolster. Bring the soles of your feet close to your body. Place a folded blanket (or yoga block) under each of your outer thighs. The height of the blankets should adequately support the weight of your legs so that your back and knees relax. Your knees should be level.
- When you are comfortable, stay in the pose for 10 minutes or longer. Observe the peaceful flow of your breath.
Supported Legs Up the Wall Pose—Viparita Karani
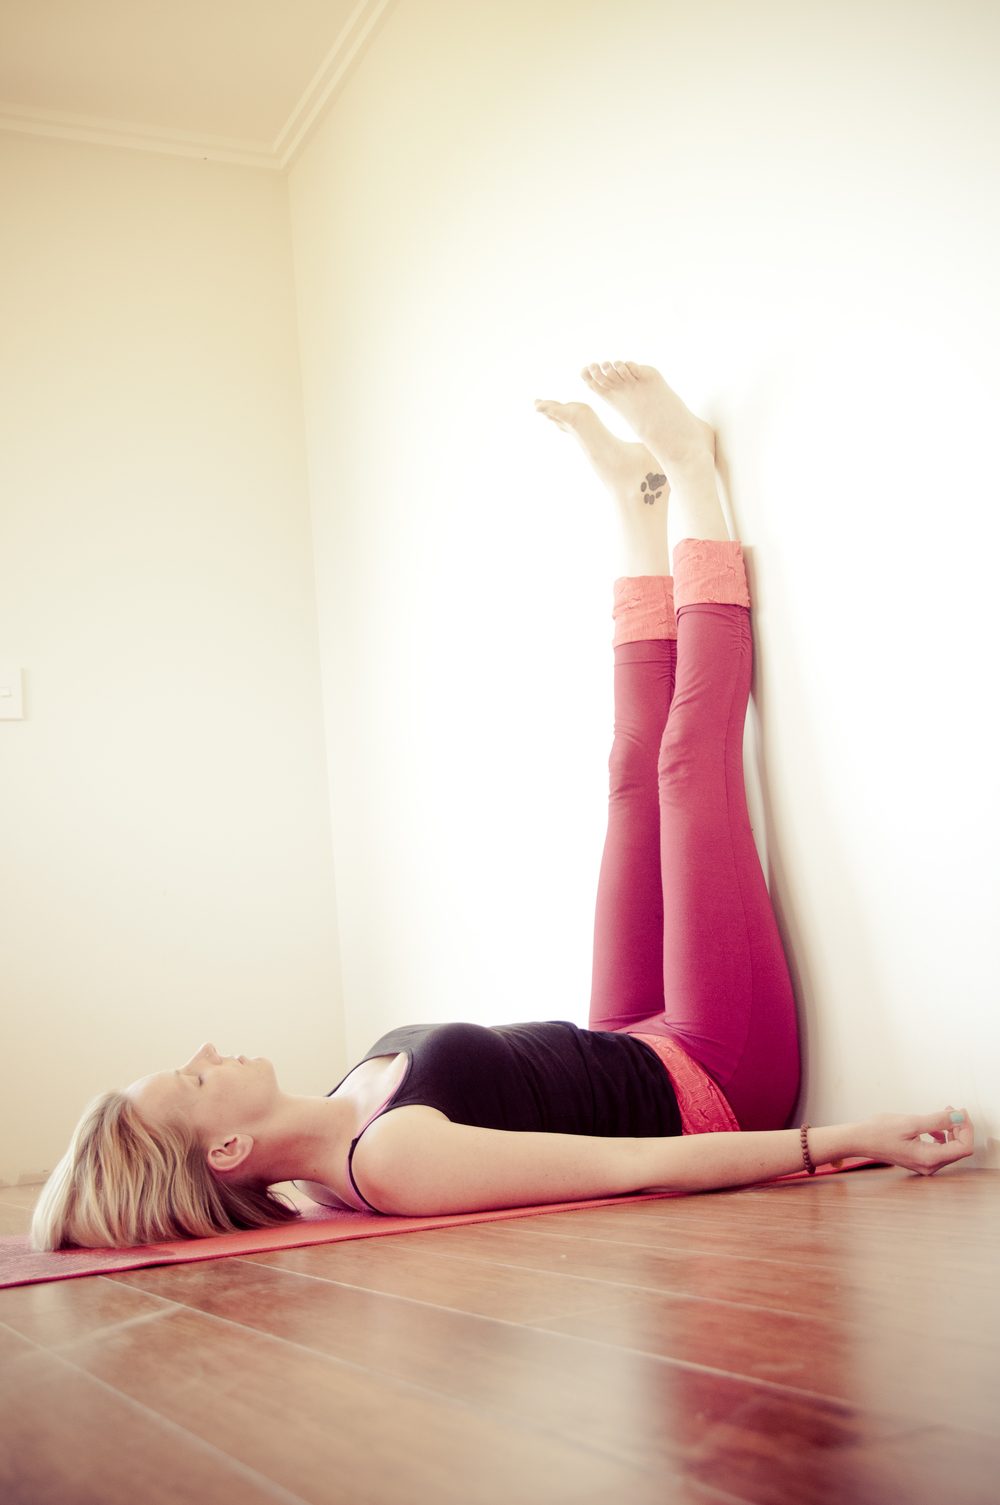
- Sit on the floor beside a wall, knees bent, with one shoulder and hip touching the wall. Lower your torso toward the floor, keeping your bottom close to the wall, and swing around to bring your legs up the wall, supporting yourself on your elbows and forearms. Relax and lie back on the floor.
- The next step is to lift your lower back off the floor and place a bolster or one or two folded blankets under your bottom, with your lower back supported. Experiment with the height of your blankets or bolster so that their support feels just right for your body—not too high or too low. If your neck or shoulders are uncomfortable, experiment with a small folded towel under the head or shoulders. If blood flow to the head is obstructed, the brain cannot relax.
- When you feel comfortable, close your eyes and cover them with an eye bag. Observe the rise and fall of your breath. Allow your heart and chest area to relax and open. Stay in the pose for 10 minutes or longer.
- As you lie in the pose, you can imagine that its shape creates an internal waterfall, as the fluid in the legs cascades down to the abdomen and spills over into the chest, toward the heart. This waterfall effect creates a peaceful, soothing sensation.
Supported Bridge Pose
- Come to lie on your back with the knees bent and the soles of your feet flat on the floor. Have a yoga block handy.
- You should be able to barely touch the backs of your heels with your fingertips when the arms are lying on the floor.
- The feet should be parallel and stay that way through the duration of the pose.
- Press down into the soles of the feet as you lift the hips off the floor.
- Slide your yoga block under your back directly under the sacrum.
- This should be a comfortable resting position. You may wish to stay here several minutes.
To come out, press down into your feet and lift the hips again. Remove the block and gently lower your back to the floor.
Beginners:
It is a good idea to start with the block on the lowest level . If this feels comfortable, you can try turning it to a higher level . Since this is a restorative pose, choose the level that gives you the most ease. If you feel any pain, come out.
Advanced:
Try lifting one leg at at time off the floor, keeping the block in place. You may also lift both legs at the same time in a supported version of Shoulderstand.
Supported Child’s Pose
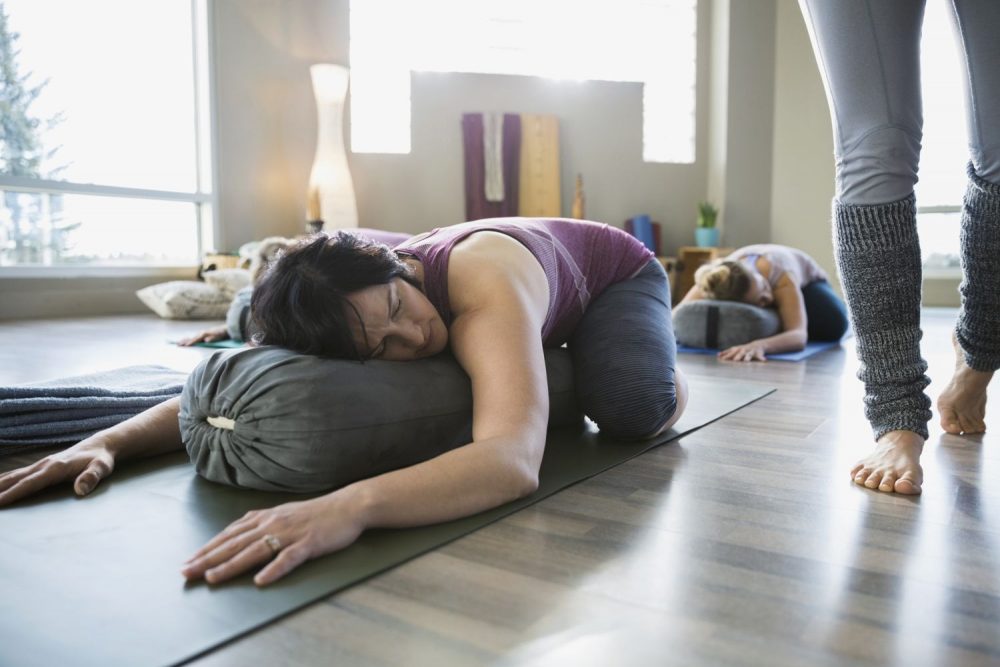
- To begin, fold five blankets so that each is about eight to 12 inches wide and long enough to support your torso and head when you fold forward. Neatly stack three of the blankets on top of one another and position them on your yoga mat. Form a second stack with the last two blankets and place it within arm’s reach.
- Sit astride one end of the thicker stack with your knees, your shins, and the tops of your feet resting on the floor. Stay here for just a moment, readjusting your knees and feet as needed so you feel completely comfortable.
- Now place the two-blanket stack atop the three-blanket stack in front of your pelvis, so your stomach and chest will be gently supported when you bend forward over it. Take care to ensure that all the blankets are neatly folded and even, so when you bend forward, the support will be smooth and firm.
- As you sit on top of the blankets, rise up through your heart and broaden your collarbones, so the front of your body feels both long and spacious. Soften your skin, deepen your breath, and invite feelings of tenderness and tranquility to melt inward toward your core. When you’re ready to nestle into Child’s Pose, inhale as you stretch your spine toward the sky, then exhale as you fold forward from the hips, allowing the torso to settle into the support you’ve created in front of you. Take care to lengthen the front of your spine as you go forward, leaving ample space for the torso to stretch out fully. Turn your head to one side and rest it on the blankets as you relax your arms comfortably on the floor on either side of the bolster.
- Start out lying on the floor on your back. Bring one knee up to your chest and extend the opposite. Bring your knee across your extended leg and up and over your hip.
- You should have feel the stretch in your glute. Taking deep breaths use your hand to gently pull your knee closer to the ground. Keep your core muscles tight and relax into the stretch.
- Continue breathing for 5 to 10 breaths and then switch sides.
Supported Deep Relaxation Pose
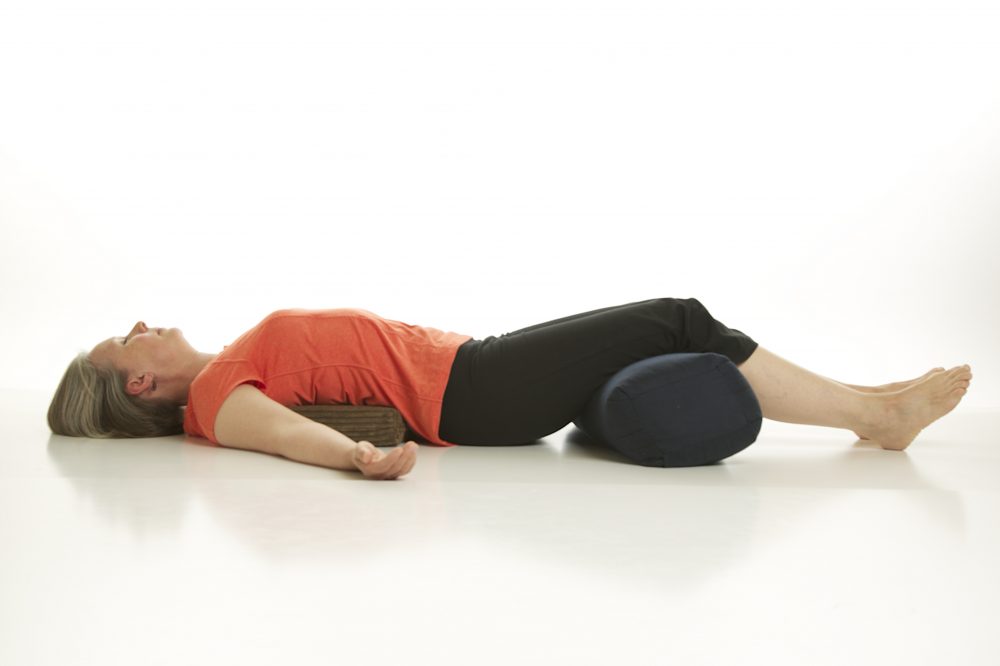
- You will need the following props: a small pillow or folded blanket to support your head and neck, a large couch cushion or yoga bolster for the back of your knees, a smaller pillow for the back of your ankles, a yoga eye bag or a face cloth to cover your eyes. If you tend to get cold easily, you may want to have another blanket to spread over yourself for warmth.
- To practice this pose, use a carpeted area or lie on your yoga mat, or use both. Begin by sitting on the floor; put the couch cushion under your knees and one of the smaller pillows under the back of your ankles. Lying back carefully, place the folded blanket or of small pillow under your neck so that it supports the whole neck and touches the top of the shoulders.
- Cover your eyes with the eye bag or cloth. Be sure not to cover your nose in any way. Basic Relaxation Pose is intended to feel completely comfortable and supported. If it does not, adjust your props.
- Pay attention to your breath. Inhale a long and slow breath, follow with an equal and long exhalation; do not strain in any way. Continue this practice for 5 to ten breaths, and then allow your breath to assume its own natural rhythms but keep your attention lightly on it.
- Let your jaw loosen and your body melt into the floor. You may want to pay special attention to your belly and entire pelvic region. When you inhale imagine that your belly is soft and infused with energy; when you exhale imagine that all impediments to conception are leaving with that breath.
- To come out of Basic Relaxation Pose, bend one knee and roll over to your side. Lie there for a few breaths before using your arms to help you get up slowly. Take care as you resume the activities of your day.
Disclaimer
The Content is not intended to be a substitute for professional medical advice, diagnosis, or treatment. Always seek the advice of your physician or other qualified health provider with any questions you may have regarding a medical condition.